Hub documentation
Webhook guide: Setup an automatic system to re-train a model when a dataset changes
Webhook guide: Setup an automatic system to re-train a model when a dataset changes
Webhooks are now publicly available!
This guide will help walk you through the setup of an automatic training pipeline on the Hugging Face platform using HF Datasets, Webhooks, Spaces, and AutoTrain.
We will build a Webhook that listens to changes on an image classification dataset and triggers a fine-tuning of microsoft/resnet-50 using AutoTrain.
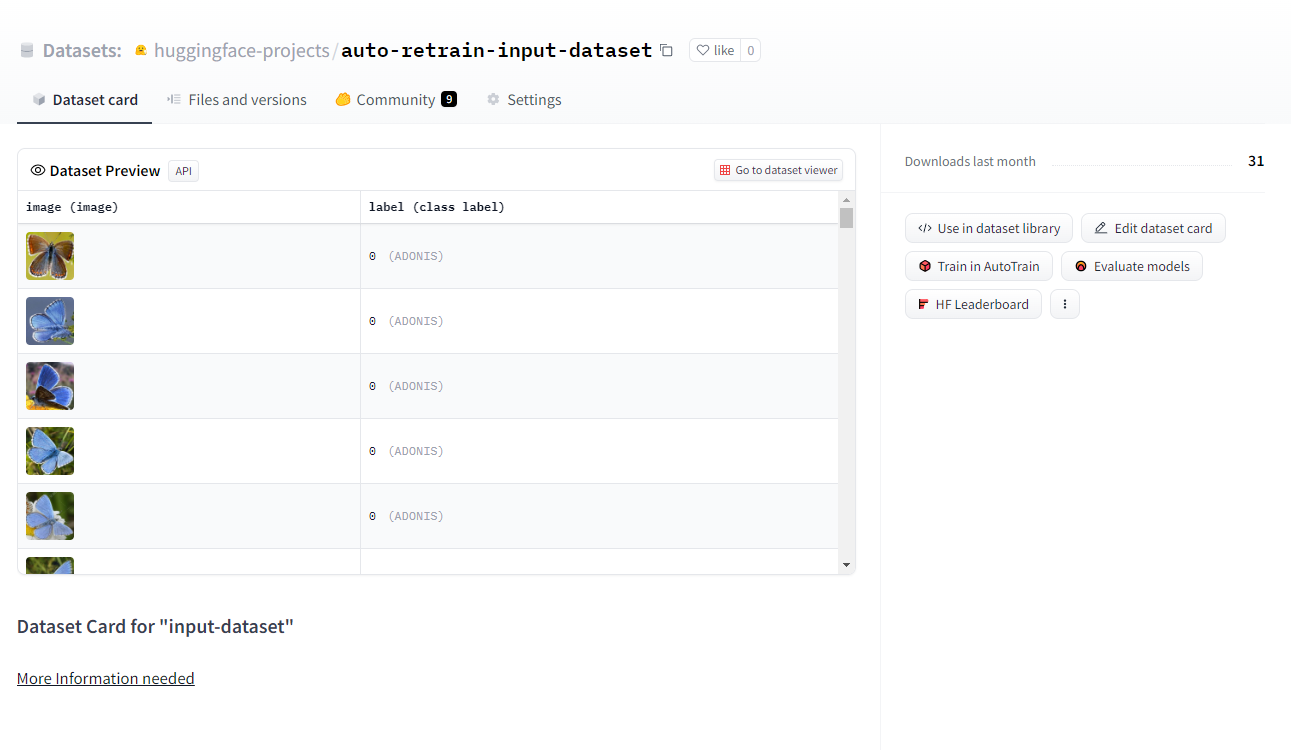
Prerequisite: Upload your dataset to the Hub
We will use a simple image classification dataset for the sake of the example. Learn more about uploading your data to the Hub here.
Create a Webhook to react to the dataset’s changes
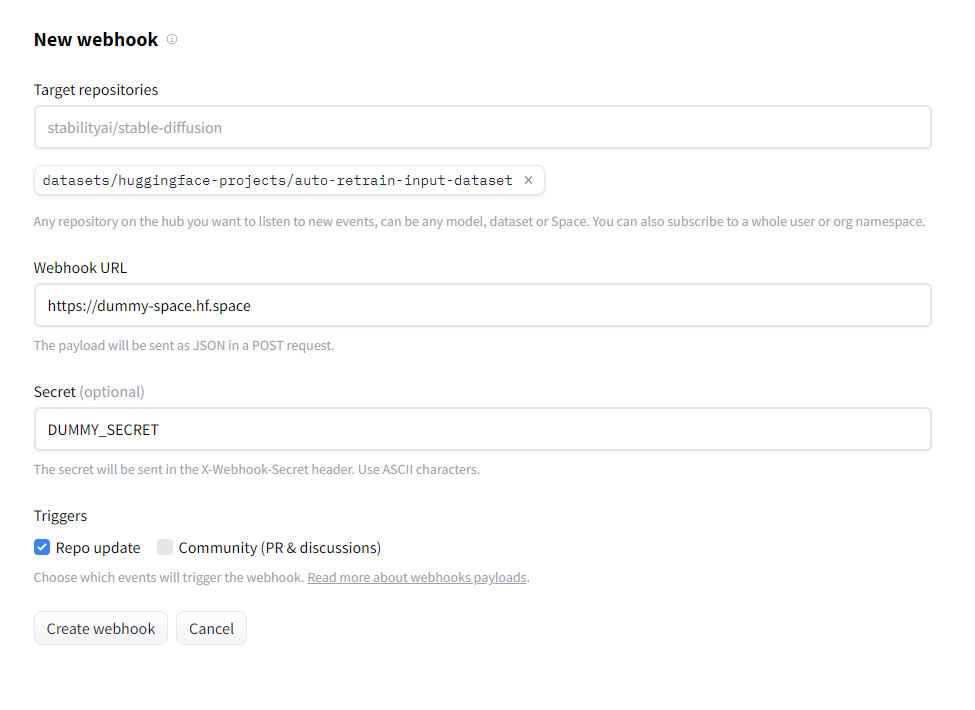
First, let’s create a Webhook from your settings.
- Select your dataset as the target repository. We will target huggingface-projects/input-dataset in this example.
- You can put a dummy Webhook URL for now. Defining your Webhook will let you look at the events that will be sent to it. You can also replay them, which will be useful for debugging!
- Input a secret to make it more secure.
- Subscribe to “Repo update” events as we want to react to data changes
Your Webhook will look like this:
Create a Space to react to your Webhook
We now need a way to react to your Webhook events. An easy way to do this is to use a Space!
You can find an example Space here.
This Space uses Docker, Python, FastAPI, and uvicorn to run a simple HTTP server. Read more about Docker Spaces here.
The entry point is src/main.py. Let’s walk through this file and detail what it does:
- It spawns a FastAPI app that will listen to HTTP
POSTrequests on/webhook:
from fastapi import FastAPI

# [...]
@app.post("/webhook")
async def post_webhook(
	# ...
):

# ...- This route checks that the
X-Webhook-Secretheader is present and that its value is the same as the one you set in your Webhook’s settings. TheWEBHOOK_SECRETsecret must be set in the Space’s settings and be the same as the secret set in your Webhook.
- This route checks that the
# [...]

WEBHOOK_SECRET = os.getenv("WEBHOOK_SECRET")

# [...]

@app.post("/webhook")
async def post_webhook(
	# [...]
	x_webhook_secret:  Optional[str] = Header(default=None),
	# ^ checks for the X-Webhook-Secret HTTP header
):
	if x_webhook_secret is None:
		raise HTTPException(401)
	if x_webhook_secret != WEBHOOK_SECRET:
		raise HTTPException(403)
# [...]- The event’s payload is encoded as JSON. Here, we’ll be using pydantic models to parse the event payload. We also specify that we will run our Webhook only when:
- the event concerns the input dataset
- the event is an update on the repo’s content, i.e., there has been a new commit
# defined in src/models.py
class WebhookPayloadEvent(BaseModel):
	action: Literal["create", "update", "delete"]
	scope: str

class WebhookPayloadRepo(BaseModel):
	type: Literal["dataset", "model", "space"]
	name: str
	id: str
	private: bool
	headSha: str

class WebhookPayload(BaseModel):
	event: WebhookPayloadEvent
	repo: WebhookPayloadRepo

# [...]

@app.post("/webhook")
async def post_webhook(
	# [...]
	payload: WebhookPayload,
	# ^ Pydantic model defining the payload format
):
	# [...]
	if not (
		payload.event.action == "update"
		and payload.event.scope.startswith("repo.content")
		and payload.repo.name == config.input_dataset
		and payload.repo.type == "dataset"
	):
		# no-op if the payload does not match our expectations
		return {"processed": False}
#[...]- If the payload is valid, the next step is to create a project on AutoTrain, schedule a fine-tuning of the input model (
microsoft/resnet-50in our example) on the input dataset, and create a discussion on the dataset when it’s done!
def schedule_retrain(payload: WebhookPayload):
	# Create the autotrain project
	try:
		project = AutoTrain.create_project(payload)
		AutoTrain.add_data(project_id=project["id"])
		AutoTrain.start_processing(project_id=project["id"])
	except requests.HTTPError as err:
		print("ERROR while requesting AutoTrain API:")
		print(f"  code: {err.response.status_code}")
		print(f"  {err.response.json()}")
		raise
	# Notify in the community tab
	notify_success(project["id"])
Visit the link inside the comment to review the training cost estimate, and start fine-tuning the model!

In this example, we used Hugging Face AutoTrain to fine-tune our model quickly, but you can of course plug in your training infrastructure!
Feel free to duplicate the Space to your personal namespace and play with it. You will need to provide two secrets:
WEBHOOK_SECRET: the secret from your Webhook.HF_ACCESS_TOKEN: a User Access Token withwriterights. You can create one from your settings.
You will also need to tweak the config.json file to use the dataset and model of you choice:
{
	"target_namespace": "the namespace where the trained model should end up",
	"input_dataset": "the dataset on which the model will be trained",
	"input_model": "the base model to re-train",
	"autotrain_project_prefix": "A prefix for the AutoTrain project"
}
Configure your Webhook to send events to your Space
Last but not least, you’ll need to configure your webhook to send POST requests to your Space.
Let’s first grab our Space’s “direct URL” from the contextual menu. Click on “Embed this Space” and copy the “Direct URL”.

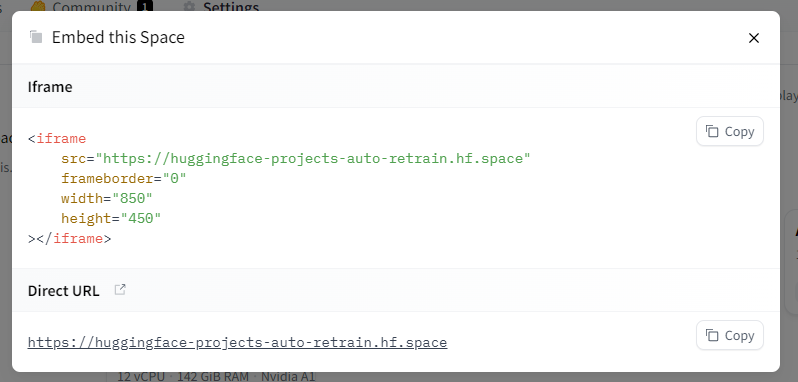
Update your Webhook to send requests to that URL:
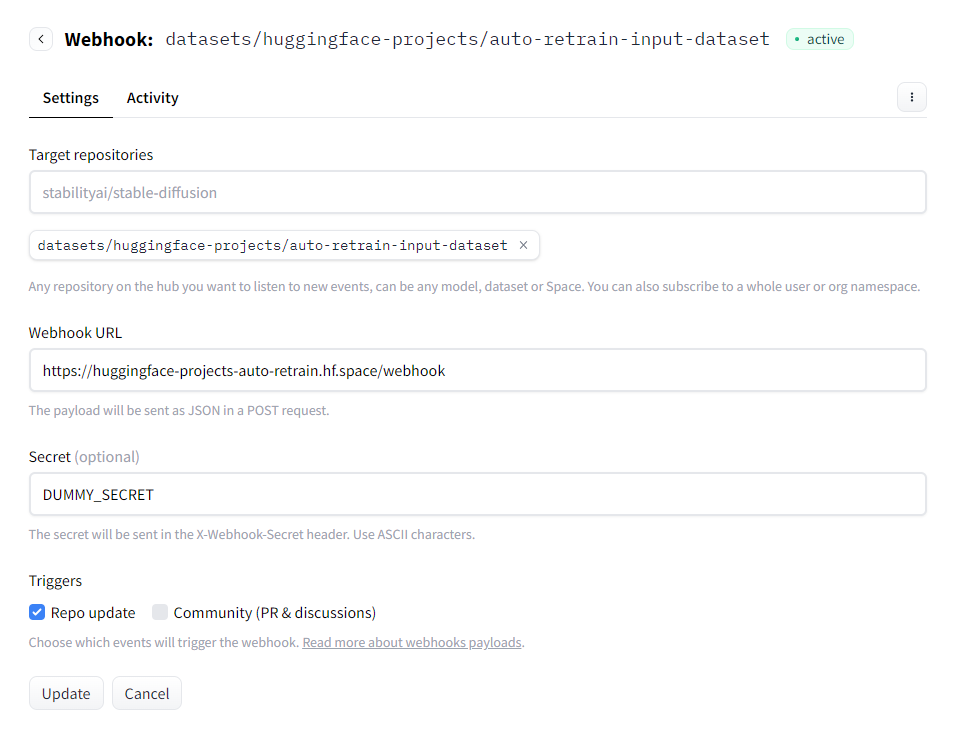
And that’s it! Now every commit to the input dataset will trigger a fine-tuning of ResNet-50 with AutoTrain 🎉
Update on GitHub