Diffusers documentation
Stable Diffusion pipelines
Stable Diffusion pipelines
Stable Diffusion is a text-to-image latent diffusion model created by the researchers and engineers from CompVis, Stability AI and LAION. Latent diffusion applies the diffusion process over a lower dimensional latent space to reduce memory and compute complexity. This specific type of diffusion model was proposed in High-Resolution Image Synthesis with Latent Diffusion Models by Robin Rombach, Andreas Blattmann, Dominik Lorenz, Patrick Esser, Björn Ommer.
Stable Diffusion is trained on 512x512 images from a subset of the LAION-5B dataset. This model uses a frozen CLIP ViT-L/14 text encoder to condition the model on text prompts. With its 860M UNet and 123M text encoder, the model is relatively lightweight and can run on consumer GPUs.
For more details about how Stable Diffusion works and how it differs from the base latent diffusion model, take a look at the Stability AI announcement and our own blog post for more technical details.
You can find the original codebase for Stable Diffusion v1.0 at CompVis/stable-diffusion and Stable Diffusion v2.0 at Stability-AI/stablediffusion as well as their original scripts for various tasks. Additional official checkpoints for the different Stable Diffusion versions and tasks can be found on the CompVis and Stability AI Hub organizations. Explore these organizations to find the best checkpoint for your use-case!
The table below summarizes the available Stable Diffusion pipelines, their supported tasks, and an interactive demo:
| Pipeline | Supported tasks | 🤗 Space |
|---|---|---|
| StableDiffusion | text-to-image | |
| StableDiffusionImg2Img | image-to-image | |
| StableDiffusionInpaint | inpainting | |
| StableDiffusionDepth2Img | depth-to-image | |
| StableDiffusionImageVariation | image variation | |
| StableDiffusionPipelineSafe | filtered text-to-image | |
| StableDiffusion2 | text-to-image, inpainting, depth-to-image, super-resolution | |
| StableDiffusionXL | text-to-image, image-to-image | |
| StableDiffusionLatentUpscale | super-resolution | |
| StableDiffusionUpscale | super-resolution | |
| StableDiffusionLDM3D | text-to-rgb, text-to-depth, text-to-pano | |
| StableDiffusionUpscaleLDM3D | ldm3d super-resolution |
Tips
To help you get the most out of the Stable Diffusion pipelines, here are a few tips for improving performance and usability. These tips are applicable to all Stable Diffusion pipelines.
Explore tradeoff between speed and quality
StableDiffusionPipeline uses the PNDMScheduler by default, but 🤗 Diffusers provides many other schedulers (some of which are faster or output better quality) that are compatible. For example, if you want to use the EulerDiscreteScheduler instead of the default:
from diffusers import StableDiffusionPipeline, EulerDiscreteScheduler

pipeline = StableDiffusionPipeline.from_pretrained("CompVis/stable-diffusion-v1-4")
pipeline.scheduler = EulerDiscreteScheduler.from_config(pipeline.scheduler.config)

# or
euler_scheduler = EulerDiscreteScheduler.from_pretrained("CompVis/stable-diffusion-v1-4", subfolder="scheduler")
pipeline = StableDiffusionPipeline.from_pretrained("CompVis/stable-diffusion-v1-4", scheduler=euler_scheduler)
Reuse pipeline components to save memory
To save memory and use the same components across multiple pipelines, use the .components method to avoid loading weights into RAM more than once.
from diffusers import (
    StableDiffusionPipeline,
    StableDiffusionImg2ImgPipeline,
    StableDiffusionInpaintPipeline,
)

text2img = StableDiffusionPipeline.from_pretrained("CompVis/stable-diffusion-v1-4")
img2img = StableDiffusionImg2ImgPipeline(**text2img.components)
inpaint = StableDiffusionInpaintPipeline(**text2img.components)

# now you can use text2img(...), img2img(...), inpaint(...) just like the call methods of each respective pipeline
Create web demos using gradio
The Stable Diffusion pipelines are automatically supported in Gradio, a library that makes creating beautiful and user-friendly machine learning apps on the web a breeze. First, make sure you have Gradio installed:
pip install -U gradio
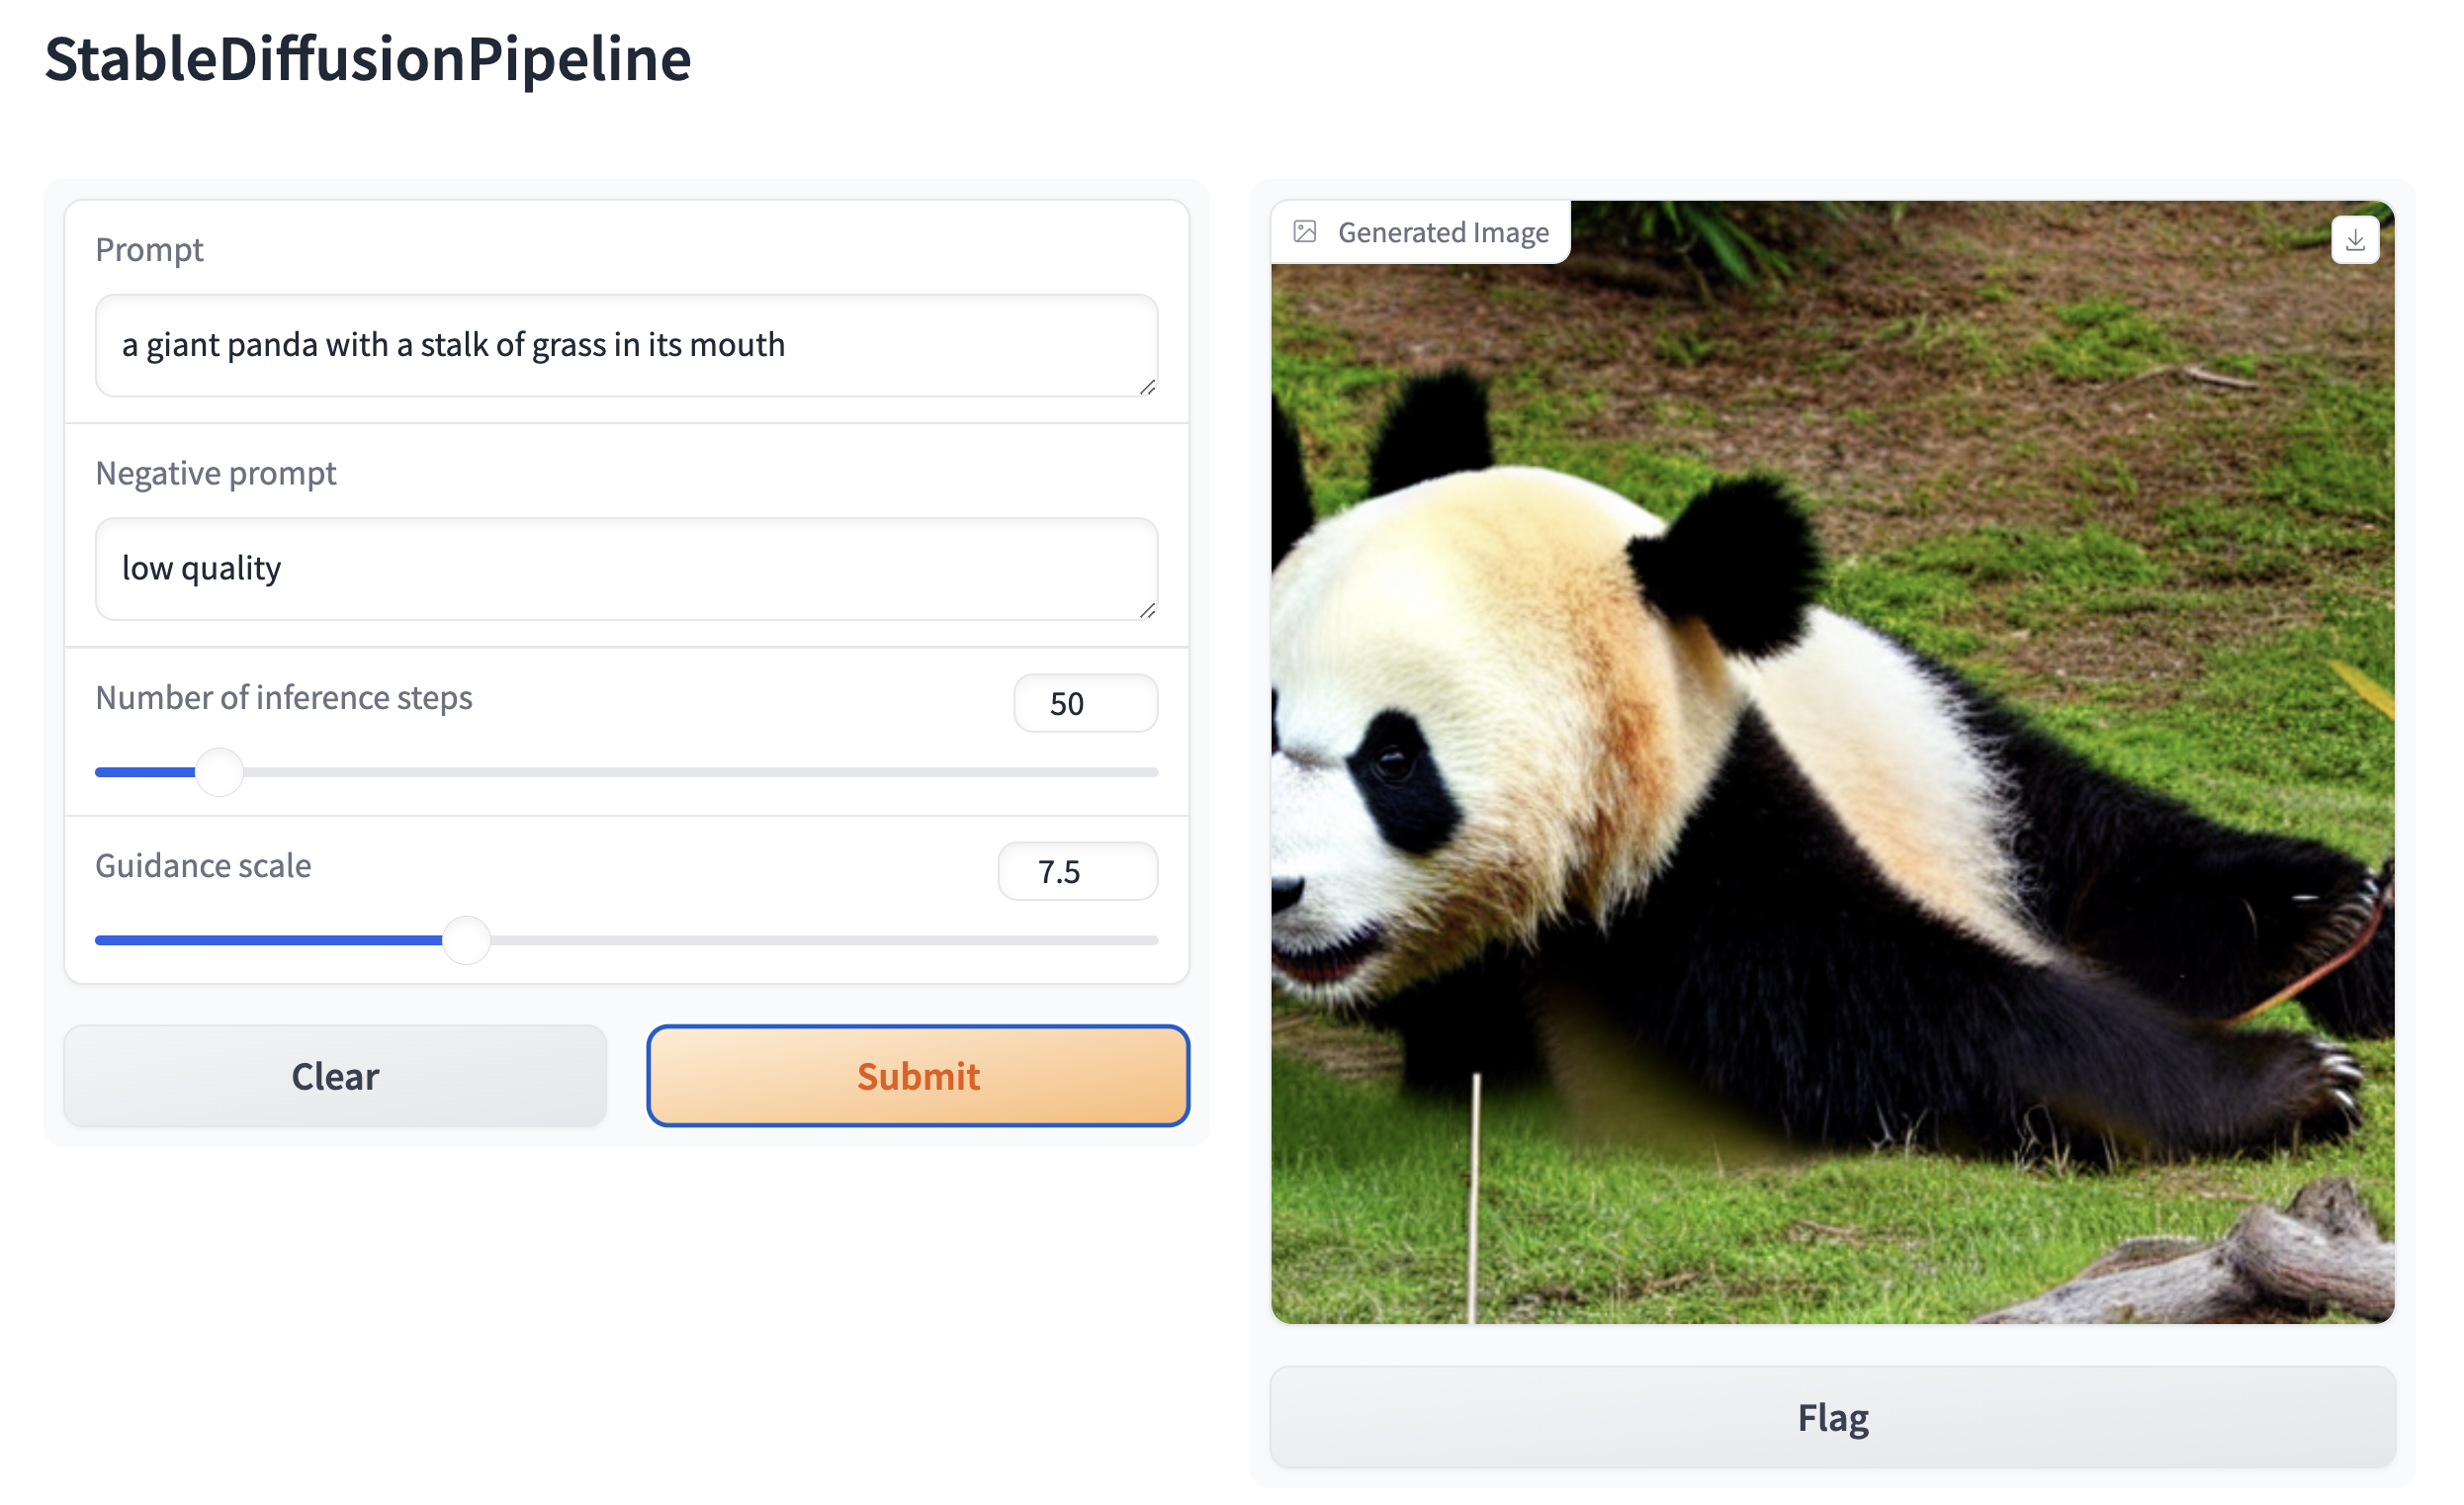
Then, create a web demo around any Stable Diffusion-based pipeline. For example, you can create an image generation pipeline in a single line of code with Gradio’s Interface.from_pipeline function:
from diffusers import StableDiffusionPipeline
import gradio as gr

pipe = StableDiffusionPipeline.from_pretrained("CompVis/stable-diffusion-v1-4")

gr.Interface.from_pipeline(pipe).launch()
which opens an intuitive drag-and-drop interface in your browser:
Similarly, you could create a demo for an image-to-image pipeline with:
from diffusers import StableDiffusionImg2ImgPipeline
import gradio as gr


pipe = StableDiffusionImg2ImgPipeline.from_pretrained("stable-diffusion-v1-5/stable-diffusion-v1-5")

gr.Interface.from_pipeline(pipe).launch()
By default, the web demo runs on a local server. If you’d like to share it with others, you can generate a temporary public
link by setting share=True in launch(). Or, you can host your demo on Hugging Face Spaceshttps://huggingface.co/spaces for a permanent link.