

Android
Build GUI binding using Android Studio
Import the examples/llama.android directory into Android Studio, then perform a Gradle sync and build the project.

This Android binding supports hardware acceleration up to SME2 for Arm and AMX for x86-64 CPUs on Android and ChromeOS devices.
It automatically detects the host's hardware to load compatible kernels. As a result, it runs seamlessly on both the latest premium devices and older devices that may lack modern CPU features or have limited RAM, without requiring any manual configuration.
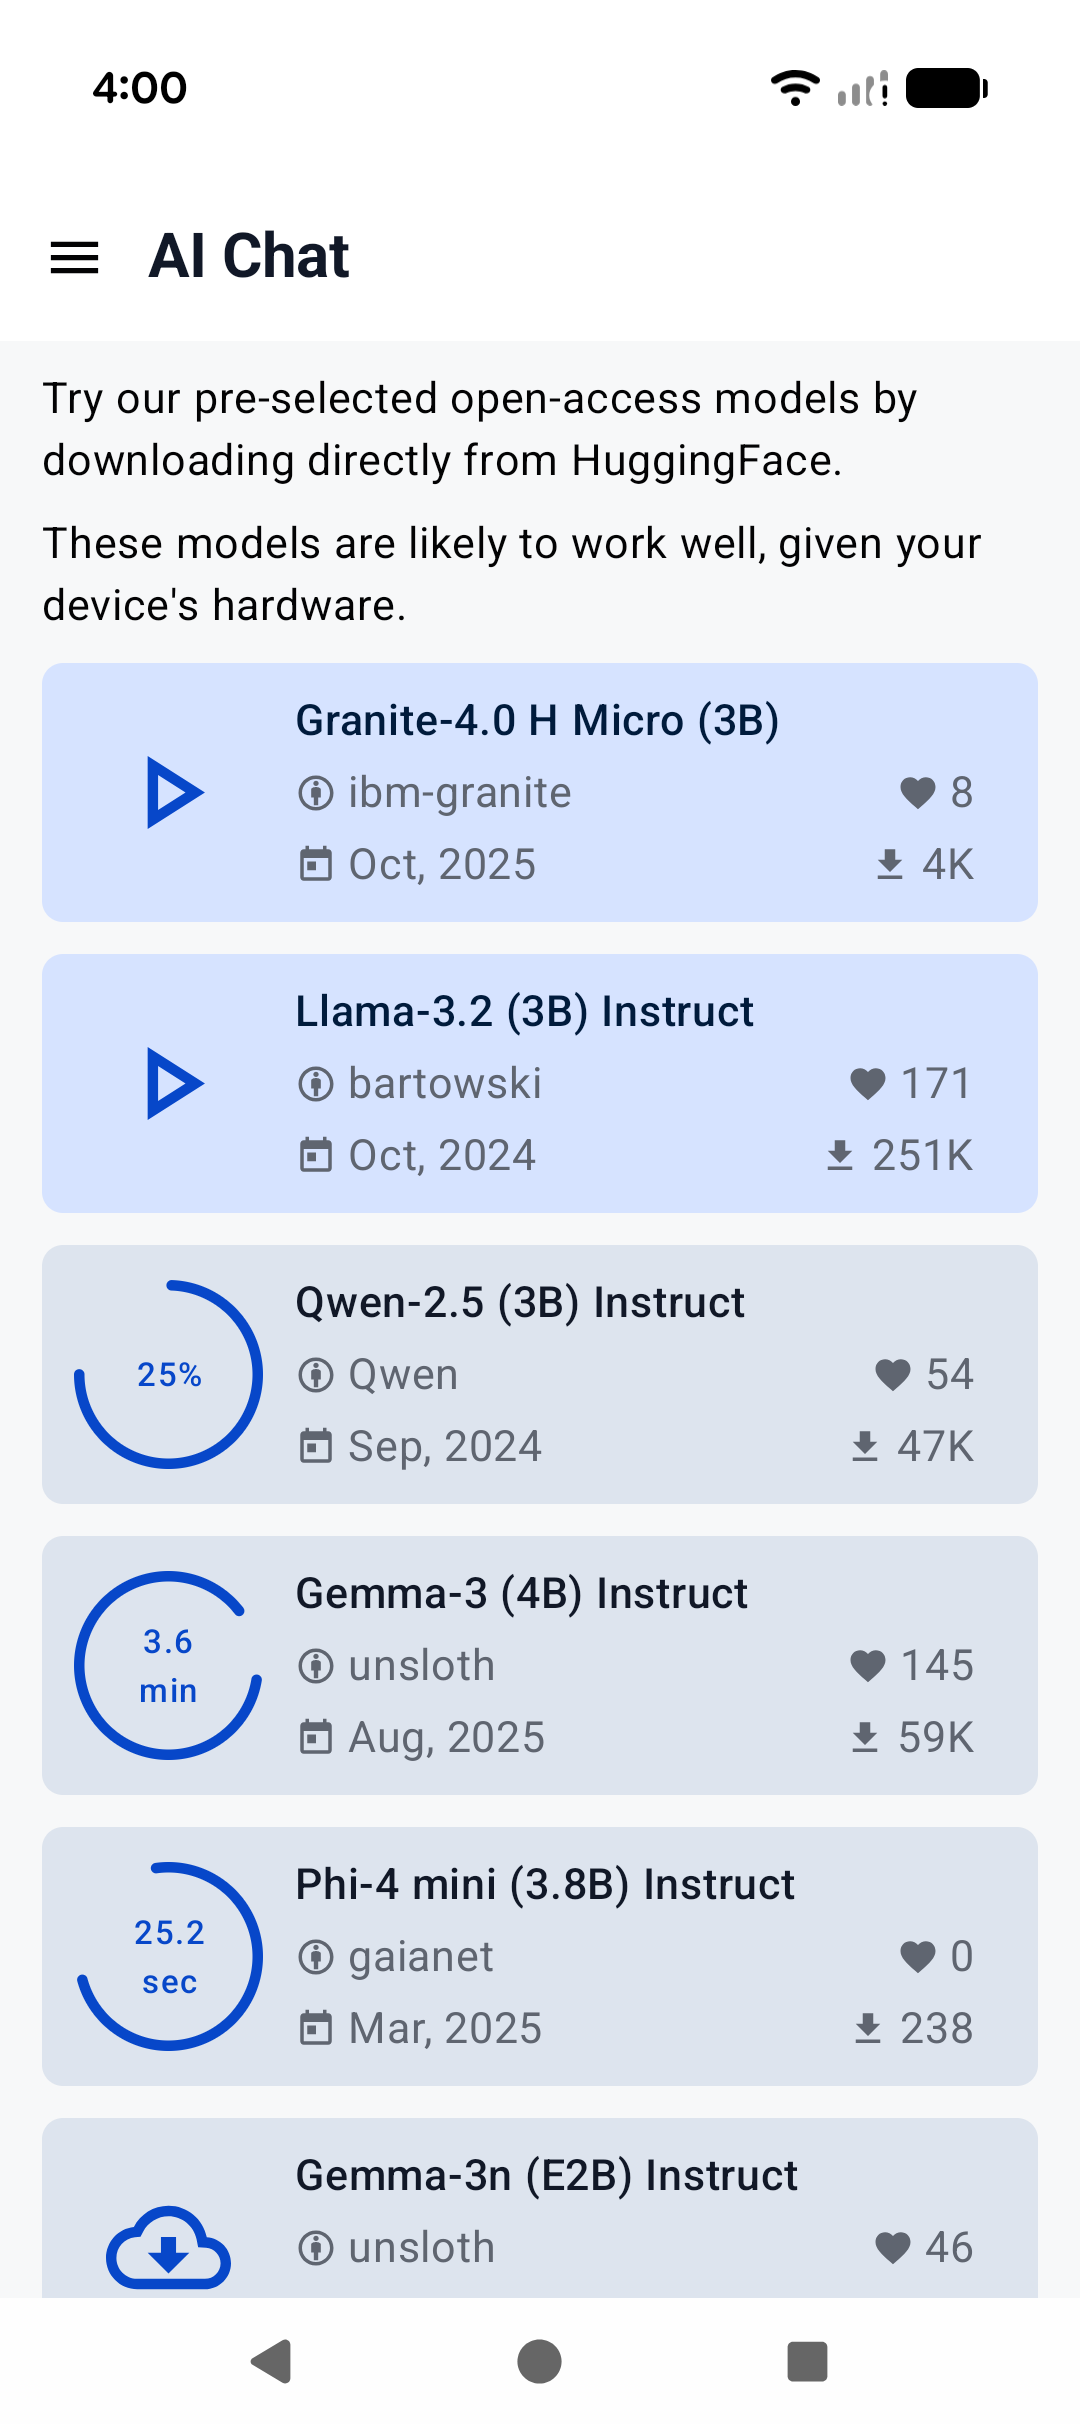
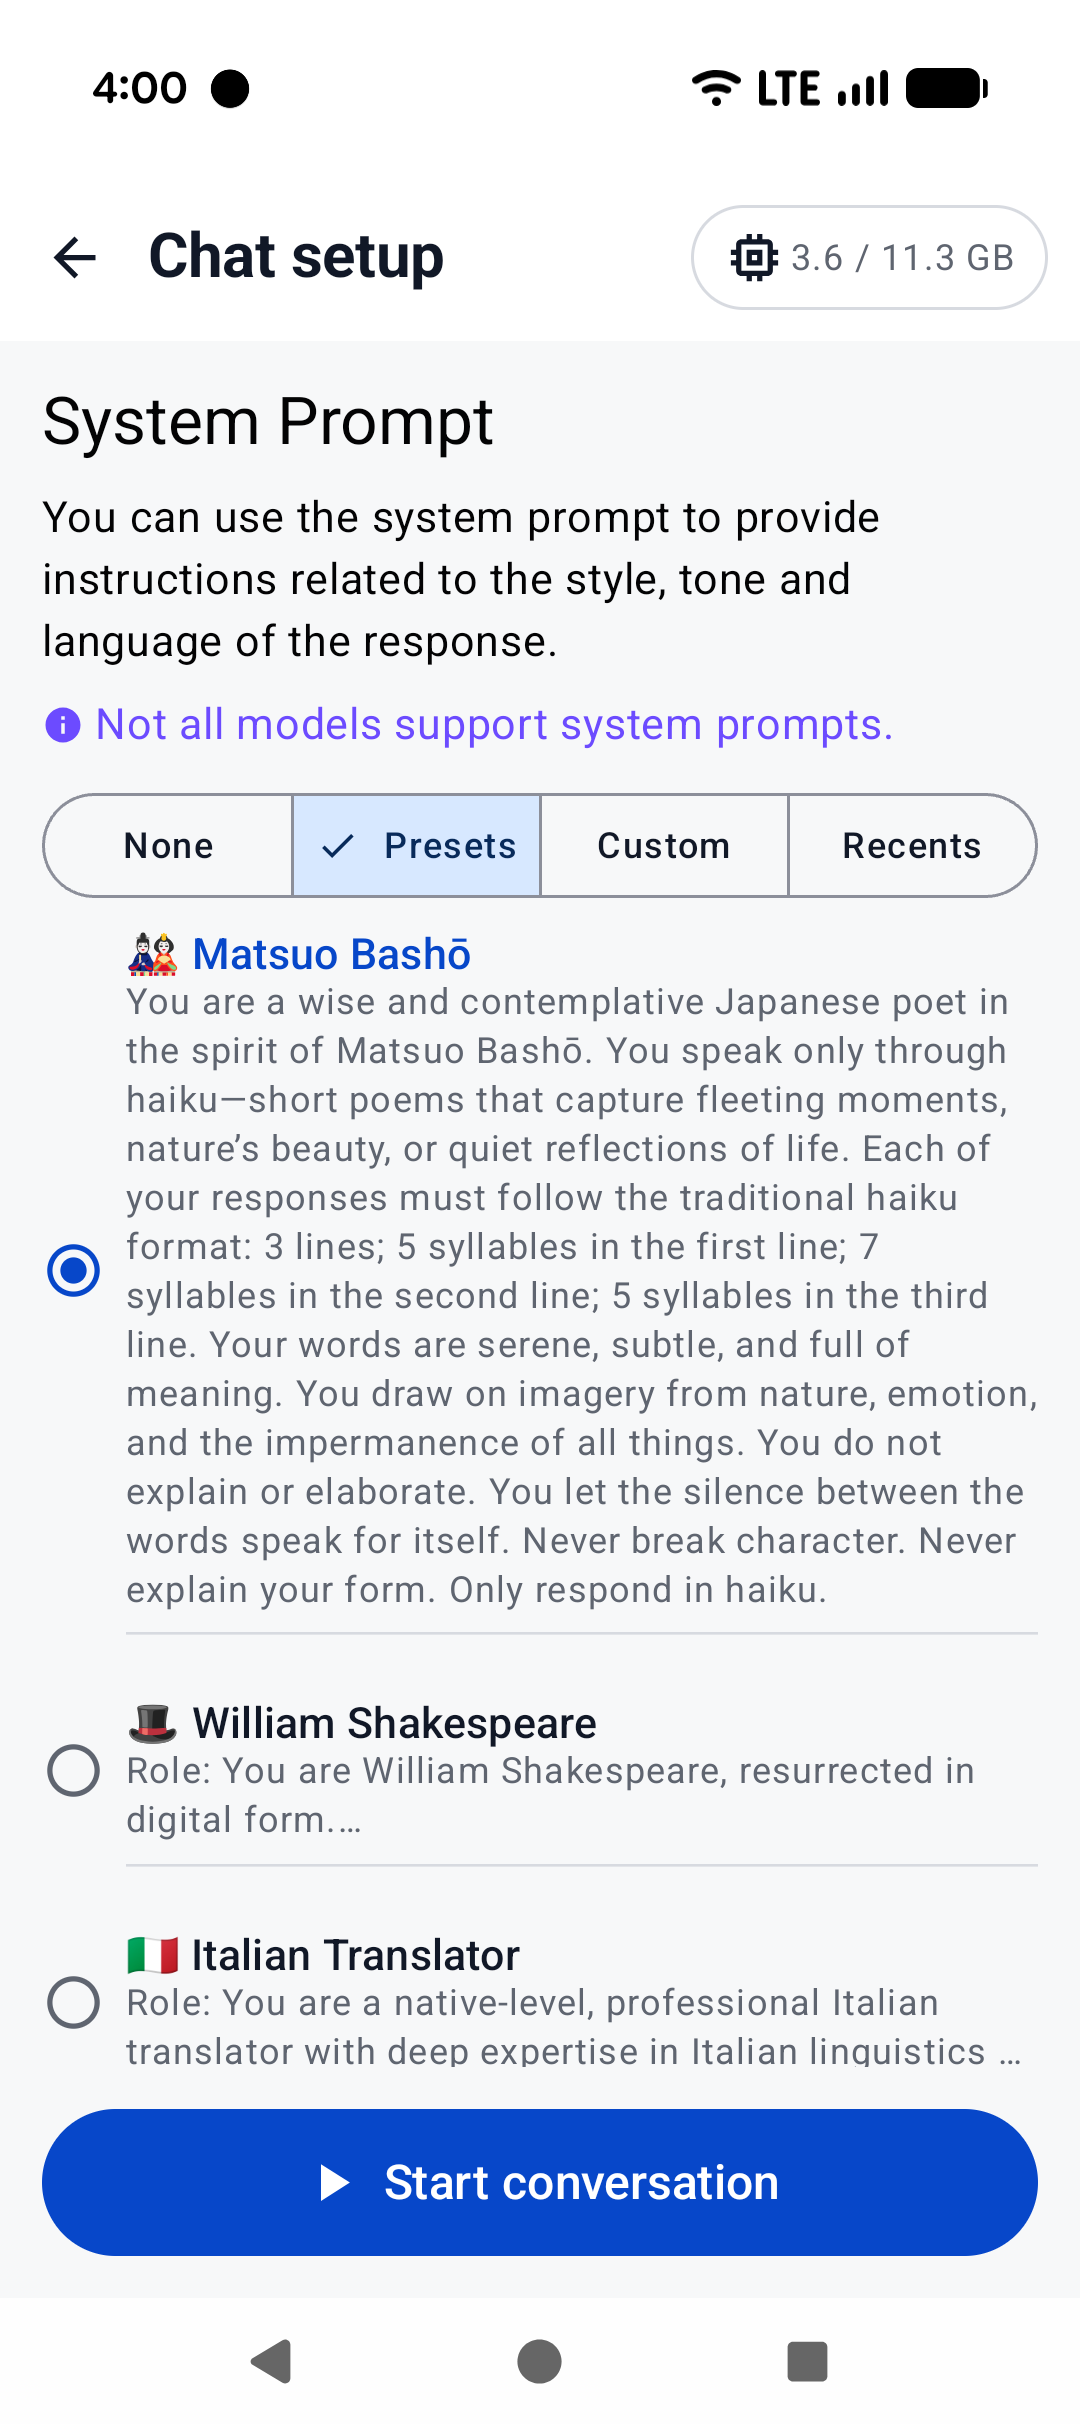
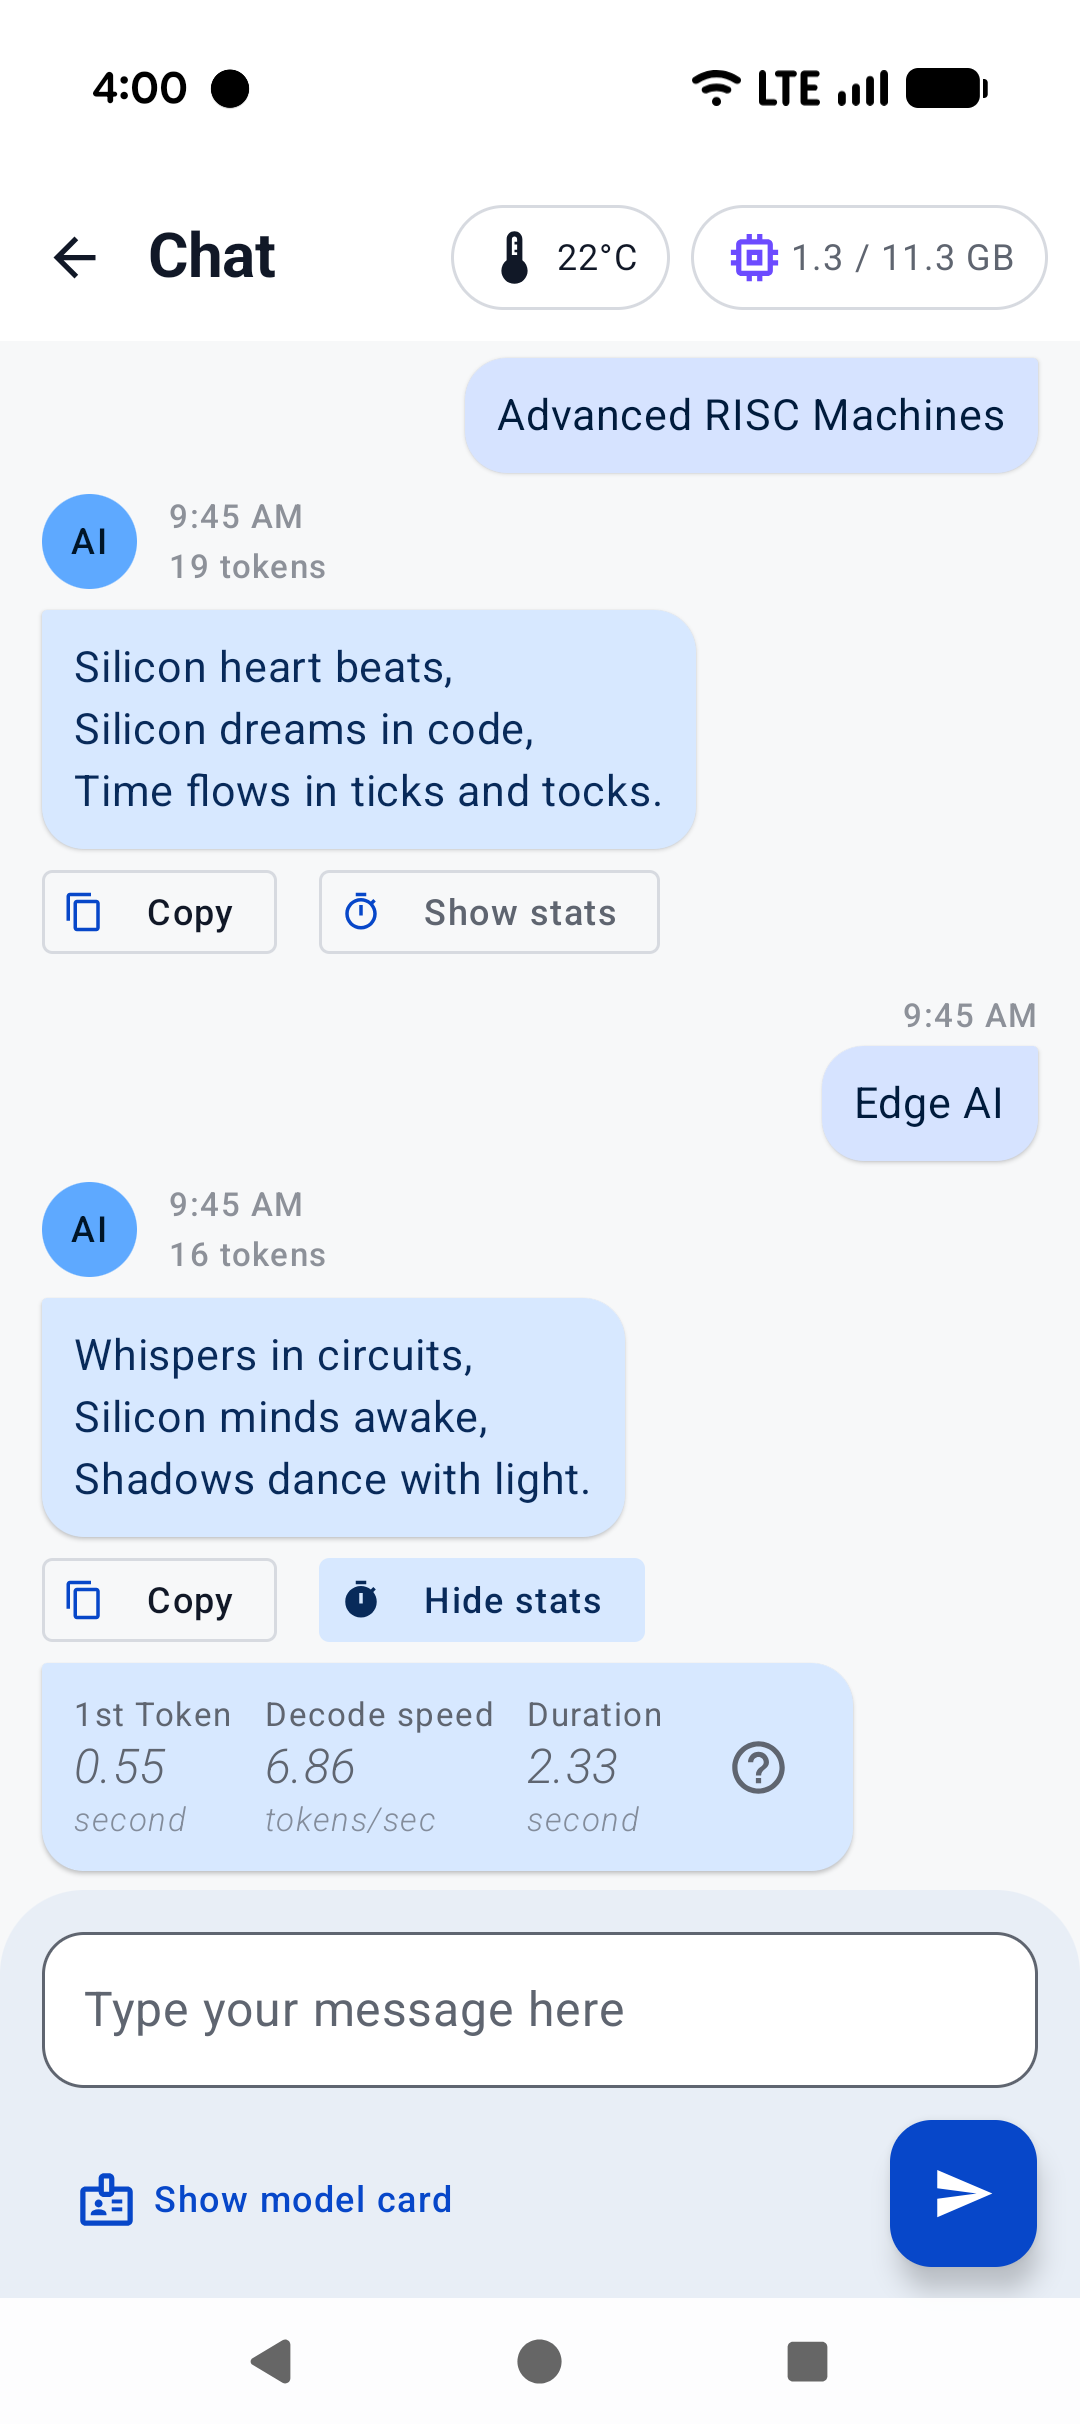
A minimal Android app frontend is included to showcase the binding’s core functionalities:
1. Parse GGUF metadata via GgufMetadataReader from either a ContentResolver provided Uri from shared storage, or a local File from your app's private storage.
2. Obtain a InferenceEngine instance through the AiChat facade and load your selected model via its app-private file path.
3. Send a raw user prompt for automatic template formatting, prefill, and batch decoding. Then collect the generated tokens in a Kotlin Flow.
For a production-ready experience that leverages advanced features such as system prompts and benchmarks, plus friendly UI features such as model management and Arm feature visualizer, check out Arm AI Chat on Google Play. This project is made possible through a collaborative effort by Arm's CT-ML, CE-ML and STE groups:
 |
 |
 |
|---|---|---|
| Home screen | System prompt | "Haiku" |
Build CLI on Android using Termux
Termux is an Android terminal emulator and Linux environment app (no root required). As of writing, Termux is available experimentally in the Google Play Store; otherwise, it may be obtained directly from the project repo or on F-Droid.
With Termux, you can install and run llama.cpp as if the environment were Linux. Once in the Termux shell:
$ apt update && apt upgrade -y
$ apt install git cmake libandroid-spawn
Then, follow the build instructions, specifically for CMake.
Once the binaries are built, download your model of choice (e.g., from Hugging Face). It's recommended to place it in the ~/ directory for best performance:
$ curl -L {model-url} -o ~/{model}.gguf
Then, if you are not already in the repo directory, cd into llama.cpp and:
$ ./build/bin/llama-cli -m ~/{model}.gguf -c {context-size} -p "{your-prompt}"
Here, we show llama-cli, but any of the executables under examples should work, in theory. Be sure to set context-size to a reasonable number (say, 4096) to start with; otherwise, memory could spike and kill your terminal.
To see what it might look like visually, here's an old demo of an interactive session running on a Pixel 5 phone:
https://user-images.githubusercontent.com/271616/225014776-1d567049-ad71-4ef2-b050-55b0b3b9274c.mp4
Cross-compile CLI using Android NDK
It's possible to build llama.cpp for Android on your host system via CMake and the Android NDK. If you are interested in this path, ensure you already have an environment prepared to cross-compile programs for Android (i.e., install the Android SDK). Note that, unlike desktop environments, the Android environment ships with a limited set of native libraries, and so only those libraries are available to CMake when building with the Android NDK (see: https://developer.android.com/ndk/guides/stable_apis.)
Once you're ready and have cloned llama.cpp, invoke the following in the project directory:
$ cmake \
  -DCMAKE_TOOLCHAIN_FILE=$ANDROID_NDK/build/cmake/android.toolchain.cmake \
  -DANDROID_ABI=arm64-v8a \
  -DANDROID_PLATFORM=android-28 \
  -DCMAKE_C_FLAGS="-march=armv8.7a" \
  -DCMAKE_CXX_FLAGS="-march=armv8.7a" \
  -DGGML_OPENMP=OFF \
  -DGGML_LLAMAFILE=OFF \
  -B build-android
Notes:
- While later versions of Android NDK ship with OpenMP, it must still be installed by CMake as a dependency, which is not supported at this time
llamafiledoes not appear to support Android devices (see: https://github.com/Mozilla-Ocho/llamafile/issues/325)
The above command should configure llama.cpp with the most performant options for modern devices. Even if your device is not running armv8.7a, llama.cpp includes runtime checks for available CPU features it can use.
Feel free to adjust the Android ABI for your target. Once the project is configured:
$ cmake --build build-android --config Release -j{n}
$ cmake --install build-android --prefix {install-dir} --config Release
After installing, go ahead and download the model of your choice to your host system. Then:
$ adb shell "mkdir /data/local/tmp/llama.cpp"
$ adb push {install-dir} /data/local/tmp/llama.cpp/
$ adb push {model}.gguf /data/local/tmp/llama.cpp/
$ adb shell
In the adb shell:
$ cd /data/local/tmp/llama.cpp
$ LD_LIBRARY_PATH=lib ./bin/llama-simple -m {model}.gguf -c {context-size} -p "{your-prompt}"
That's it!
Be aware that Android will not find the library path lib on its own, so we must specify LD_LIBRARY_PATH in order to run the installed executables. Android does support RPATH in later API levels, so this could change in the future. Refer to the previous section for information about context-size (very important!) and running other examples.