Hub documentation
Using GPU Spaces
Using GPU Spaces
You can upgrade your Space to use a GPU accelerator using the Settings button in the top navigation bar of the Space. You can even request a free upgrade if you are building a cool demo for a side project!
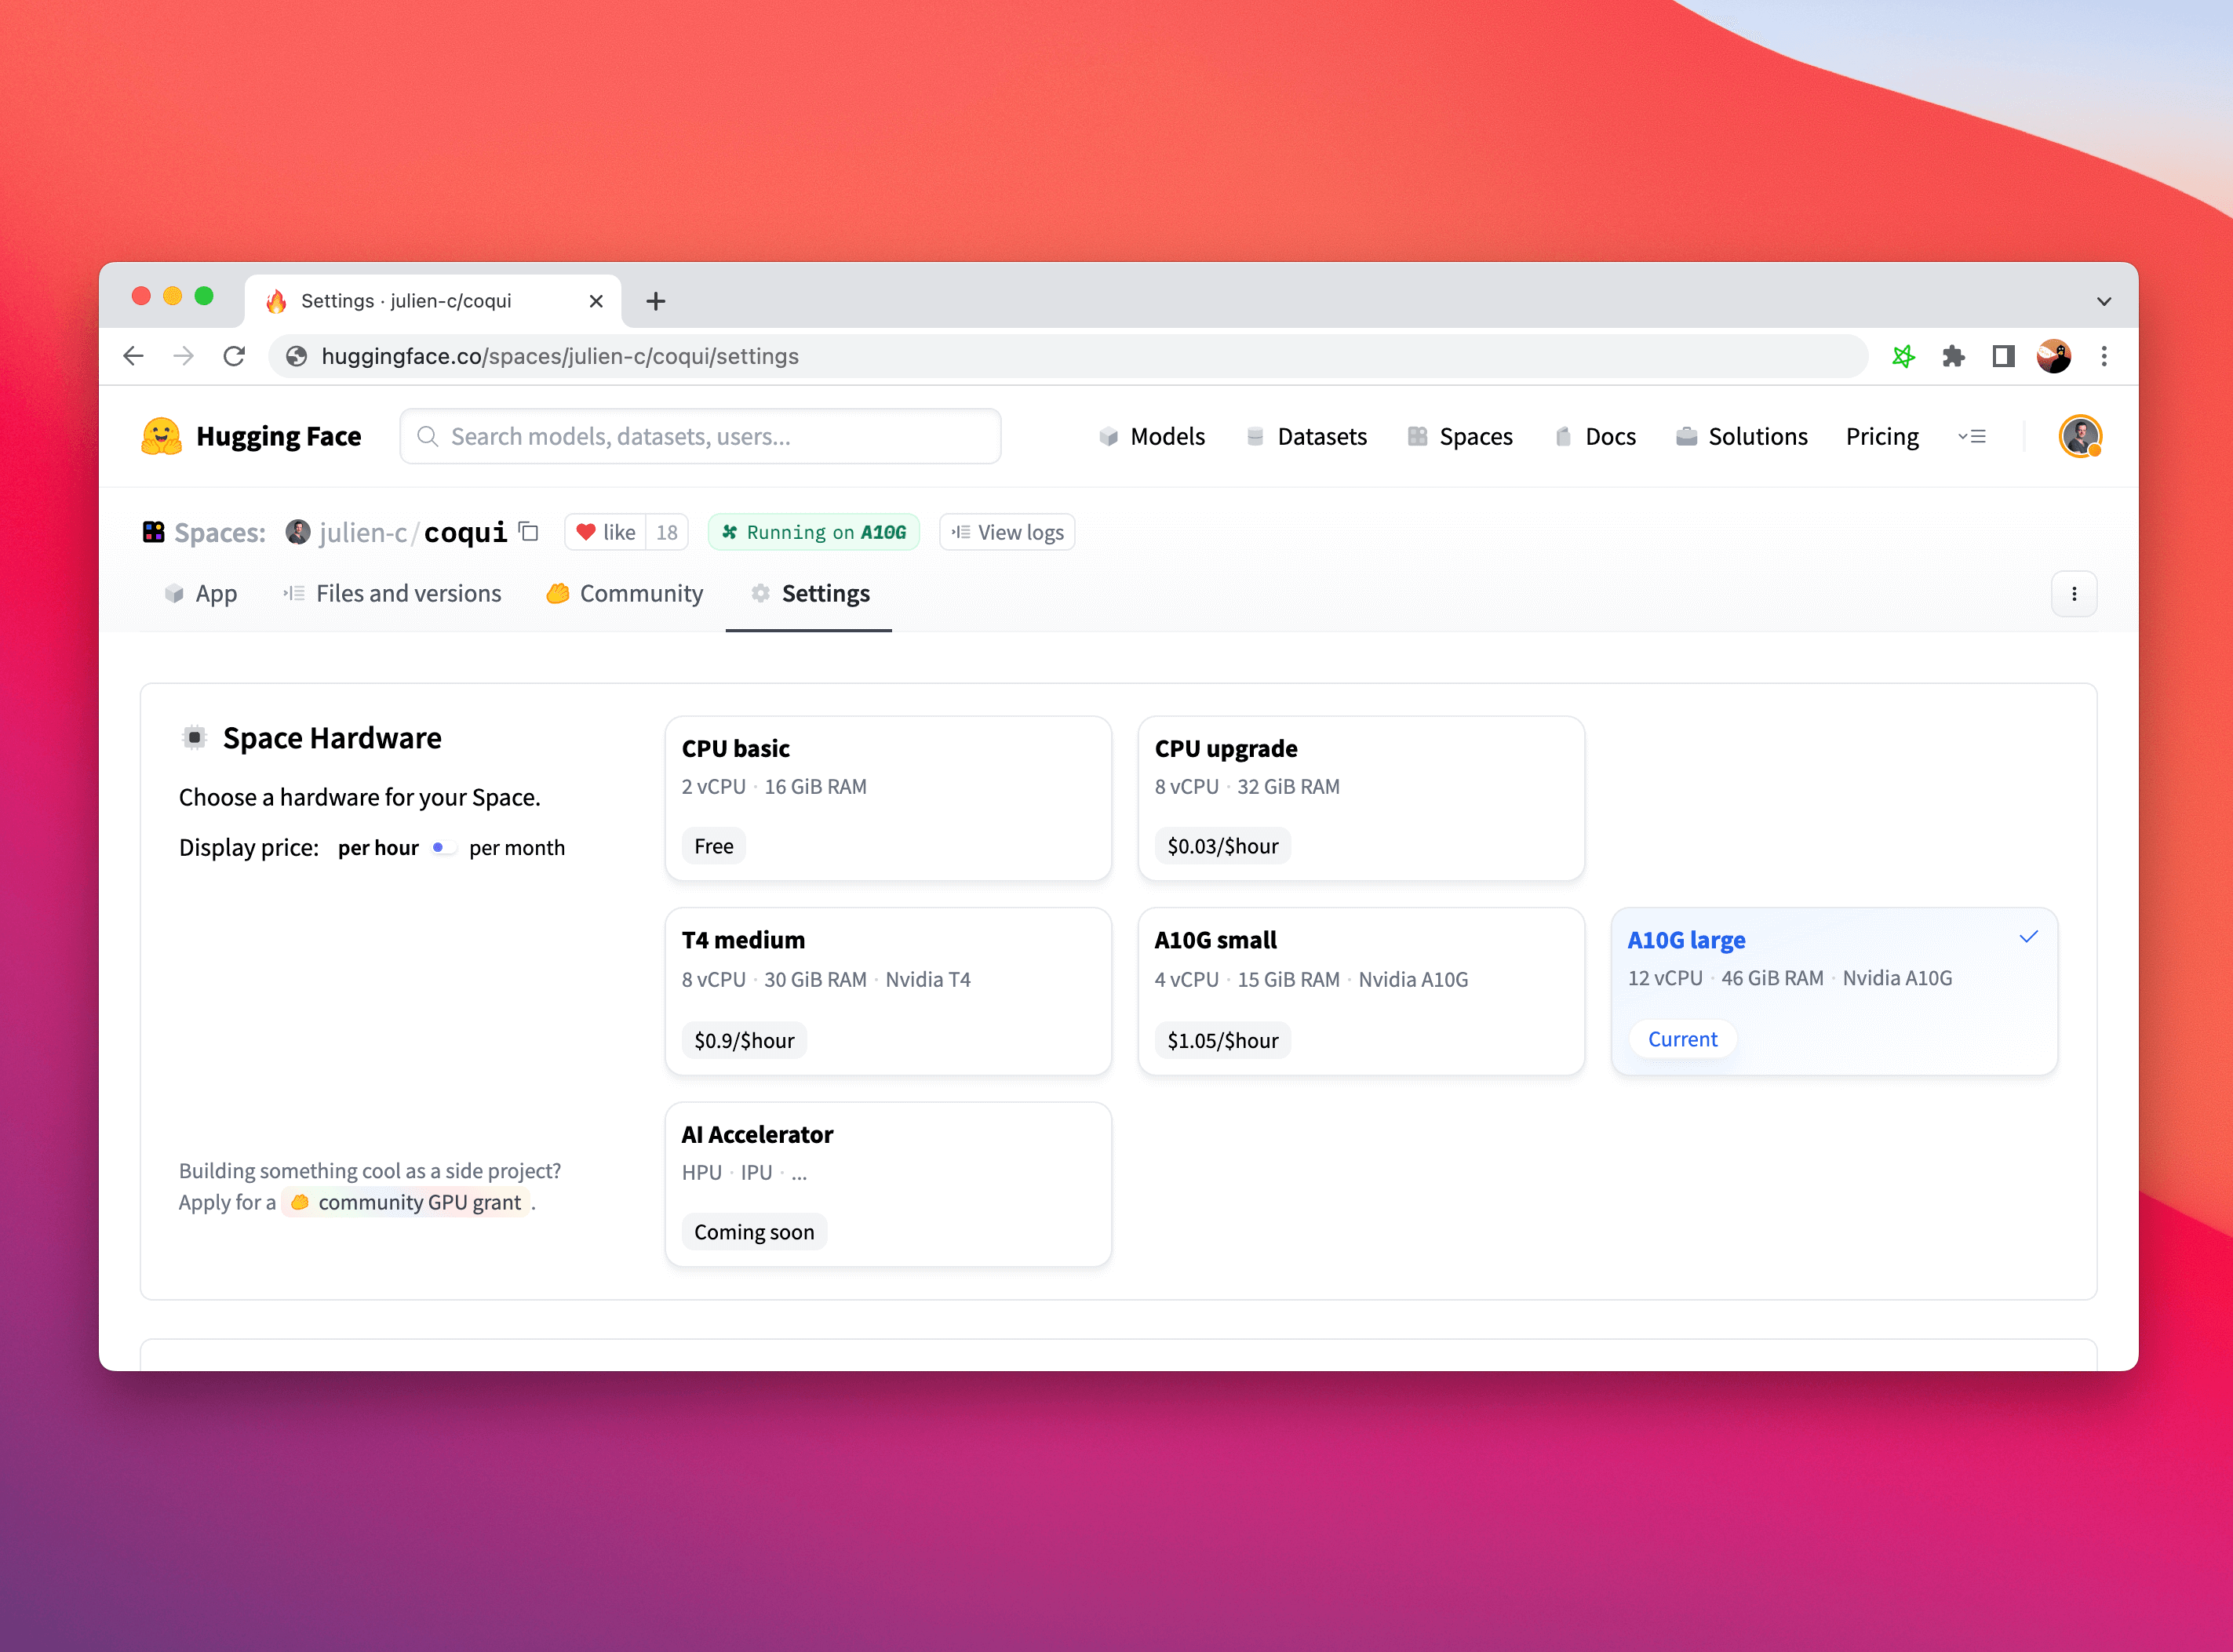

As soon as your Space is running on GPU you can see which hardware it’s running on directly from this badge:
Hardware Specs
In the following tables, you can see the Specs for the different upgrade options.
CPU
| Hardware | CPU | Memory | GPU Memory | Disk | Hourly Price |
|---|---|---|---|---|---|
| CPU Basic | 2 vCPU | 16 GB | - | 50 GB | Free! |
| CPU Upgrade | 8 vCPU | 32 GB | - | 50 GB | $0.03 |
GPU
| Hardware | CPU | Memory | GPU Memory | Disk | Hourly Price |
|---|---|---|---|---|---|
| Nvidia T4 - small | 4 vCPU | 15 GB | 16 GB | 50 GB | $0.40 |
| Nvidia T4 - medium | 8 vCPU | 30 GB | 16 GB | 100 GB | $0.60 |
| Nvidia A10G - small | 4 vCPU | 15 GB | 24 GB | 110 GB | $1.00 |
| Nvidia A10G - large | 12 vCPU | 46 GB | 24 GB | 200 GB | $1.50 |
| 2x Nvidia A10G - large | 24 vCPU | 92 GB | 48 GB | 1000 GB | $3.00 |
| 4x Nvidia A10G - large | 48 vCPU | 184 GB | 96 GB | 2000 GB | $5.00 |
| Nvidia A100 - large | 12 vCPU | 142 GB | 80 GB | 1000 GB | $4.00 |
| 1x Nvidia L40S | 8 vCPU | 62 GB | 48 GB | 380 GB | $1.80 |
| 4x Nvidia L40S | 48 vCPU | 48 GB | 192 GB | 3200 GB | $8.30 |
| 8x Nvidia L40S | 192 vCPU | 1534 GB | 384 GB | 6500 GB | $23.50 |
| Nvidia H100 | 24 vCPU | 250 GB | 80 GB | 3000 GB | $10.00 |
| 8x Nvidia H100 | 192 vCPU | 2 TB | 640 GB | 3000 GB | coming soon |
TPU
| Hardware | Accelerators | Accelerator Memory | RAM | Hourly Price |
|---|---|---|---|---|
| Google TPU v5e - 1x1 | 1 | 16 GB | 44 GB | $1.20 |
| Google TPU v5e - 2x2 | 4 | 64 GB | 186 GB | $4.75 |
| Google TPU v5e - 2x4 | 8 | 128 GB | 380 GB | $9.50 |
Configure hardware programmatically
You can programmatically configure your Space hardware using huggingface_hub. This allows for a wide range of use cases where you need to dynamically assign GPUs.
Check out this guide for more details.
Framework specific requirements
Most Spaces should run out of the box after a GPU upgrade, but sometimes you’ll need to install CUDA versions of the machine learning frameworks you use. Please, follow this guide to ensure your Space takes advantage of the improved hardware.
PyTorch
You’ll need to install a version of PyTorch compatible with the built-in CUDA drivers. Adding the following two lines to your requirements.txt file should work:
--extra-index-url https://download.pytorch.org/whl/cu113
torch
You can verify whether the installation was successful by running the following code in your app.py and checking the output in your Space logs:
import torch
print(f"Is CUDA available: {torch.cuda.is_available()}")
# True
print(f"CUDA device: {torch.cuda.get_device_name(torch.cuda.current_device())}")
# Tesla T4
Many frameworks automatically use the GPU if one is available. This is the case for the Pipelines in 🤗 transformers, fastai and many others. In other cases, or if you use PyTorch directly, you may need to move your models and data to the GPU to ensure computation is done on the accelerator and not on the CPU. You can use PyTorch’s .to() syntax, for example:
model = load_pytorch_model()
model = model.to("cuda")
JAX
If you use JAX, you need to specify the URL that contains CUDA compatible packages. Please, add the following lines to your requirements.txt file:
-f https://storage.googleapis.com/jax-releases/jax_cuda_releases.html
jax[cuda11_pip]
jaxlib
After that, you can verify the installation by printing the output from the following code and checking it in your Space logs.
import jax

print(f"JAX devices: {jax.devices()}")
# JAX devices: [StreamExecutorGpuDevice(id=0, process_index=0)]
print(f"JAX device type: {jax.devices()[0].device_kind}")
# JAX device type: Tesla T4
Tensorflow
The default tensorflow installation should recognize the CUDA device. Just add tensorflow to your requirements.txt file and use the following code in your app.py to verify in your Space logs.
import tensorflow as tf
print(tf.config.list_physical_devices('GPU'))
# [PhysicalDevice(name='/physical_device:GPU:0', device_type='GPU')]
Billing
Billing on Spaces is based on hardware usage and is computed by the minute: you get charged for every minute the Space runs on the requested hardware, regardless of whether the Space is used.
During a Space’s lifecycle, it is only billed when the Space is actually Running. This means that there is no cost during build or startup.
If a running Space starts to fail, it will be automatically suspended and the billing will stop.
Spaces running on free hardware are suspended automatically if they are not used for an extended period of time (e.g. two days). Upgraded Spaces run indefinitely by default, even if there is no usage. You can change this behavior by setting a custom “sleep time” in the Space’s settings. To interrupt the billing on your Space, you can change the Hardware to CPU basic, or pause it.
Additional information about billing can be found in the dedicated Hub-wide section.
Community GPU Grants
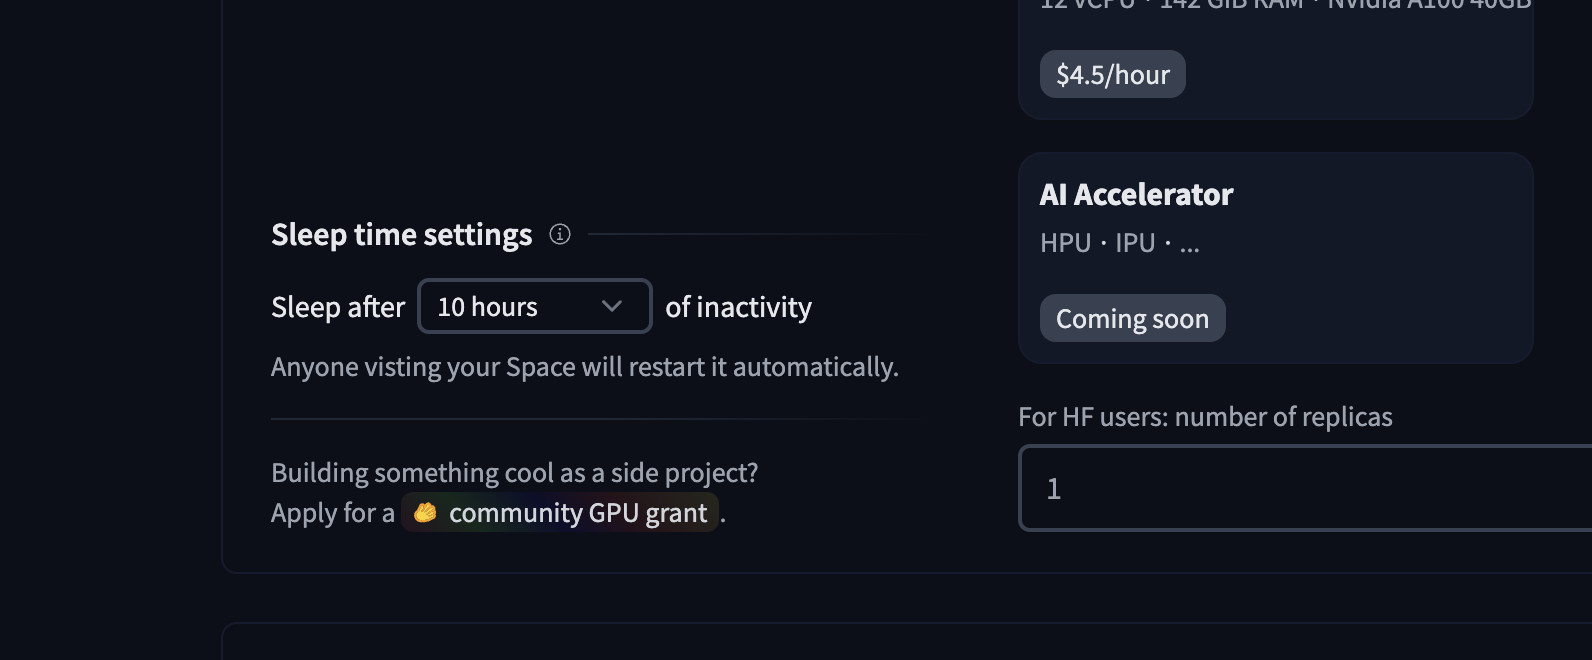
Do you have an awesome Space but need help covering the GPU hardware upgrade costs? We love helping out those with an innovative Space so please feel free to apply for a community GPU grant and see if yours makes the cut! This application can be found in your Space hardware repo settings in the lower left corner under “sleep time settings”:

Set a custom sleep time
If your Space runs on the default cpu-basic hardware, it will go to sleep if inactive for more than a set time (currently, 48 hours). Anyone visiting your Space will restart it automatically.
If you want your Space never to deactivate or if you want to set a custom sleep time, you need to upgrade to paid hardware.
By default, an upgraded Space will never go to sleep. However, you can use this setting for your upgraded Space to become idle (stopped stage) when it’s unused 😴. You are not going to be charged for the upgraded hardware while it is asleep. The Space will ‘wake up’ or get restarted once it receives a new visitor.
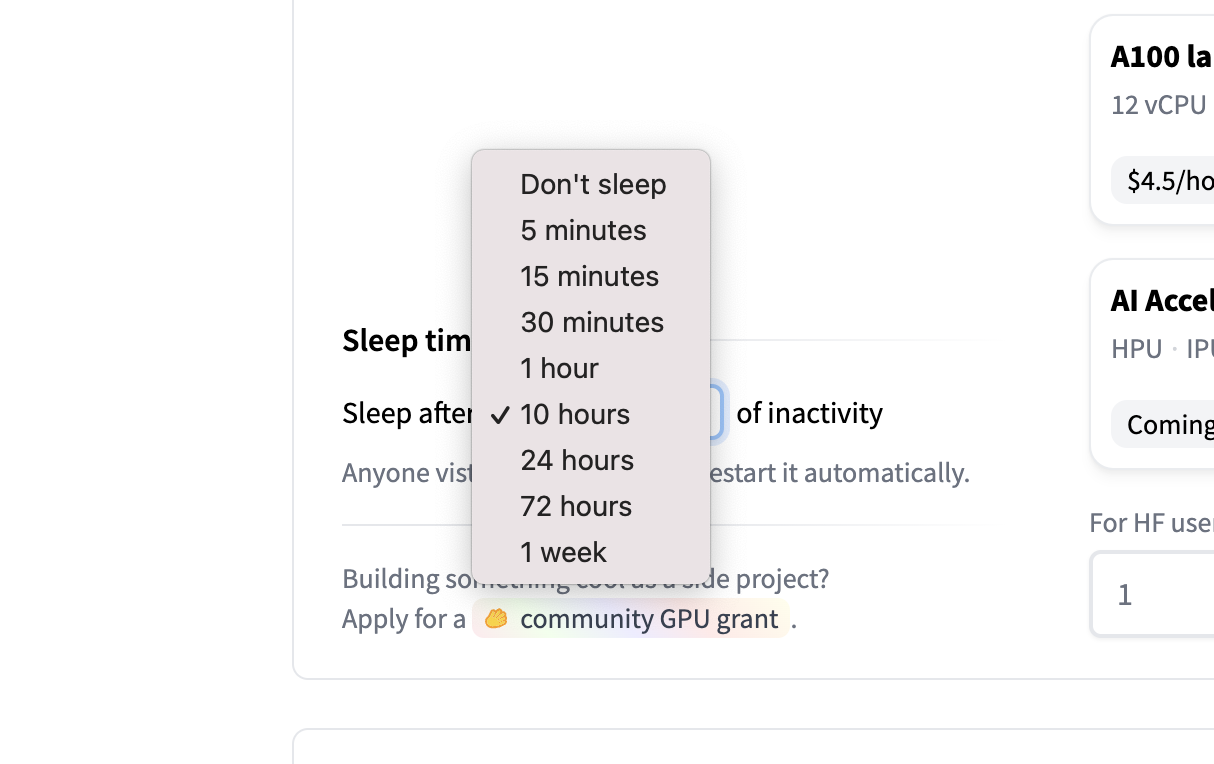
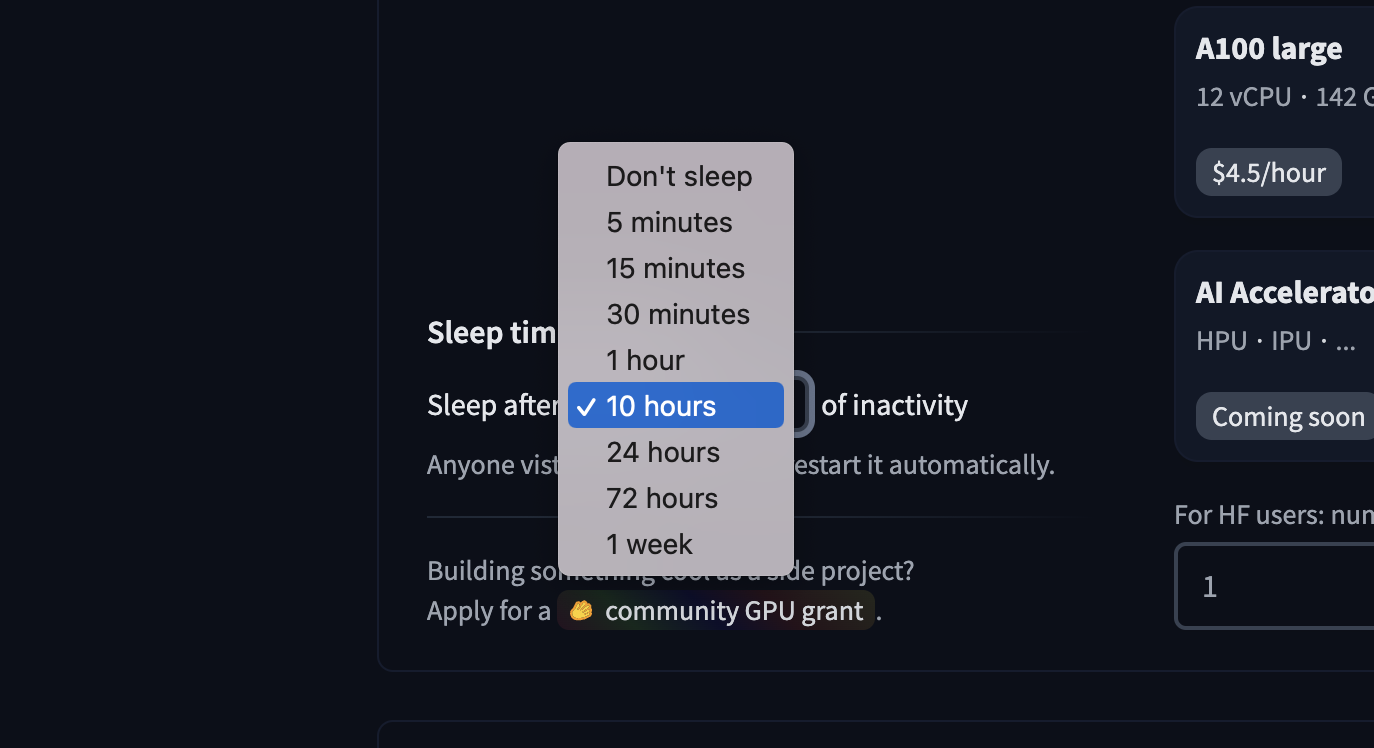
The following interface will then be available in your Spaces hardware settings:

The following options are available:
Pausing a Space
You can pause a Space from the repo settings. A “paused” Space means that the Space is on hold and will not use resources until manually restarted, and only the owner of a paused Space can restart it. Paused time is not billed.