Audio Course documentation
Creating a voice assistant
Creating a voice assistant
In this section, we’ll piece together three models that we’ve already had hands-on experience with to build an end-to-end voice assistant called Marvin 🤖. Like Amazon’s Alexa or Apple’s Siri, Marvin is a virtual voice assistant who responds to a particular ‘wake word’, then listens out for a spoken query, and finally responds with a spoken answer.
We can break down the voice assistant pipeline into four stages, each of which requires a standalone model:

1. Wake word detection
Voice assistants are constantly listening to the audio inputs coming through your device’s microphone, however they only boot into action when a particular ‘wake word’ or ‘trigger word’ is spoken.
The wake word detection task is handled by a small on-device audio classification model, which is much smaller and lighter than the speech recognition model, often only several millions of parameters compared to several hundred millions for speech recognition. Thus, it can be run continuously on your device without draining your battery. Only when the wake word is detected is the larger speech recognition model launched, and afterwards it is shut down again.
2. Speech transcription
The next stage in the pipeline is transcribing the spoken query to text. In practice, transferring audio files from your local device to the Cloud is slow due to the large nature of audio files, so it’s more efficient to transcribe them directly using an automatic speech recognition (ASR) model on-device rather than using a model in the Cloud. The on-device model might be smaller and thus less accurate than one hosted in the Cloud, but the faster inference speed makes it worthwhile since we can run speech recognition in near real-time, our spoken audio utterance being transcribed as we say it.
We’re very familiar with the speech recognition process now, so this should be a piece of cake!
3. Language model query
Now that we know what the user asked, we need to generate a response! The best candidate models for this task are large language models (LLMs), since they are effectively able to understand the semantics of the text query and generate a suitable response.
Since our text query is small (just a few text tokens), and language models large (many billions of parameters), the most efficient way of running LLM inference is to send our text query from our device to an LLM running in the Cloud, generate a text response, and return the response back to the device.
4. Synthesise speech
Finally, we’ll use a text-to-speech (TTS) model to synthesise the text response as spoken speech. This is done on-device, but you could feasibly run a TTS model in the Cloud, generating the audio output and transferring it back to the device.
Again, we’ve done this several times now, so the process will be very familiar!
Wake word detection
The first stage in the voice assistant pipeline is detecting whether the wake word was spoken, and we need to find ourselves
an appropriate pre-trained model for this task! You’ll remember from the section on pre-trained models for audio classification
that Speech Commands is a dataset of spoken words designed to
evaluate audio classification models on 15+ simple command words like "up", "down", "yes" and "no", as well as a
"silence" label to classify no speech. Take a minute to listen through the samples on the datasets viewer on
the Hub and re-acquaint yourself with the Speech Commands dataset: datasets viewer.
We can take an audio classification model pre-trained on the Speech Commands dataset and pick one of these simple command words to be our chosen wake word. Out of the 15+ possible command words, if the model predicts our chosen wake word with the highest probability, we can be fairly certain that the wake word has been said.
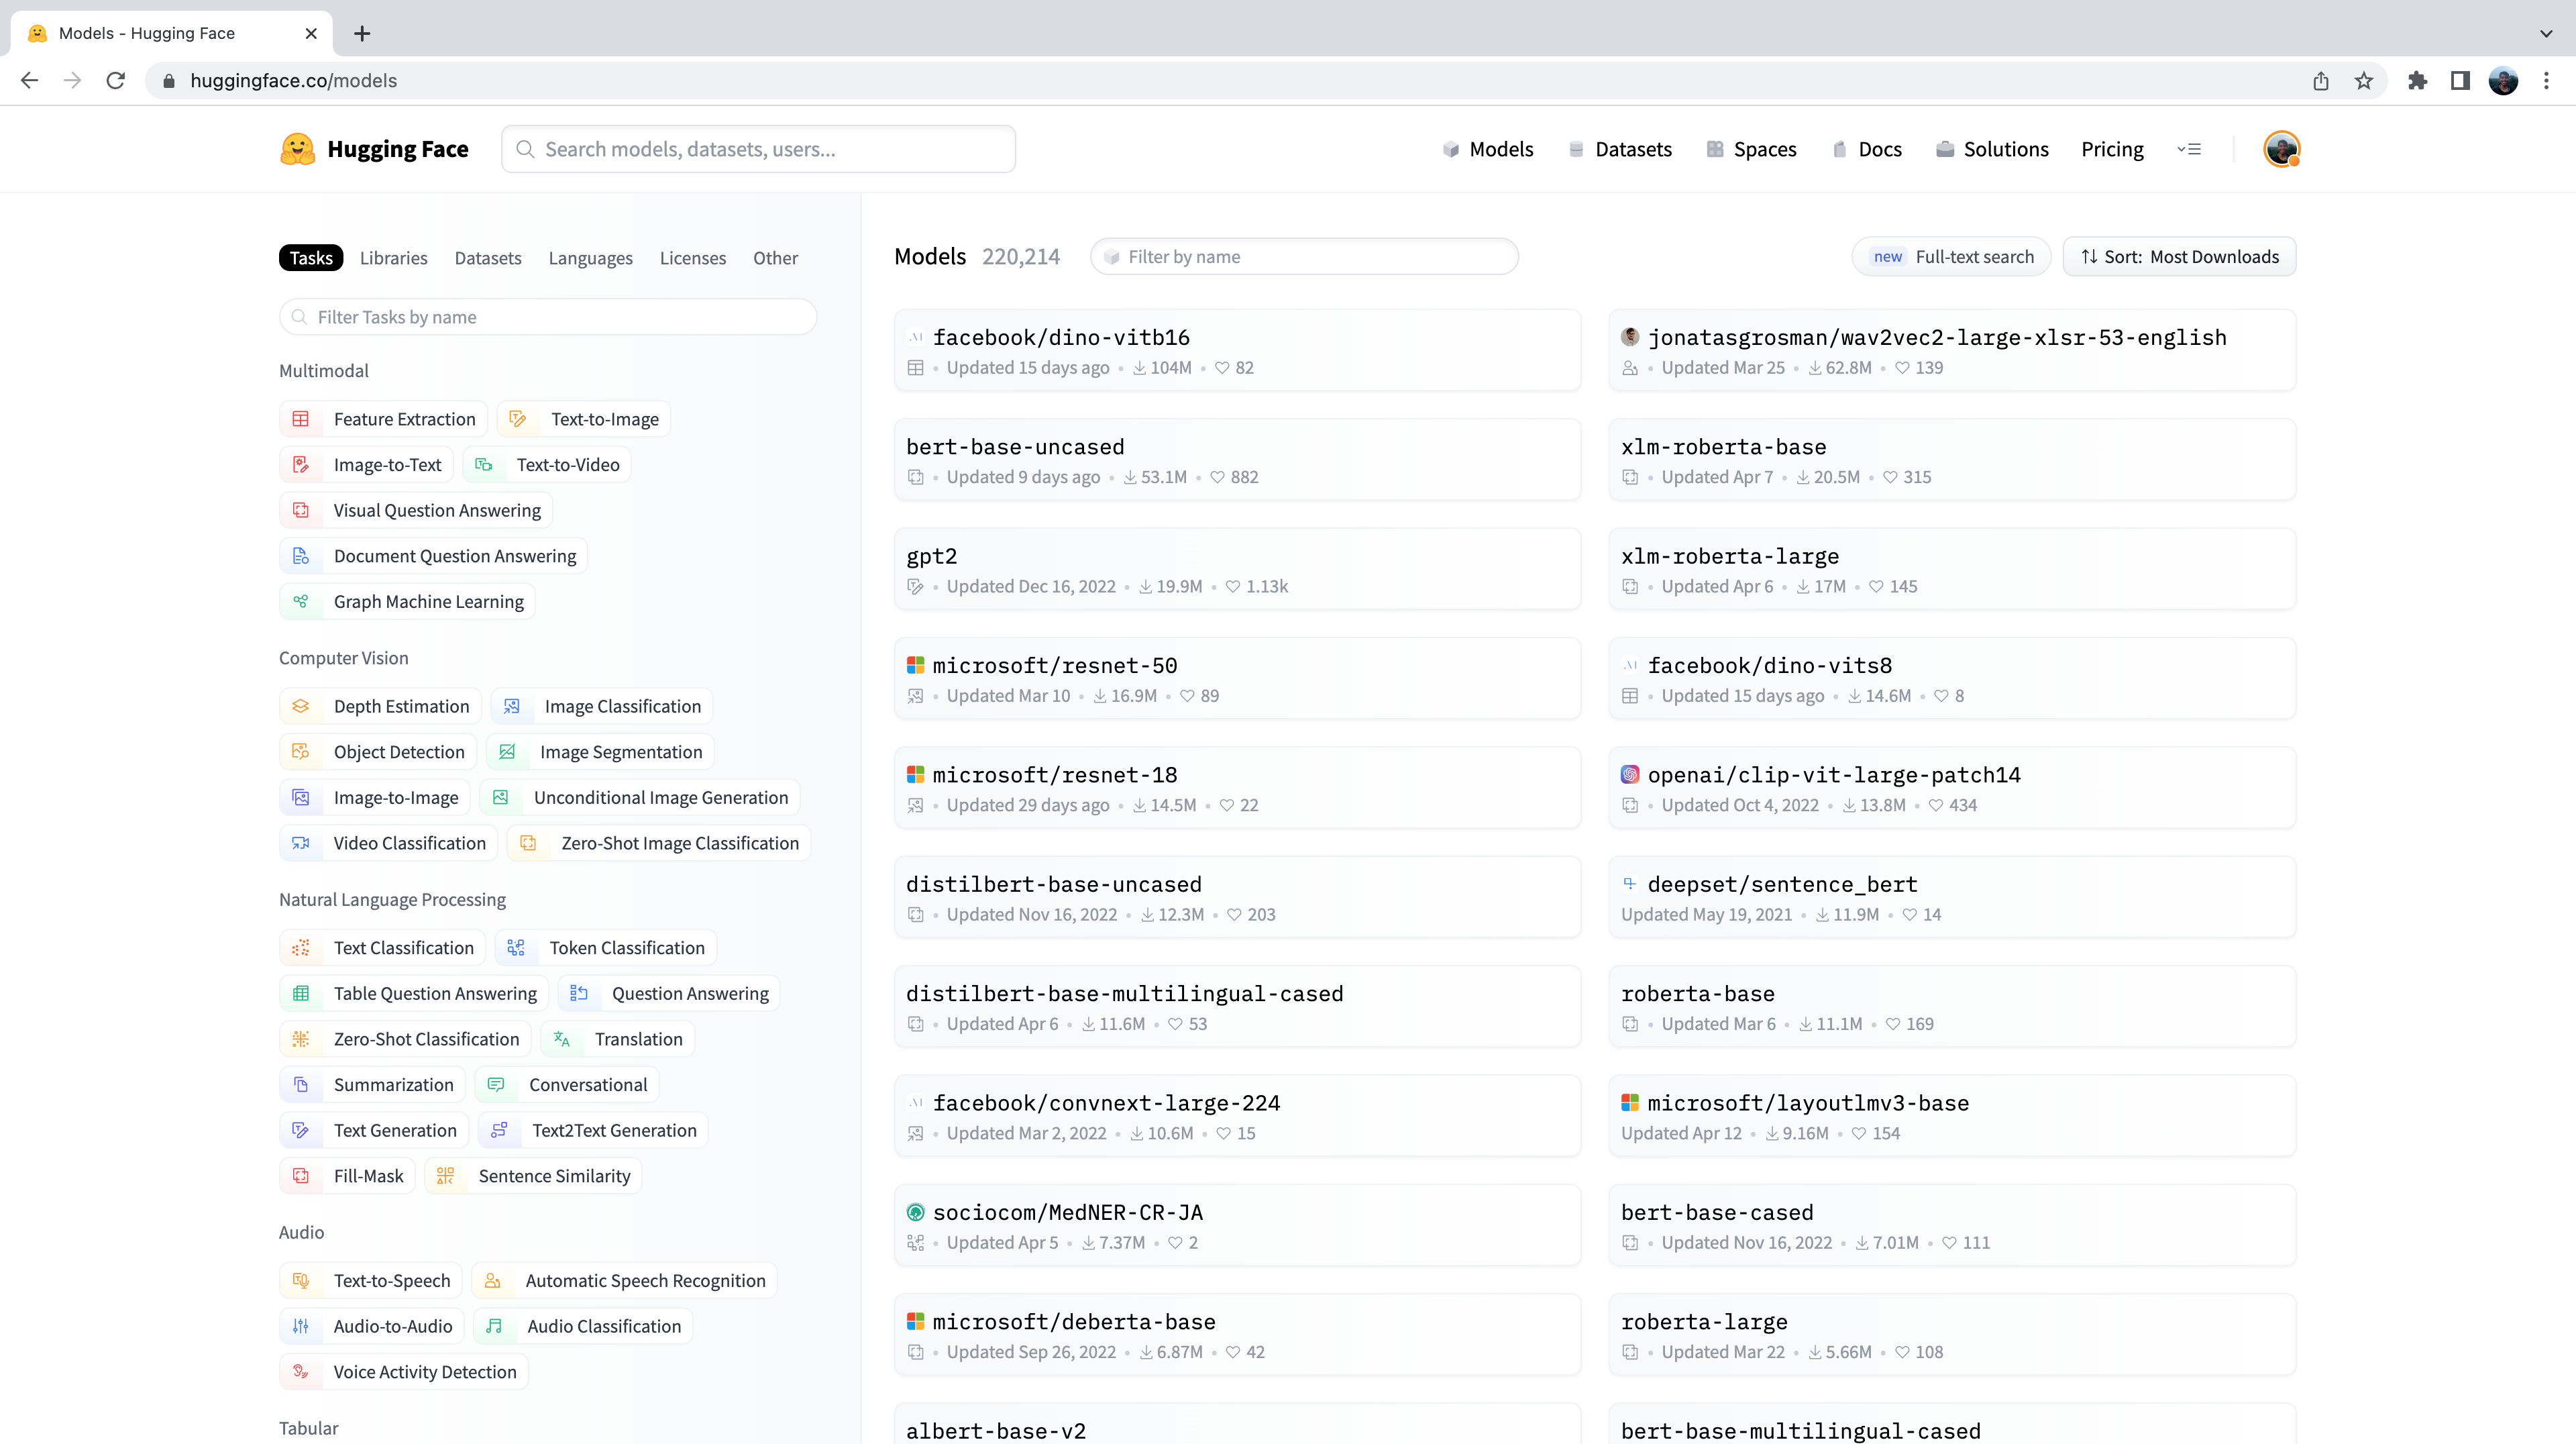
Let’s head to the Hugging Face Hub and click on the “Models” tab: https://huggingface.co/models
This is going to bring up all the models on the Hugging Face Hub, sorted by downloads in the past 30 days:
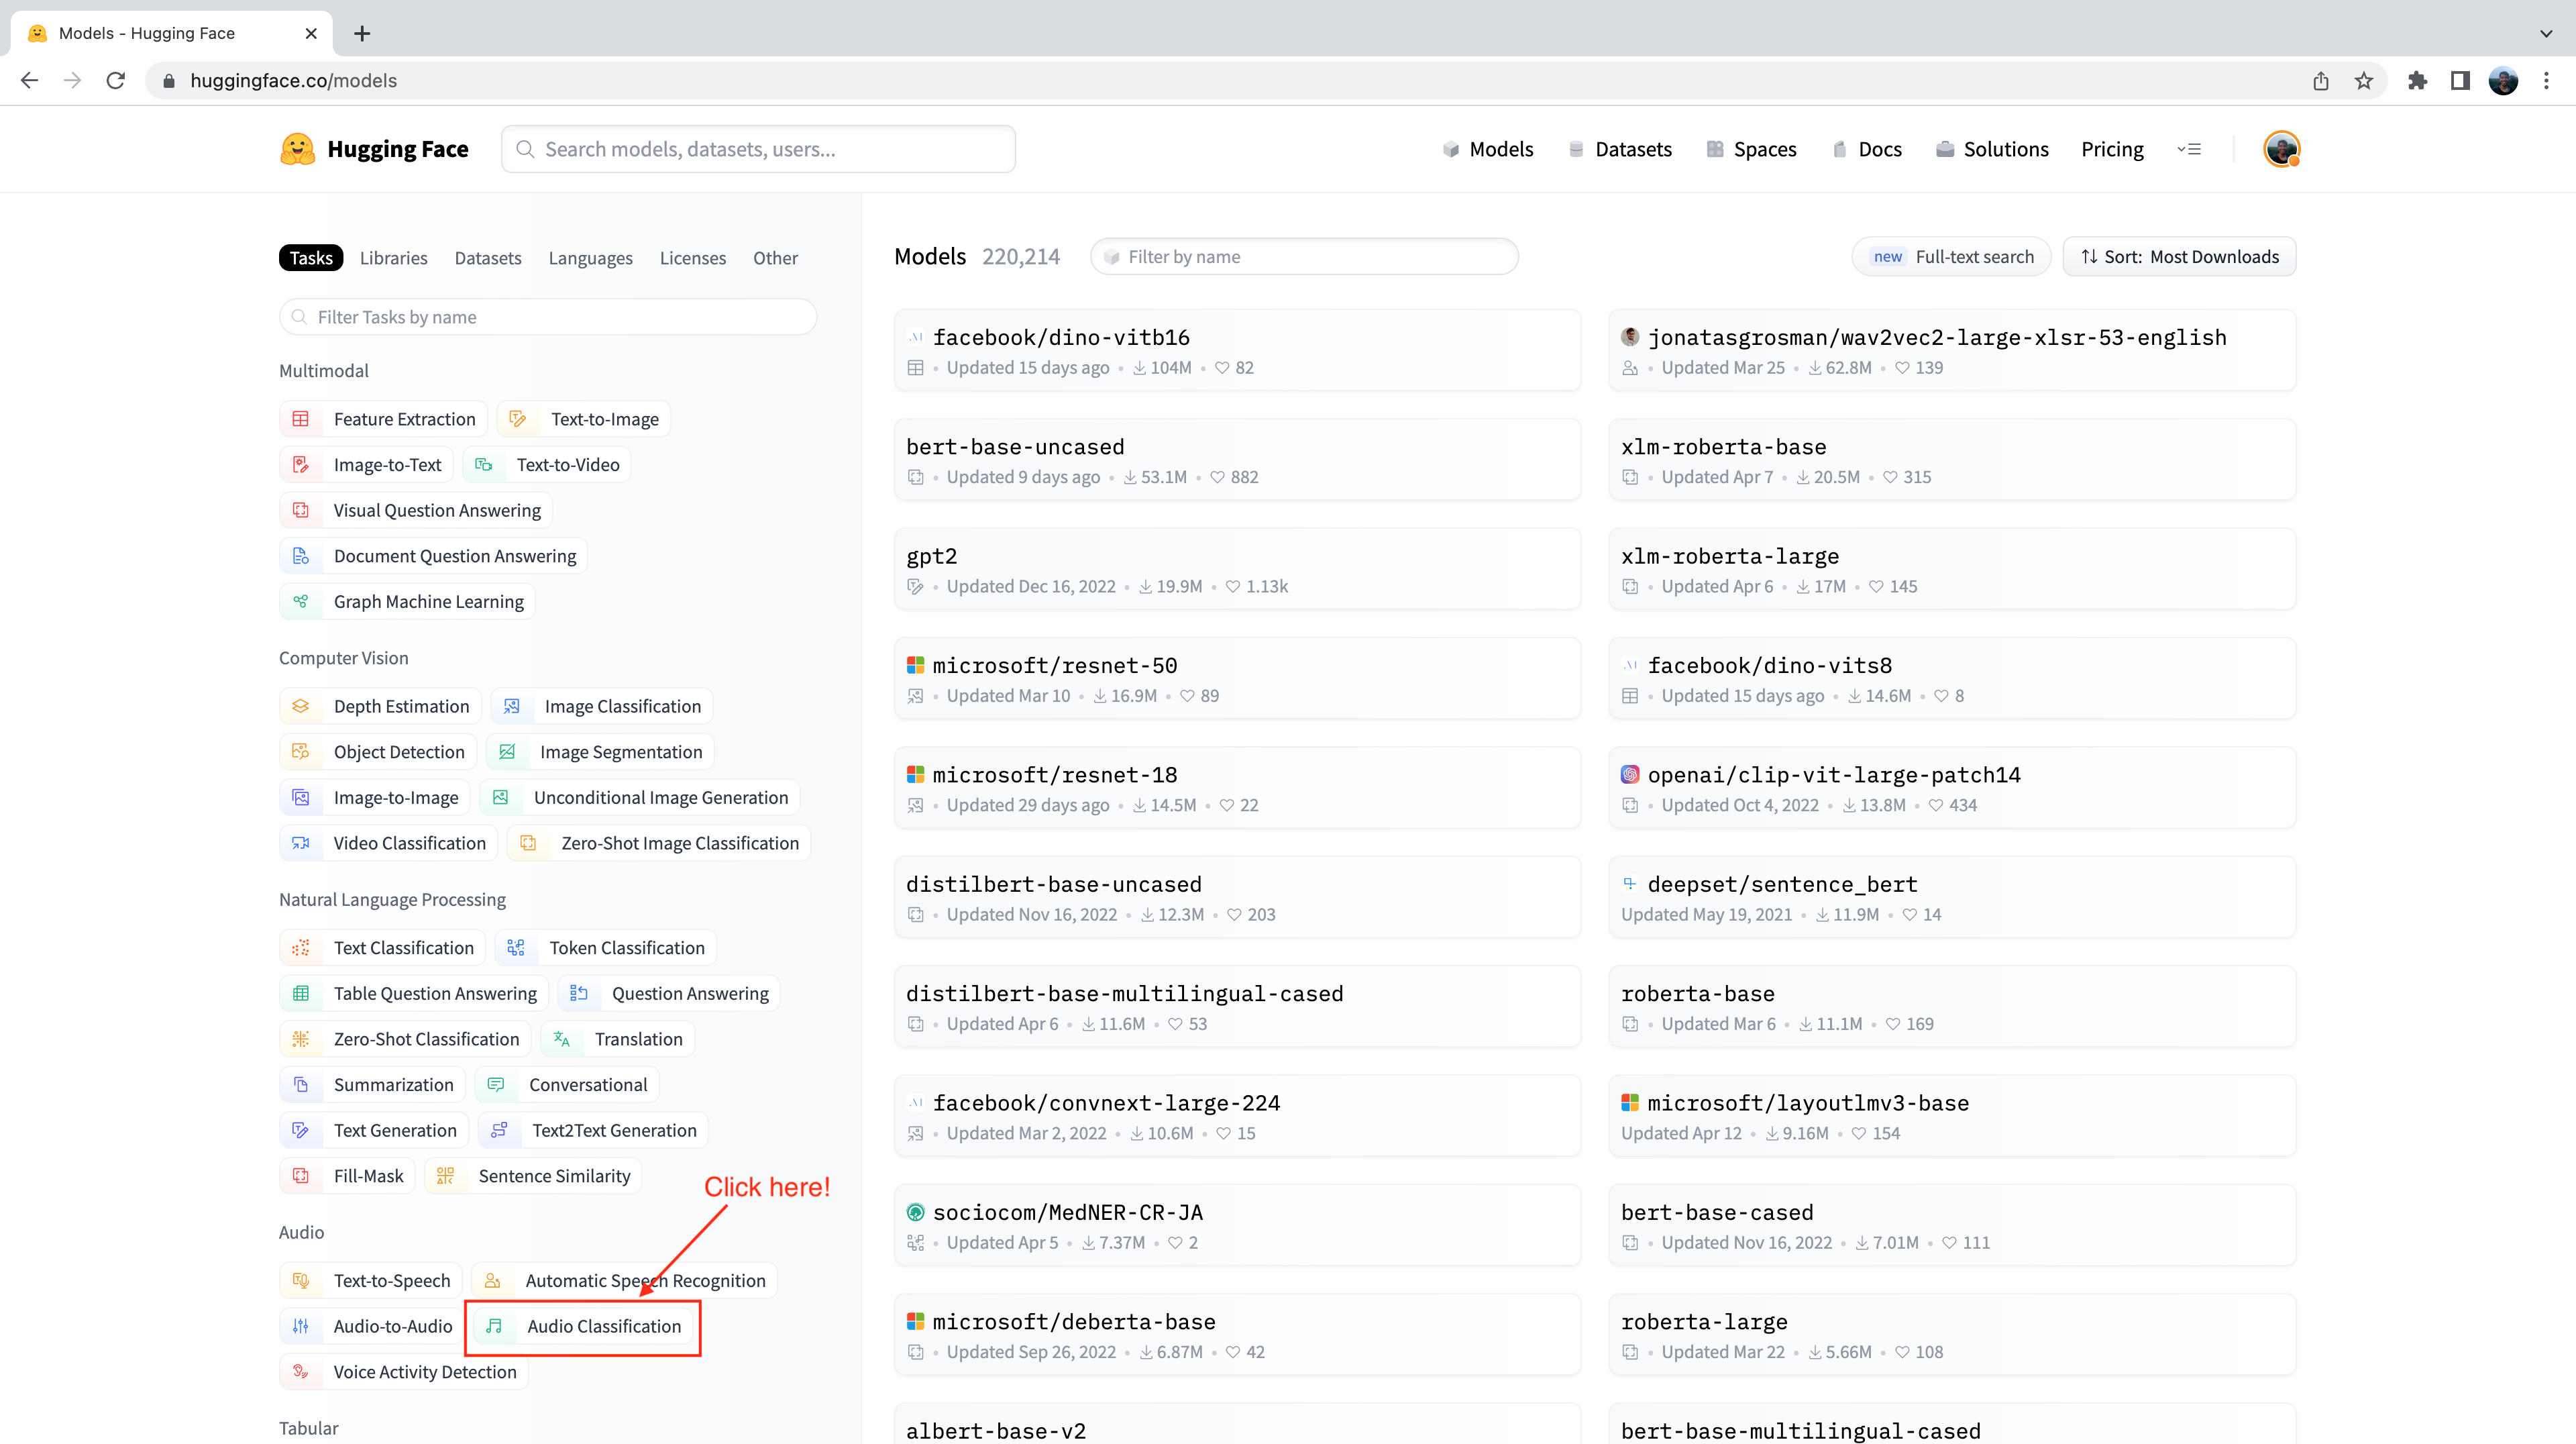
You’ll notice on the left-hand side that we have a selection of tabs that we can select to filter models by task, library, dataset, etc. Scroll down and select the task “Audio Classification” from the list of audio tasks:
We’re now presented with the sub-set of 500+ audio classification models on the Hub. To further refine this selection, we
can filter models by dataset. Click on the tab “Datasets”, and in the search box type “speech_commands”. As you begin typing,
you’ll see the selection for speech_commands appear underneath the search tab. You can click this button to filter all
audio classification models to those fine-tuned on the Speech Commands dataset:
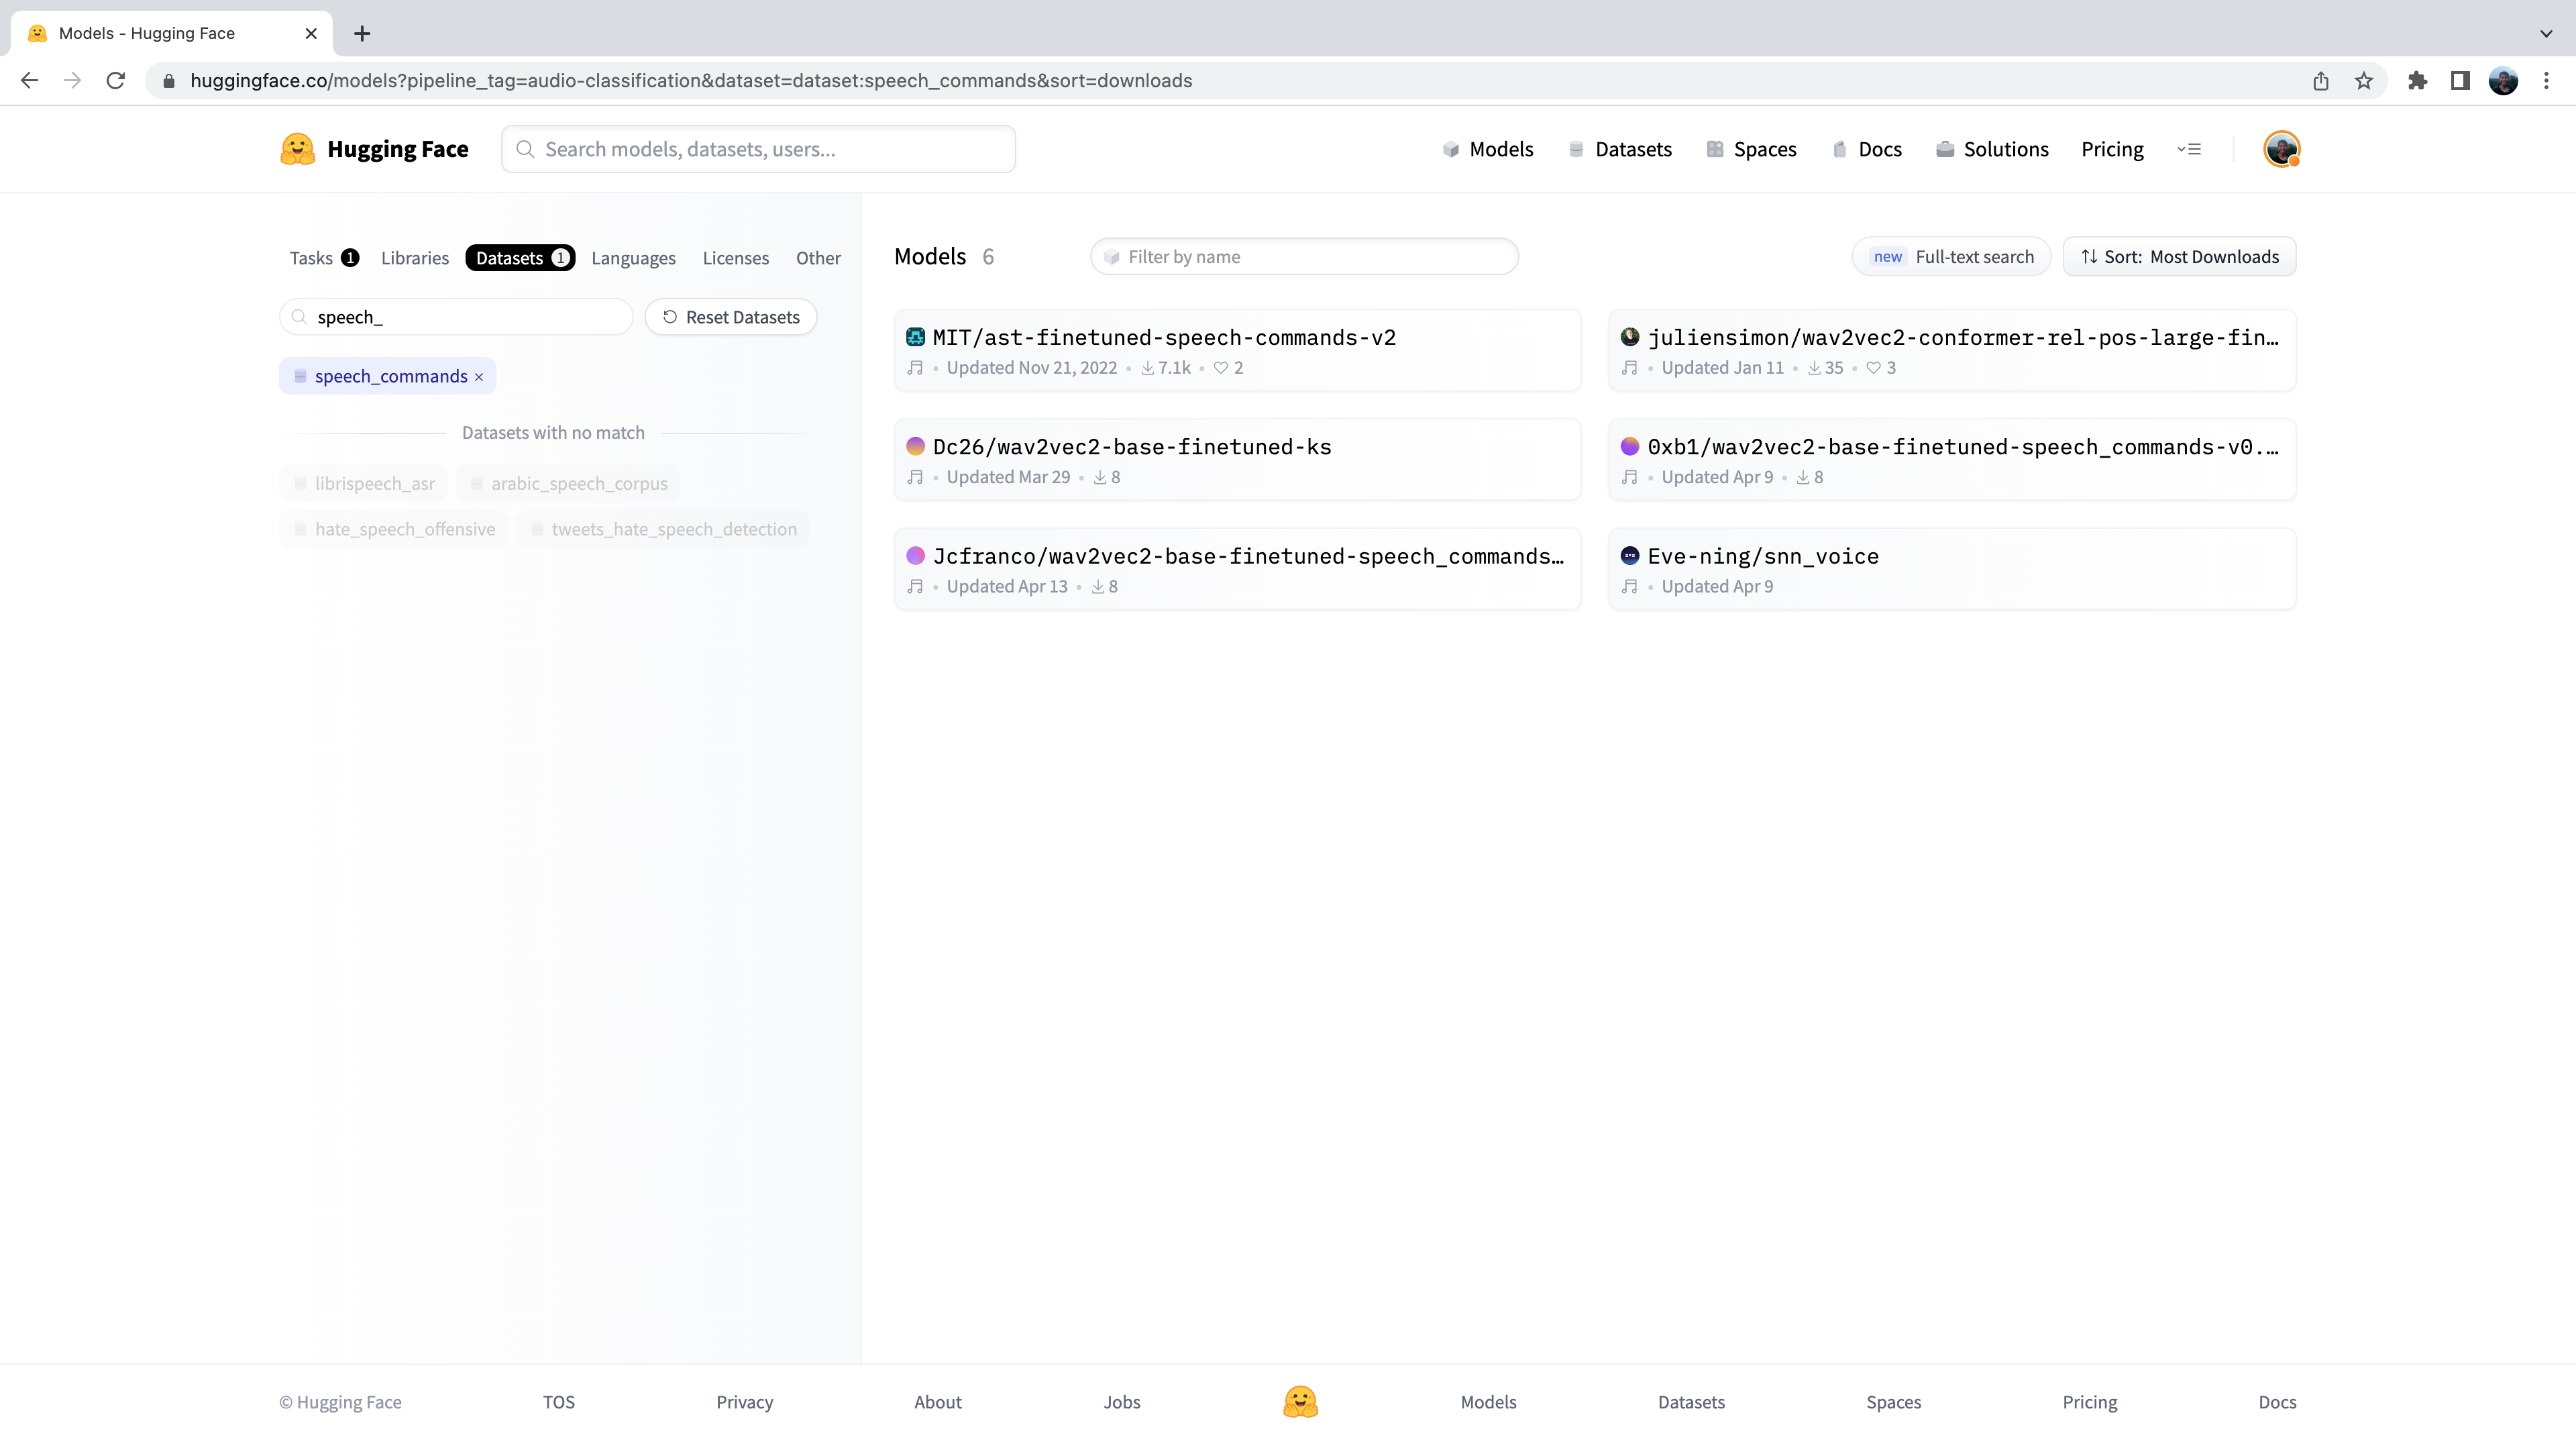
Great! We see that we have six pre-trained models available to us for this specific dataset and task (although there may be new models added if you’re reading at a later date!). You’ll recognise the first of these models as the Audio Spectrogram Transformer checkpoint that we used in Unit 4 example. We’ll use this checkpoint again for our wake word detection task.
Let’s go ahead and load the checkpoint using the pipeline class:
from transformers import pipeline
import torch

device = "cuda:0" if torch.cuda.is_available() else "cpu"

classifier = pipeline(
    "audio-classification", model="MIT/ast-finetuned-speech-commands-v2", device=device
)
We can check what labels the model was trained on by checking the id2label attribute in the model config:
classifier.model.config.id2label
Alright! We see that the model was trained on 35 class labels, including some simple command words that we described above,
as well as some particular objects like "bed", "house" and "cat". We see that there is one name in these class labels:
id 27 corresponds to the label “marvin”:
classifier.model.config.id2label[27]'marvin'Perfect! We can use this name as our wake word for our voice assistant, similar to how “Alexa” is used for Amazon’s Alexa,
or “Hey Siri” is used for Apple’s Siri. Of all the possible labels, if the model predicts "marvin" with the highest class
probability, we can be fairly sure that our chosen wake word has been said.
Now we need to define a function that is constantly listening to our device’s microphone input, and continuously
passes the audio to the classification model for inference. To do this, we’ll use a handy helper function that comes
with 🤗 Transformers called ffmpeg_microphone_live.
This function forwards small chunks of audio of specified length chunk_length_s to the model to be classified. To ensure that
we get smooth boundaries across chunks of audio, we run a sliding window across our audio with stride chunk_length_s / 6.
So that we don’t have to wait for the entire first chunk to be recorded before we start inferring, we also define a minimal
temporary audio input length stream_chunk_s that is forwarded to the model before chunk_length_s time is reached.
The function ffmpeg_microphone_live returns a generator object, yielding a sequence of audio chunks that can each
be passed to the classification model to make a prediction. We can pass this generator directly to the pipeline,
which in turn returns a sequence of output predictions, one for each chunk of audio input. We can inspect the class
label probabilities for each audio chunk, and stop our wake word detection loop when we detect that the wake word
has been spoken.
We’ll use a very simple criteria for classifying whether our wake word was spoken: if the class label with the highest
probability was our wake word, and this probability exceeds a threshold prob_threshold, we declare that the wake word
as having been spoken. Using a probability threshold to gate our classifier this way ensures that the wake word is not
erroneously predicted if the audio input is noise, which is typically when the model is very uncertain and all the class
label probabilities low. You might want to tune this probability threshold, or explore more sophisticated means for
the wake word decision through an entropy (or uncertainty) based metric.
from transformers.pipelines.audio_utils import ffmpeg_microphone_live


def launch_fn(
    wake_word="marvin",
    prob_threshold=0.5,
    chunk_length_s=2.0,
    stream_chunk_s=0.25,
    debug=False,
):
    if wake_word not in classifier.model.config.label2id.keys():
        raise ValueError(
            f"Wake word {wake_word} not in set of valid class labels, pick a wake word in the set {classifier.model.config.label2id.keys()}."
        )

    sampling_rate = classifier.feature_extractor.sampling_rate

    mic = ffmpeg_microphone_live(
        sampling_rate=sampling_rate,
        chunk_length_s=chunk_length_s,
        stream_chunk_s=stream_chunk_s,
    )

    print("Listening for wake word...")
    for prediction in classifier(mic):
        prediction = prediction[0]
        if debug:
            print(prediction)
        if prediction["label"] == wake_word:
            if prediction["score"] > prob_threshold:
                return True
Let’s give this function a try to see how it works! We’ll set the flag debug=True to print out the prediction for each
chunk of audio. Let the model run for a few seconds to see the kinds of predictions that it makes when there is no speech
input, then clearly say the wake word "marvin" and watch the class label prediction for "marvin" spike to near 1:
launch_fn(debug=True)Listening for wake word...
{'score': 0.055326107889413834, 'label': 'one'}
{'score': 0.05999856814742088, 'label': 'off'}
{'score': 0.1282748430967331, 'label': 'five'}
{'score': 0.07310110330581665, 'label': 'follow'}
{'score': 0.06634809821844101, 'label': 'follow'}
{'score': 0.05992642417550087, 'label': 'tree'}
{'score': 0.05992642417550087, 'label': 'tree'}
{'score': 0.999913215637207, 'label': 'marvin'}Awesome! As we expect, the model generates garbage predictions for the first few seconds. There is no speech input, so the
model makes close to random predictions, but with very low probability. As soon as we say the wake word, the model predicts
"marvin" with probability close to 1 and terminates the loop, signalling that the wake word has been detected and that the
ASR system should be activated!
Speech transcription
Once again, we’ll use the Whisper model for our speech transcription system. Specifically, we’ll load the Whisper Base English checkpoint, since it’s small enough to give good inference speed with reasonable transcription accuracy. We’ll use a trick to get near real-time transcription by being clever with how we forward our audio inputs to the model. As before, feel free to use any speech recognition checkpoint on the Hub, including Wav2Vec2, MMS ASR or other Whisper checkpoints:
transcriber = pipeline(
    "automatic-speech-recognition", model="openai/whisper-base.en", device=device
)"openai/whisper-small.en".We can now define a function to record our microphone input and transcribe the corresponding text. With the ffmpeg_microphone_live
helper function, we can control how ‘real-time’ our speech recognition model is. Using a smaller stream_chunk_s lends
itself to more real-time speech recognition, since we divide our input audio into smaller chunks and transcribe them on
the fly. However, this comes at the expense of poorer accuracy, since there’s less context for the model to infer from.
As we’re transcribing the speech, we also need to have an idea of when the user stops speaking, so that we can terminate
the recording. For simplicity, we’ll terminate our microphone recording after the first chunk_length_s (which is set to
5 seconds by default), but you can experiment with using a voice activity detection (VAD)
model to predict when the user has stopped speaking.
import sys


def transcribe(chunk_length_s=5.0, stream_chunk_s=1.0):
    sampling_rate = transcriber.feature_extractor.sampling_rate

    mic = ffmpeg_microphone_live(
        sampling_rate=sampling_rate,
        chunk_length_s=chunk_length_s,
        stream_chunk_s=stream_chunk_s,
    )

    print("Start speaking...")
    for item in transcriber(mic, generate_kwargs={"max_new_tokens": 128}):
        sys.stdout.write("\033[K")
        print(item["text"], end="\r")
        if not item["partial"][0]:
            break

    return item["text"]
Let’s give this a go and see how we get on! Once the microphone is live, start speaking and watch your transcription appear in semi real-time:
transcribe()
Start speaking...
 Hey, this is a test with the whisper model.
Nice! You can adjust the maximum audio length chunk_length_s based on how fast or slow you speak (increase it if you
felt like you didn’t have enough time to speak, decrease it if you were left waiting at the end), and the
stream_chunk_s for the real-time factor. Just pass these as arguments to the transcribe function.
Language model query
Now that we have our spoken query transcribed, we want to generate a meaningful response. To do this, we’ll use an LLM hosted on the Cloud. Specifically, we’ll pick an LLM on the Hugging Face Hub and use the Inference API to easily query the model.
First, let’s head over to the Hugging Face Hub. To find our LLM, we’ll use the 🤗 Open LLM Leaderboard, a Space that ranks LLM models by performance over four generation tasks. We’ll search by “instruct” to filter out models that have been instruction fine-tuned, since these should work better for our querying task:

We’ll use the tiiuae/falcon-7b-instruct checkpoint by TII, a 7B parameter decoder-only LM fine-tuned on a mixture of chat and instruction datasets. You can use any LLM on the Hugging Face Hub that has the “Hosted inference API” enabled, just look out for the widget on the right-side of the model card:

The Inference API allows us to send a HTTP request from our local machine to the LLM hosted on the Hub, and returns the
response as a json file. All we need to provide is our Hugging Face Hub token (which we retrieve directly from our Hugging Face
Hub folder) and the model id of the LLM we wish to query:
from huggingface_hub import HfFolder
import requests


def query(text, model_id="tiiuae/falcon-7b-instruct"):
    api_url = f"https://api-inference.huggingface.co/models/{model_id}"
    headers = {"Authorization": f"Bearer {HfFolder().get_token()}"}
    payload = {"inputs": text}

    print(f"Querying...: {text}")
    response = requests.post(api_url, headers=headers, json=payload)
    return response.json()[0]["generated_text"][len(text) + 1 :]
Let’s give it a try with a test input!
query("What does Hugging Face do?")'Hugging Face is a company that provides natural language processing and machine learning tools for developers. They'You’ll notice just how fast inference is using the Inference API - we only have to send a small number of text tokens from our local machine to the hosted model, so the communication cost is very low. The LLM is hosted on GPU accelerators, so inference runs very quickly. Finally, the generated response is transferred back from the model to our local machine, again with low communication overhead.
Synthesise speech
And now we’re ready to get the final spoken output! Once again, we’ll use the Microsoft SpeechT5 TTS model for English TTS, but you can use any TTS model of your choice. Let’s go ahead and load the processor and model:
from transformers import SpeechT5Processor, SpeechT5ForTextToSpeech, SpeechT5HifiGan

processor = SpeechT5Processor.from_pretrained("microsoft/speecht5_tts")

model = SpeechT5ForTextToSpeech.from_pretrained("microsoft/speecht5_tts").to(device)
vocoder = SpeechT5HifiGan.from_pretrained("microsoft/speecht5_hifigan").to(device)
And also the speaker embeddings:
from datasets import load_dataset

embeddings_dataset = load_dataset("Matthijs/cmu-arctic-xvectors", split="validation")
speaker_embeddings = torch.tensor(embeddings_dataset[7306]["xvector"]).unsqueeze(0)
We’ll re-use the synthesise function that we defined in the previous chapter on Speech-to-speech translation:
def synthesise(text):
    inputs = processor(text=text, return_tensors="pt")
    speech = model.generate_speech(
        inputs["input_ids"].to(device), speaker_embeddings.to(device), vocoder=vocoder
    )
    return speech.cpu()
Let’s quickly verify this works as expected:
from IPython.display import Audio

audio = synthesise(
    "Hugging Face is a company that provides natural language processing and machine learning tools for developers."
)

Audio(audio, rate=16000)
Nice job 👍
Marvin 🤖
Now that we’ve defined a function for each of the four stages of the voice assistant pipeline, all that’s left to do is
piece them together to get our end-to-end voice assistant. We’ll simply concatenate the four stages, starting with
wake word detection (launch_fn), speech transcription, querying the LLM, and finally speech synthesis.
launch_fn()
transcription = transcribe()
response = query(transcription)
audio = synthesise(response)

Audio(audio, rate=16000, autoplay=True)
Try it out with a few prompts! Here are some examples to get you started:
- What is the hottest country in the world?
- How do Transformer models work?
- Do you know Spanish?
And with that, we have our end-to-end voice assistant complete, made using the 🤗 audio tools you’ve learnt throughout this course, with a sprinkling of LLM magic at the end. There are several extensions that we could make to improve the voice assistant. Firstly, the audio classification model classifies 35 different labels. We could use a smaller, more lightweight binary classification model that only predicts whether the wake word was spoken or not. Secondly, we pre-load all the models ahead and keep them running on our device. If we wanted to save power, we would only load each model at the time it was required, and subsequently un-load them afterwards. Thirdly, we’re missing a voice activity detection model in our transcription function, transcribing for a fixed amount of time, which in some cases is too long, and in others too short.
Generalise to anything 🪄
So far, we’ve seen how we can generate speech outputs with our voice assistant Marvin. To finish, we’ll demonstrate how we can generalise these speech outputs to text, audio and image.
We’ll use Transformers Agents to build our assistant. Transformers Agents provides a natural language API on top of the 🤗 Transformers and Diffusers libraries, interpreting a natural language input using an LLM with carefully crafted prompts, and using a set of curated tools to provide multimodal outputs.
Let’s go ahead and instantiate an agent. There are three LLMs available for Transformers Agents, two of which are open-source and free on the Hugging Face Hub. The third is a model from OpenAI that requires an OpenAI API key. We’ll use the free Bigcode Starcoder model in this example, but you can also try either of the other LLMs available:
from transformers import HfAgent

agent = HfAgent(
    url_endpoint="https://api-inference.huggingface.co/models/bigcode/starcoder"
)
To use the agent, we simply have to call agent.run with our text prompt. As an example, we’ll get it to generate an
image of a cat 🐈 (that hopefully looks a bit better than this emoji):
agent.run("Generate an image of a cat")
Easy as that! The Agent interpreted our prompt, and used Stable Diffusion under the hood to generate the image, without us having to worry about loading the model, writing the function or executing the code.
We can now replace our LLM query function and text synthesis step with our Transformers Agent in our voice assistant, since the Agent is going to take care of both of these steps for us:
launch_fn()
transcription = transcribe()
agent.run(transcription)
Try speaking the same prompt “Generate an image of a cat” and see how the system gets on. If you ask the Agent a simple question / answer query, the Agent will respond with a text answer. You can encourage it to generate multimodal outputs by asking it to return an image or speech. For example, you can ask it to: “Generate an image of a cat, caption it, and speak the caption”.
While the Agent is more flexible than our first iteration Marvin 🤖 assistant, generalising the voice assistant task in this way may lead to inferior performance on standard voice assistant queries. To recover performance, you can try using a more performant LLM checkpoint, such as the one from OpenAI, or define a set of custom tools that are specific to the voice assistant task.
< > Update on GitHub