Transformers documentation
키포인트 탐지
You are viewing main version, which requires installation from source. If you'd like
regular pip install, checkout the latest stable version (v5.0.0rc0).
키포인트 탐지
키포인트 감지(Keypoint detection)은 이미지 내의 특정 포인트를 식별하고 위치를 탐지합니다. 이러한 키포인트는 랜드마크라고도 불리며 얼굴 특징이나 물체의 일부와 같은 의미 있는 특징을 나타냅니다. 키포인트 감지 모델들은 이미지를 입력으로 받아 아래와 같은 출력을 반환합니다.
- 키포인트들과 점수: 관심 포인트들과 해당 포인트에 대한 신뢰도 점수
- 디스크립터(Descriptors): 각 키포인트를 둘러싼 이미지 영역의 표현으로 텍스처, 그라데이션, 방향 및 기타 속성을 캡처합니다.
이번 가이드에서는 이미지에서 키포인트를 추출하는 방법을 다루어 보겠습니다.
이번 튜토리얼에서는 키포인트 감지의 기본이 되는 모델인 SuperPoint를 사용해보겠습니다.
from transformers import AutoImageProcessor, SuperPointForKeypointDetection
processor = AutoImageProcessor.from_pretrained("magic-leap-community/superpoint")
model = SuperPointForKeypointDetection.from_pretrained("magic-leap-community/superpoint")
아래의 이미지로 모델을 테스트 해보겠습니다.

import torch
from PIL import Image
import requests
import cv2
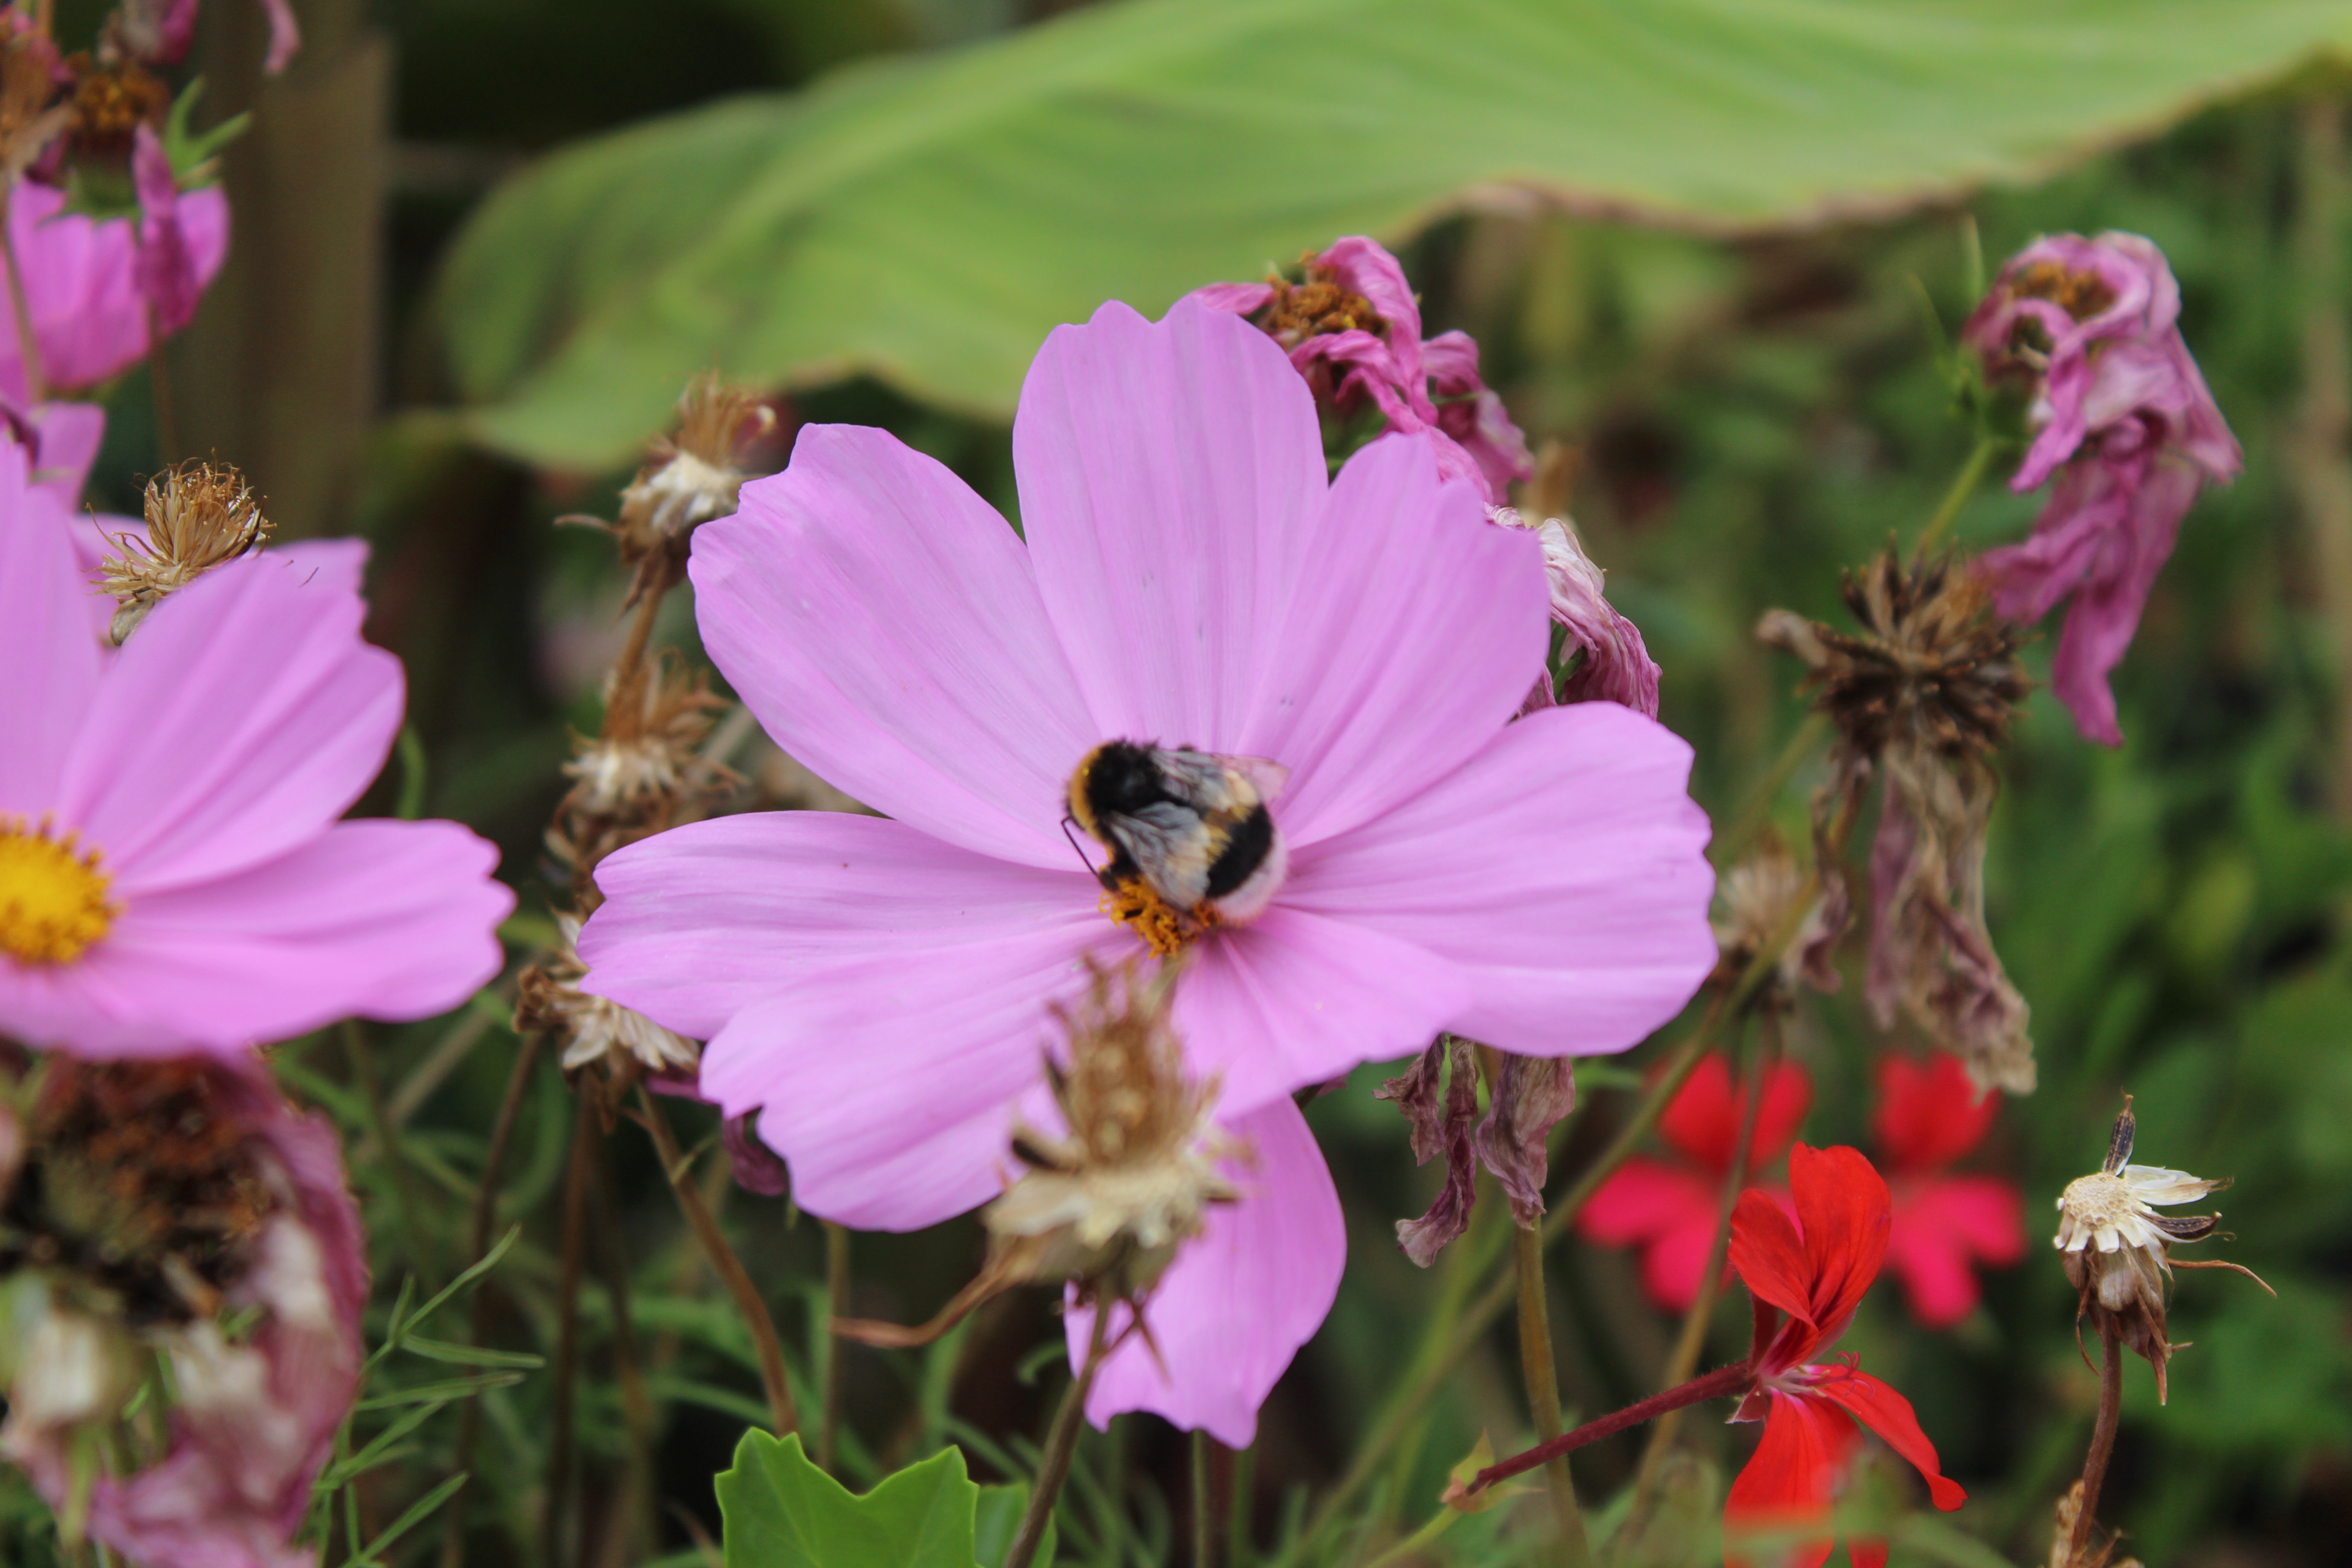
url_image_1 = "https://huggingface.co/datasets/huggingface/documentation-images/resolve/main/bee.jpg"
image_1 = Image.open(requests.get(url_image_1, stream=True).raw)
url_image_2 = "https://huggingface.co/datasets/huggingface/documentation-images/resolve/main/cats.png"
image_2 = Image.open(requests.get(url_image_2, stream=True).raw)
images = [image_1, image_2]이제 입력을 처리하고 추론을 할 수 있습니다.
inputs = processor(images,return_tensors="pt").to(model.device, model.dtype)
outputs = model(**inputs)
모델 출력에는 배치 내의 각 항목에 대한 상대적인 키포인트, 디스크립터, 마스크와 점수가 있습니다. 마스크는 이미지에서 키포인트가 있는 영역을 강조하는 역할을 합니다.
SuperPointKeypointDescriptionOutput(loss=None, keypoints=tensor([[[0.0437, 0.0167],
         [0.0688, 0.0167],
         [0.0172, 0.0188],
         ...,
         [0.5984, 0.9812],
         [0.6953, 0.9812]]]),
         scores=tensor([[0.0056, 0.0053, 0.0079,  ..., 0.0125, 0.0539, 0.0377],
        [0.0206, 0.0058, 0.0065,  ..., 0.0000, 0.0000, 0.0000]],
       grad_fn=<CopySlices>), descriptors=tensor([[[-0.0807,  0.0114, -0.1210,  ..., -0.1122,  0.0899,  0.0357],
         [-0.0807,  0.0114, -0.1210,  ..., -0.1122,  0.0899,  0.0357],
         [-0.0807,  0.0114, -0.1210,  ..., -0.1122,  0.0899,  0.0357],
         ...],
       grad_fn=<CopySlices>), mask=tensor([[1, 1, 1,  ..., 1, 1, 1],
        [1, 1, 1,  ..., 0, 0, 0]], dtype=torch.int32), hidden_states=None)
이미지에 실제 키포인트를 표시하기 위해선 결과값을 후처리 해야합니다. 이를 위해 실제 이미지 크기를 결과값과 함께 post_process_keypoint_detection에 전달해야 합니다.
image_sizes = [(image.size[1], image.size[0]) for image in images]
outputs = processor.post_process_keypoint_detection(outputs, image_sizes)
위 코드를 통해 결과값은 딕셔너리를 갖는 리스트가 되고, 각 딕셔너리들은 후처리된 키포인트, 점수 및 디스크립터로 이루어져있습니다.
[{'keypoints': tensor([[ 226,   57],
          [ 356,   57],
          [  89,   64],
          ...,
          [3604, 3391]], dtype=torch.int32),
  'scores': tensor([0.0056, 0.0053, ...], grad_fn=<IndexBackward0>),
  'descriptors': tensor([[-0.0807,  0.0114, -0.1210,  ..., -0.1122,  0.0899,  0.0357],
          [-0.0807,  0.0114, -0.1210,  ..., -0.1122,  0.0899,  0.0357]],
         grad_fn=<IndexBackward0>)},
    {'keypoints': tensor([[ 46,   6],
          [ 78,   6],
          [422,   6],
          [206, 404]], dtype=torch.int32),
  'scores': tensor([0.0206, 0.0058, 0.0065, 0.0053, 0.0070, ...,grad_fn=<IndexBackward0>),
  'descriptors': tensor([[-0.0525,  0.0726,  0.0270,  ...,  0.0389, -0.0189, -0.0211],
          [-0.0525,  0.0726,  0.0270,  ...,  0.0389, -0.0189, -0.0211]}]
이제 위 딕셔너리를 사용하여 키포인트를 표시할 수 있습니다.
import matplotlib.pyplot as plt
import torch

for i in range(len(images)):
  keypoints = outputs[i]["keypoints"]
  scores = outputs[i]["scores"]
  descriptors = outputs[i]["descriptors"]
  keypoints = outputs[i]["keypoints"].detach().numpy()
  scores = outputs[i]["scores"].detach().numpy()
  image = images[i]
  image_width, image_height = image.size

  plt.axis('off')
  plt.imshow(image)
  plt.scatter(
      keypoints[:, 0],
      keypoints[:, 1],
      s=scores * 100,
      c='cyan',
      alpha=0.4
  )
  plt.show()
아래에서 결과를 확인할 수 있습니다.

