Diffusers documentation
Load LoRAs for inference
Load LoRAs for inference
There are many adapters (with LoRAs being the most common type) trained in different styles to achieve different effects. You can even combine multiple adapters to create new and unique images. With the 🤗 PEFT integration in 🤗 Diffusers, it is really easy to load and manage adapters for inference. In this guide, you’ll learn how to use different adapters with Stable Diffusion XL (SDXL) for inference.
Throughout this guide, you’ll use LoRA as the main adapter technique, so we’ll use the terms LoRA and adapter interchangeably. You should have some familiarity with LoRA, and if you don’t, we welcome you to check out the LoRA guide.
Let’s first install all the required libraries.
!pip install -q transformers accelerate
!pip install peft
!pip install diffusers
Now, let’s load a pipeline with a SDXL checkpoint:
from diffusers import DiffusionPipeline
import torch

pipe_id = "stabilityai/stable-diffusion-xl-base-1.0"
pipe = DiffusionPipeline.from_pretrained(pipe_id, torch_dtype=torch.float16).to("cuda")
Next, load a LoRA checkpoint with the load_lora_weights() method.
With the 🤗 PEFT integration, you can assign a specific adapter_name to the checkpoint, which let’s you easily switch between different LoRA checkpoints. Let’s call this adapter "toy".
pipe.load_lora_weights("CiroN2022/toy-face", weight_name="toy_face_sdxl.safetensors", adapter_name="toy")And then perform inference:
prompt = "toy_face of a hacker with a hoodie"

lora_scale= 0.9
image = pipe(
    prompt, num_inference_steps=30, cross_attention_kwargs={"scale": lora_scale}, generator=torch.manual_seed(0)
).images[0]
image
With the adapter_name parameter, it is really easy to use another adapter for inference! Load the nerijs/pixel-art-xl adapter that has been fine-tuned to generate pixel art images, and let’s call it "pixel".
The pipeline automatically sets the first loaded adapter ("toy") as the active adapter. But you can activate the "pixel" adapter with the set_adapters() method as shown below:
pipe.load_lora_weights("nerijs/pixel-art-xl", weight_name="pixel-art-xl.safetensors", adapter_name="pixel")
pipe.set_adapters("pixel")
Let’s now generate an image with the second adapter and check the result:
prompt = "a hacker with a hoodie, pixel art"
image = pipe(
    prompt, num_inference_steps=30, cross_attention_kwargs={"scale": lora_scale}, generator=torch.manual_seed(0)
).images[0]
image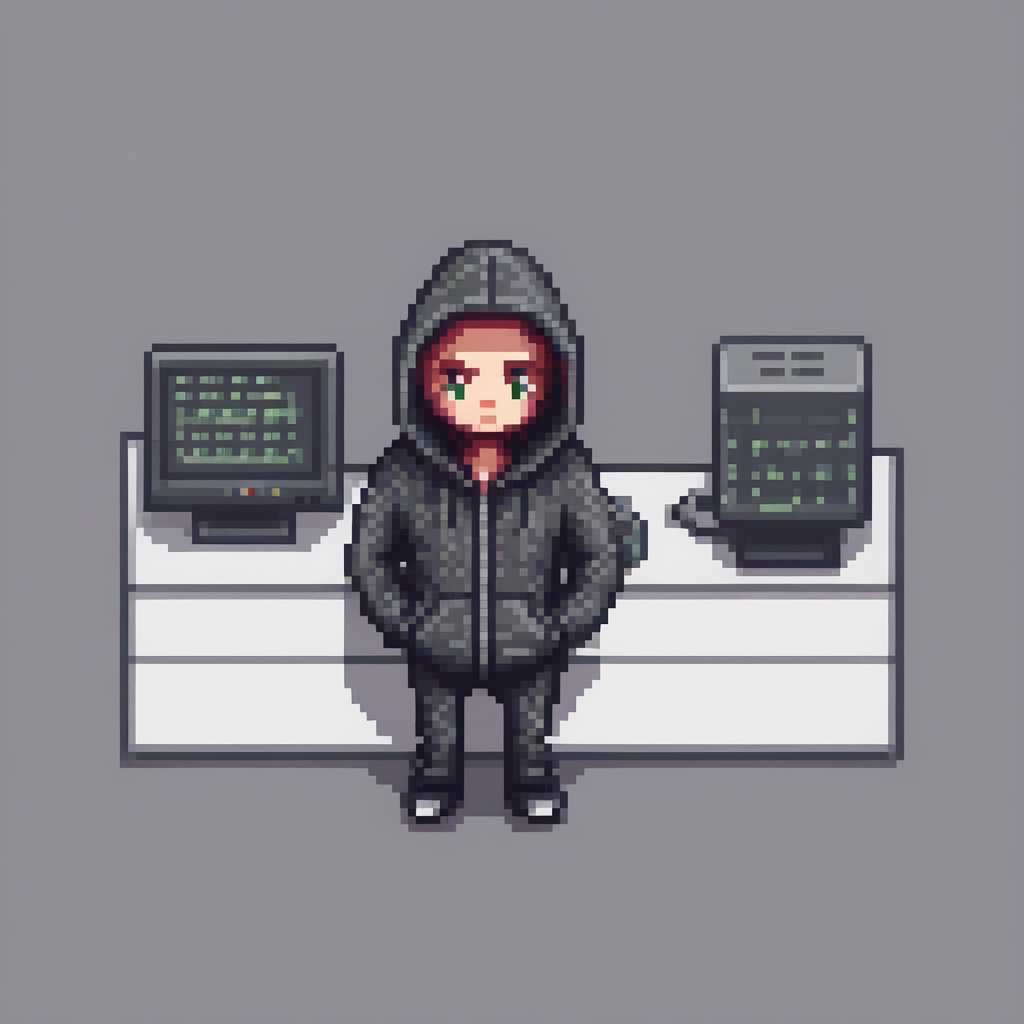
Combine multiple adapters
You can also perform multi-adapter inference where you combine different adapter checkpoints for inference.
Once again, use the set_adapters() method to activate two LoRA checkpoints and specify the weight for how the checkpoints should be combined.
pipe.set_adapters(["pixel", "toy"], adapter_weights=[0.5, 1.0])Now that we have set these two adapters, let’s generate an image from the combined adapters!
LoRA checkpoints in the diffusion community are almost always obtained with DreamBooth. DreamBooth training often relies on “trigger” words in the input text prompts in order for the generation results to look as expected. When you combine multiple LoRA checkpoints, it’s important to ensure the trigger words for the corresponding LoRA checkpoints are present in the input text prompts.
The trigger words for CiroN2022/toy-face and nerijs/pixel-art-xl are found in their repositories.
# Notice how the prompt is constructed.
prompt = "toy_face of a hacker with a hoodie, pixel art"
image = pipe(
    prompt, num_inference_steps=30, cross_attention_kwargs={"scale": 1.0}, generator=torch.manual_seed(0)
).images[0]
image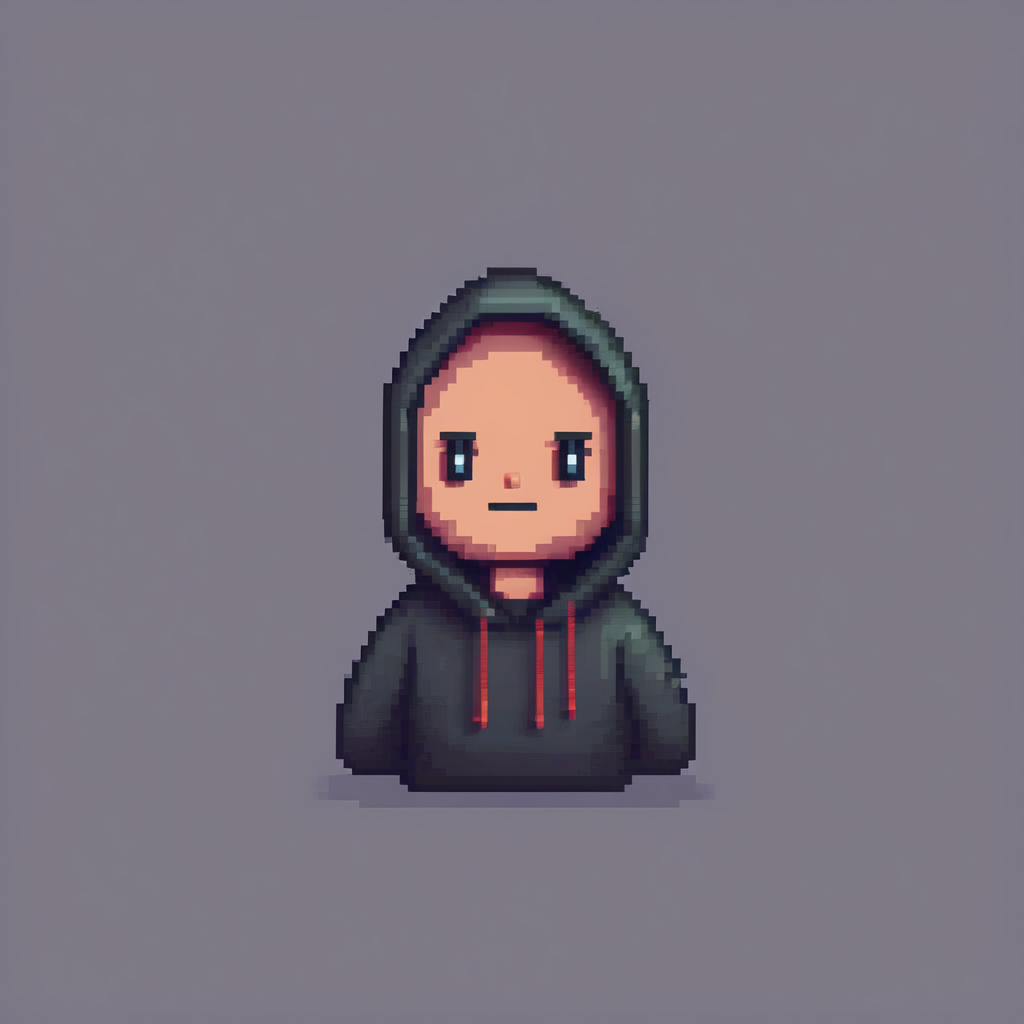
Impressive! As you can see, the model was able to generate an image that mixes the characteristics of both adapters.
If you want to go back to using only one adapter, use the set_adapters() method to activate the "toy" adapter:
# First, set the adapter.
pipe.set_adapters("toy")

# Then, run inference.
prompt = "toy_face of a hacker with a hoodie"
lora_scale= 0.9
image = pipe(
    prompt, num_inference_steps=30, cross_attention_kwargs={"scale": lora_scale}, generator=torch.manual_seed(0)
).images[0]
image
If you want to switch to only the base model, disable all LoRAs with the disable_lora() method.
pipe.disable_lora()

prompt = "toy_face of a hacker with a hoodie"
lora_scale= 0.9
image = pipe(prompt, num_inference_steps=30, generator=torch.manual_seed(0)).images[0]
image
Monitoring active adapters
You have attached multiple adapters in this tutorial, and if you’re feeling a bit lost on what adapters have been attached to the pipeline’s components, you can easily check the list of active adapters using the get_active_adapters() method:
active_adapters = pipe.get_active_adapters()
active_adapters
["toy", "pixel"]
You can also get the active adapters of each pipeline component with get_list_adapters():
list_adapters_component_wise = pipe.get_list_adapters()
list_adapters_component_wise
{"text_encoder": ["toy", "pixel"], "unet": ["toy", "pixel"], "text_encoder_2": ["toy", "pixel"]}
Fusing adapters into the model
You can use PEFT to easily fuse/unfuse multiple adapters directly into the model weights (both UNet and text encoder) using the fuse_lora() method, which can lead to a speed-up in inference and lower VRAM usage.
pipe.load_lora_weights("nerijs/pixel-art-xl", weight_name="pixel-art-xl.safetensors", adapter_name="pixel")
pipe.load_lora_weights("CiroN2022/toy-face", weight_name="toy_face_sdxl.safetensors", adapter_name="toy")

pipe.set_adapters(["pixel", "toy"], adapter_weights=[0.5, 1.0])
# Fuses the LoRAs into the Unet
pipe.fuse_lora()

prompt = "toy_face of a hacker with a hoodie, pixel art"
image = pipe(prompt, num_inference_steps=30, generator=torch.manual_seed(0)).images[0]

# Gets the Unet back to the original state
pipe.unfuse_lora()