Diffusers documentation
AutoPipeline
AutoPipeline
Diffusers provides many pipelines for basic tasks like generating images, videos, audio, and inpainting. On top of these, there are specialized pipelines for adapters and features like upscaling, super-resolution, and more. Different pipeline classes can even use the same checkpoint because they share the same pretrained model! With so many different pipelines, it can be overwhelming to know which pipeline class to use.
The AutoPipeline class is designed to simplify the variety of pipelines in Diffusers. It is a generic task-first pipeline that lets you focus on a task (AutoPipelineForText2Image, AutoPipelineForImage2Image, and AutoPipelineForInpainting) without needing to know the specific pipeline class. The AutoPipeline automatically detects the correct pipeline class to use.
For example, let’s use the dreamlike-art/dreamlike-photoreal-2.0 checkpoint.
Under the hood, AutoPipeline:
- Detects a
"stable-diffusion"class from the model_index.json file. - Depending on the task you’re interested in, it loads the StableDiffusionPipeline, StableDiffusionImg2ImgPipeline, or StableDiffusionInpaintPipeline. Any parameter (
strength,num_inference_steps, etc.) you would pass to these specific pipelines can also be passed to the AutoPipeline.
from diffusers import AutoPipelineForText2Image
import torch

pipe_txt2img = AutoPipelineForText2Image.from_pretrained(
    "dreamlike-art/dreamlike-photoreal-2.0", torch_dtype=torch.float16, use_safetensors=True
).to("cuda")

prompt = "cinematic photo of Godzilla eating sushi with a cat in a izakaya, 35mm photograph, film, professional, 4k, highly detailed"
generator = torch.Generator(device="cpu").manual_seed(37)
image = pipe_txt2img(prompt, generator=generator).images[0]
image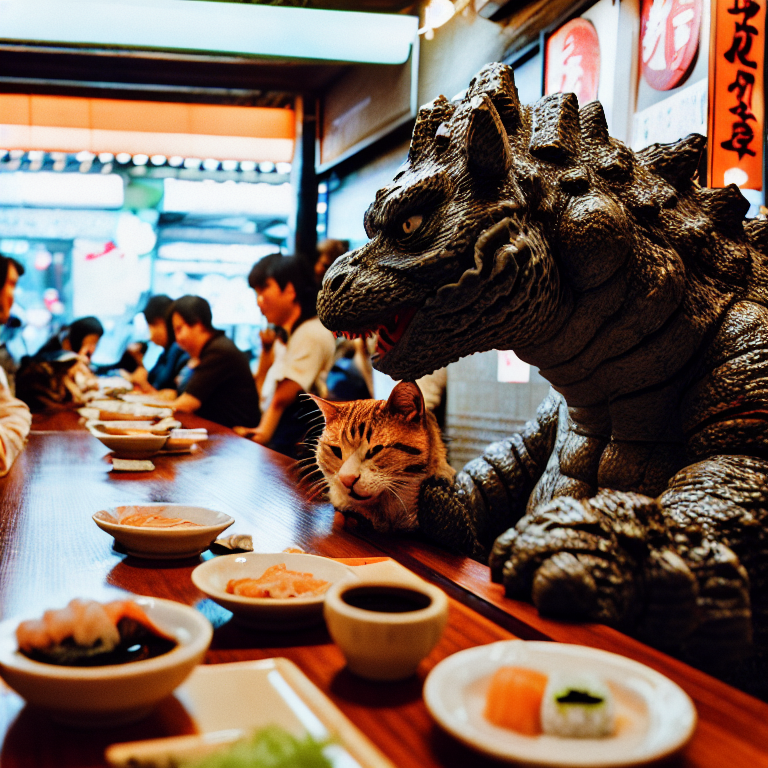
Unsupported checkpoints
The AutoPipeline supports Stable Diffusion, Stable Diffusion XL, ControlNet, Kandinsky 2.1, Kandinsky 2.2, and DeepFloyd IF checkpoints.
If you try to load an unsupported checkpoint, you’ll get an error.
from diffusers import AutoPipelineForImage2Image
import torch

pipeline = AutoPipelineForImage2Image.from_pretrained(
    "openai/shap-e-img2img", torch_dtype=torch.float16, use_safetensors=True
)
"ValueError: AutoPipeline can't find a pipeline linked to ShapEImg2ImgPipeline for None"