Spaces:
Paused

Image classification examples
This directory contains 2 scripts that showcase how to fine-tune any model supported by the TFAutoModelForImageClassification API (such as ViT, ConvNeXT, ResNet, Swin Transformer...) using TensorFlow. They can be used to fine-tune models on both datasets from the hub as well as on your own custom data.
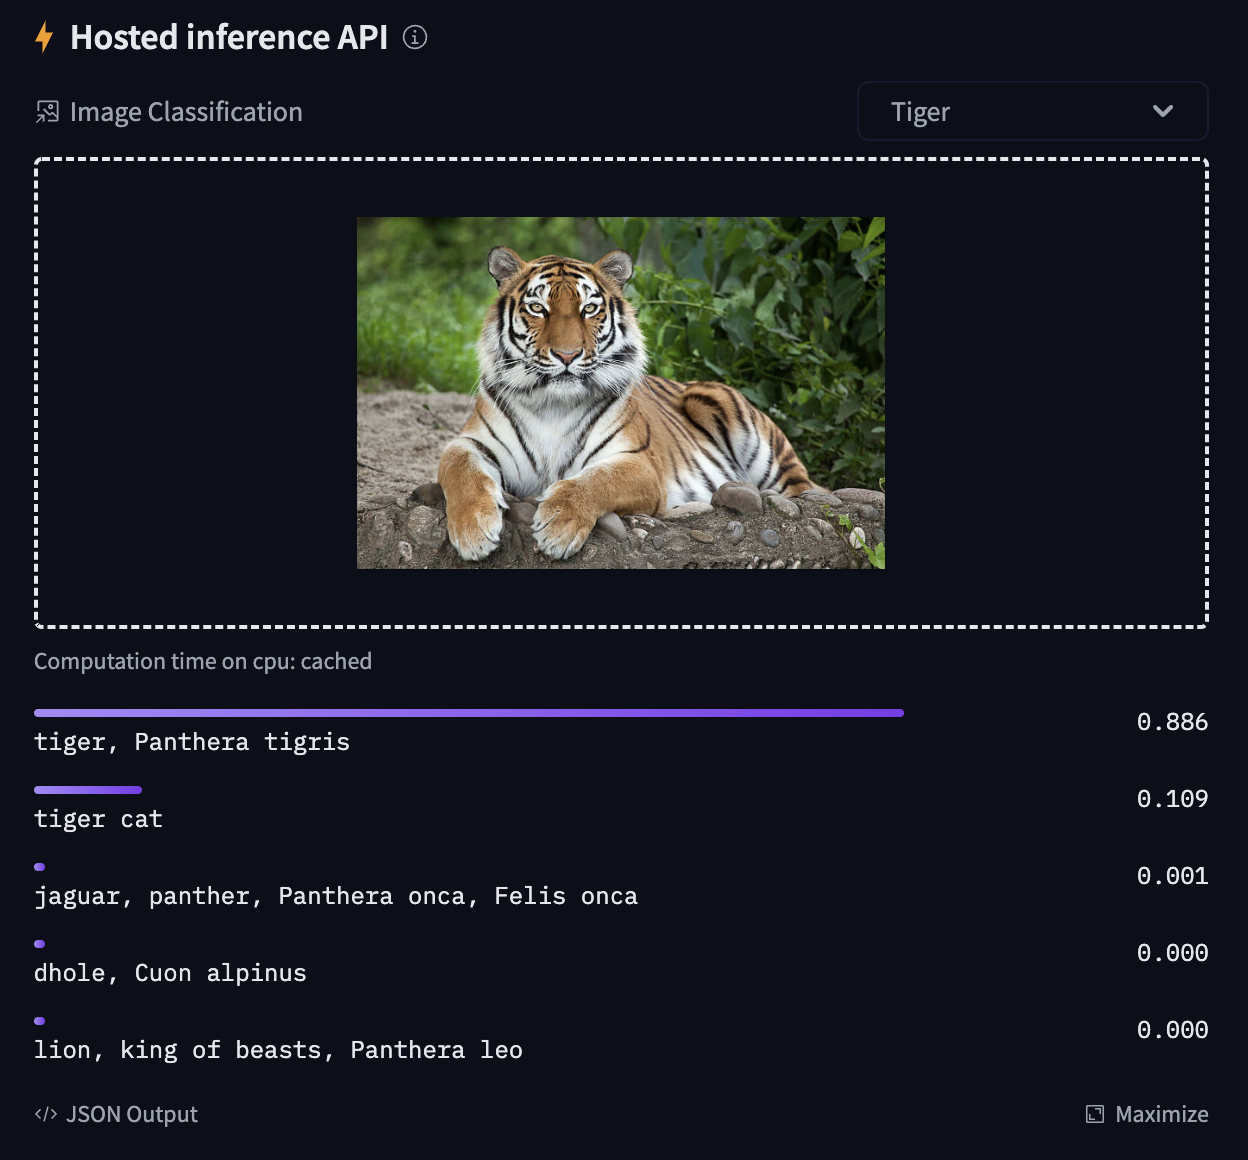
Try out the inference widget here: https://huggingface.co/google/vit-base-patch16-224
TensorFlow
Based on the script run_image_classification.py.
Using datasets from Hub
Here we show how to fine-tune a Vision Transformer (ViT) on the beans dataset, to classify the disease type of bean leaves. The following will train a model and push it to the amyeroberts/vit-base-beans repo.
python run_image_classification.py \
    --dataset_name beans \
    --output_dir ./beans_outputs/ \
    --remove_unused_columns False \
    --do_train \
    --do_eval \
    --push_to_hub \
    --hub_model_id amyeroberts/vit-base-beans \
    --learning_rate 2e-5 \
    --num_train_epochs 5 \
    --per_device_train_batch_size 8 \
    --per_device_eval_batch_size 8 \
    --logging_strategy steps \
    --logging_steps 10 \
    --evaluation_strategy epoch \
    --save_strategy epoch \
    --load_best_model_at_end True \
    --save_total_limit 3 \
    --seed 1337
👀 See the results here: amyeroberts/vit-base-beans.
Note that you can replace the model and dataset by simply setting the model_name_or_path and dataset_name arguments respectively, with any model or dataset from the hub. For an overview of all possible arguments, we refer to the docs of the TrainingArguments, which can be passed as flags.
If your model classification head dimensions do not fit the number of labels in the dataset, you can specify
--ignore_mismatched_sizesto adapt it.
Using your own data
To use your own dataset, there are 2 ways:
- you can either provide your own folders as
--train_dirand/or--validation_dirarguments - you can upload your dataset to the hub (possibly as a private repo, if you prefer so), and simply pass the
--dataset_nameargument.
Below, we explain both in more detail.
Provide them as folders
If you provide your own folders with images, the script expects the following directory structure:
root/dog/xxx.png
root/dog/xxy.png
root/dog/[...]/xxz.png

root/cat/123.png
root/cat/nsdf3.png
root/cat/[...]/asd932_.png
In other words, you need to organize your images in subfolders, based on their class. You can then run the script like this:
python run_image_classification.py \
    --train_dir <path-to-train-root> \
    --output_dir ./outputs/ \
    --remove_unused_columns False \
    --do_train \
    --do_eval
Internally, the script will use the ImageFolder feature which will automatically turn the folders into 🤗 Dataset objects.
💡 The above will split the train dir into training and evaluation sets
- To control the split amount, use the
--train_val_splitflag. - To provide your own validation split in its own directory, you can pass the
--validation_dir <path-to-val-root>flag.
Upload your data to the hub, as a (possibly private) repo
To upload your image dataset to the hub you can use the ImageFolder feature available in 🤗 Datasets. Simply do the following:
from datasets import load_dataset

# example 1: local folder
dataset = load_dataset("imagefolder", data_dir="path_to_your_folder")

# example 2: local files (suppoted formats are tar, gzip, zip, xz, rar, zstd)
dataset = load_dataset("imagefolder", data_files="path_to_zip_file")

# example 3: remote files (suppoted formats are tar, gzip, zip, xz, rar, zstd)
dataset = load_dataset("imagefolder", data_files="https://download.microsoft.com/download/3/E/1/3E1C3F21-ECDB-4869-8368-6DEBA77B919F/kagglecatsanddogs_3367a.zip")

# example 4: providing several splits
dataset = load_dataset("imagefolder", data_files={"train": ["path/to/file1", "path/to/file2"], "test": ["path/to/file3", "path/to/file4"]})
ImageFolder will create a label column, and the label name is based on the directory name.
Next, push it to the hub!
# assuming you have ran the huggingface-cli login command in a terminal
dataset.push_to_hub("name_of_your_dataset")

# if you want to push to a private repo, simply pass private=True:
dataset.push_to_hub("name_of_your_dataset", private=True)
and that's it! You can now train your model by simply setting the --dataset_name argument to the name of your dataset on the hub (as explained in Using datasets from the 🤗 hub).
More on this can also be found in this blog post.
Sharing your model on 🤗 Hub
If you haven't already, sign up for a 🤗 account
Make sure you have
git-lfsinstalled and git set up.
$ apt install git-lfs
$ git config --global user.email "you@example.com"
$ git config --global user.name "Your Name"
- Log in with your HuggingFace account credentials using
huggingface-cli:
$ huggingface-cli login
# ...follow the prompts
- When running the script, pass the following arguments:
python run_image_classification.py \
    --push_to_hub \
    --push_to_hub_model_id <name-your-model> \
    ...