
huggingface 部署酒馆教程 (带对话记录同步功能)
准备工作
- 用于同步数据的github仓库
- 用户同步数据的github凭证
- 下载初始酒馆项目
- huggingface账号(略)
step 1
新建一个空项目,用于存储用户数据 点我
注意是空的,不要勾选 [Add a README file] 选项, 可以选私有化
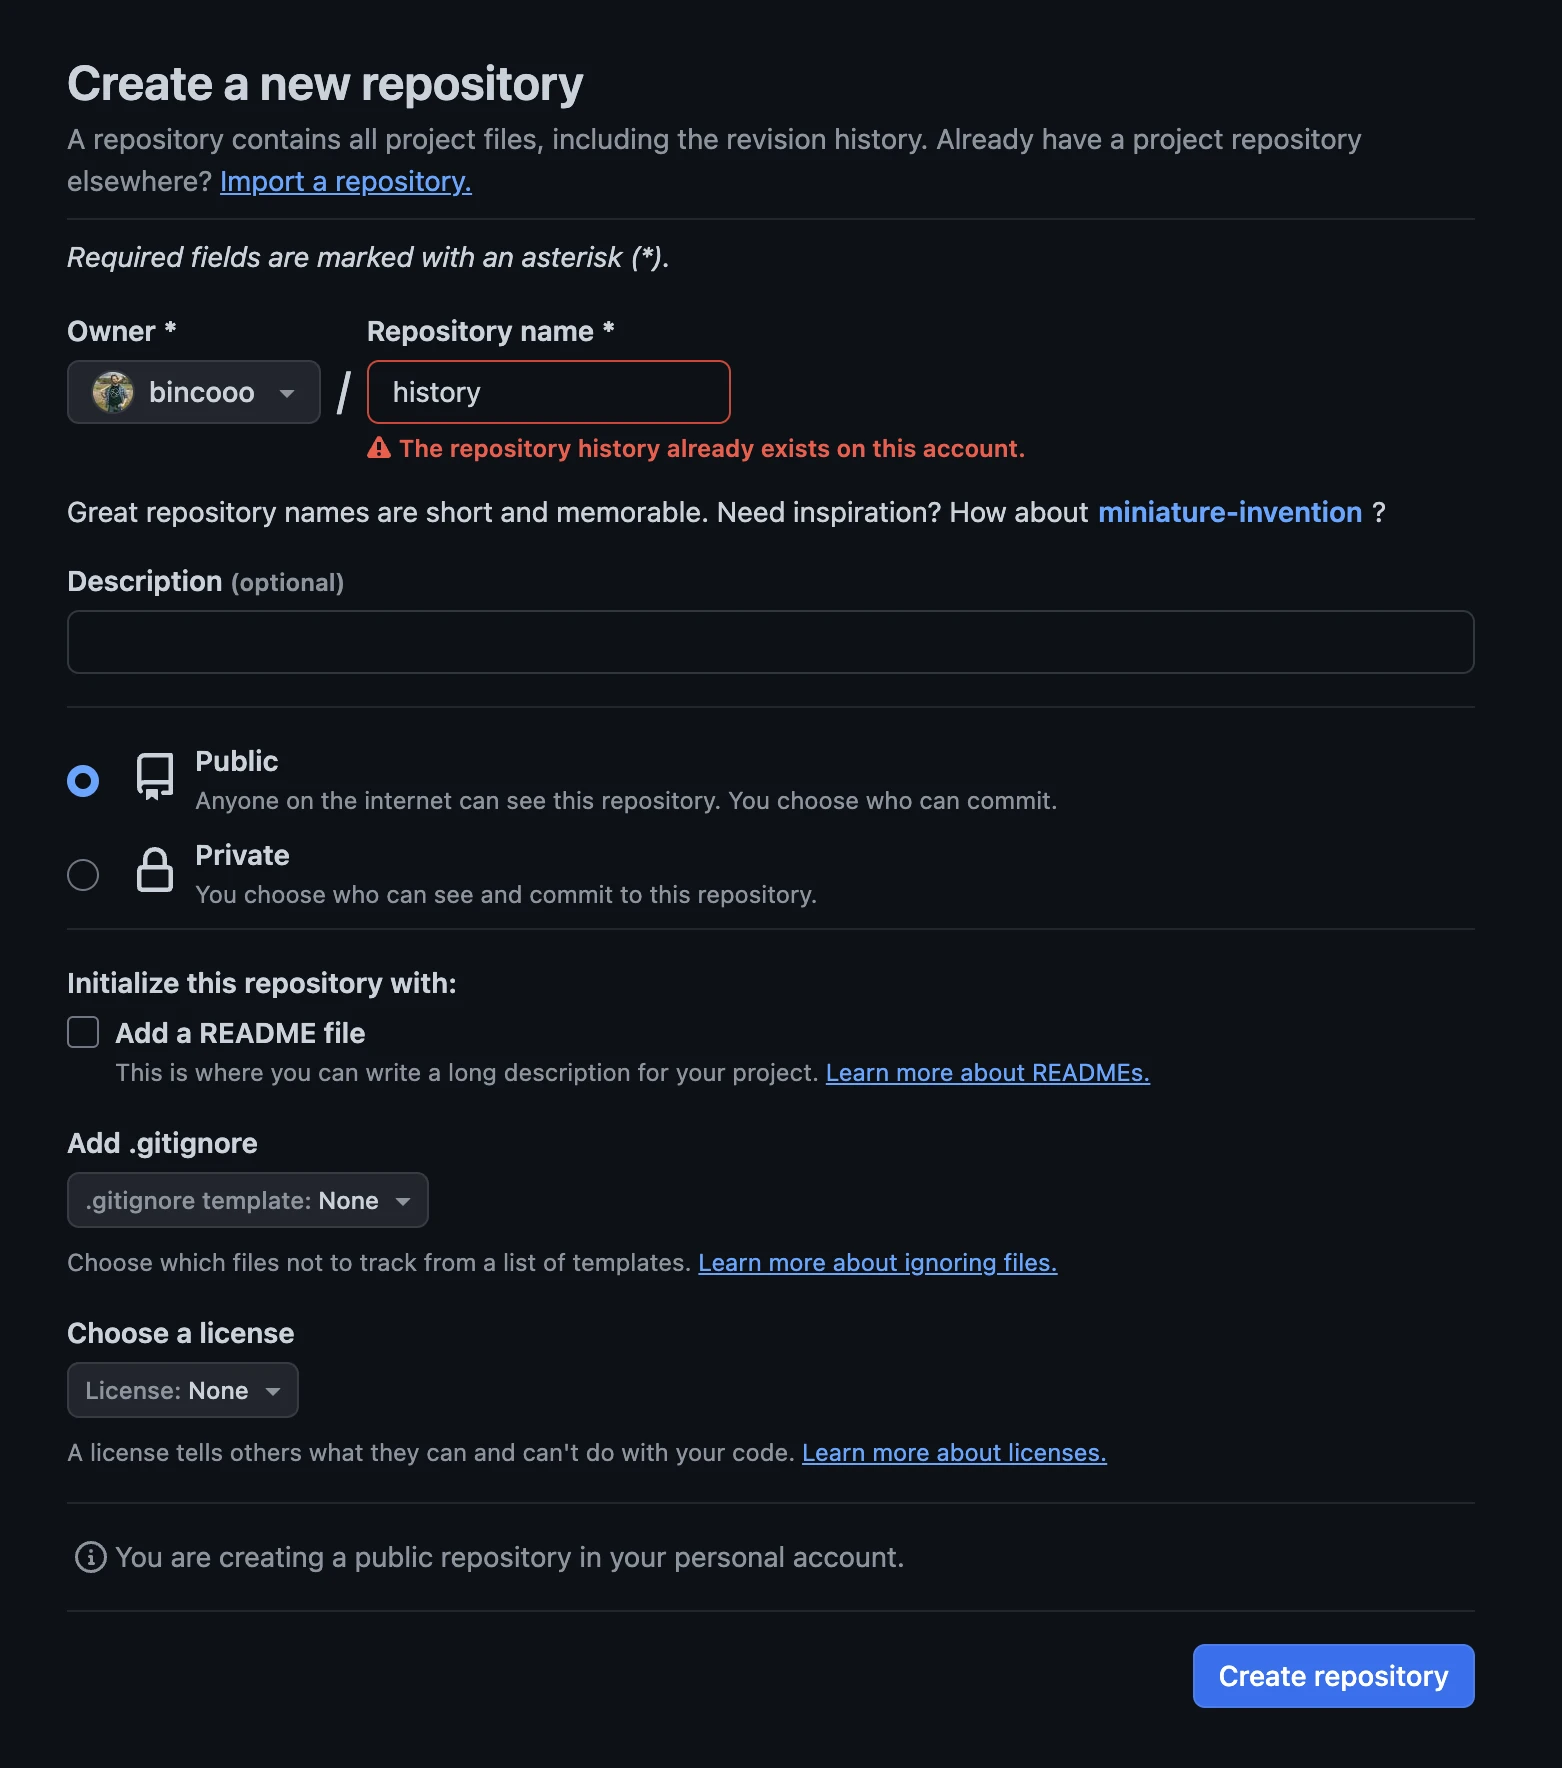
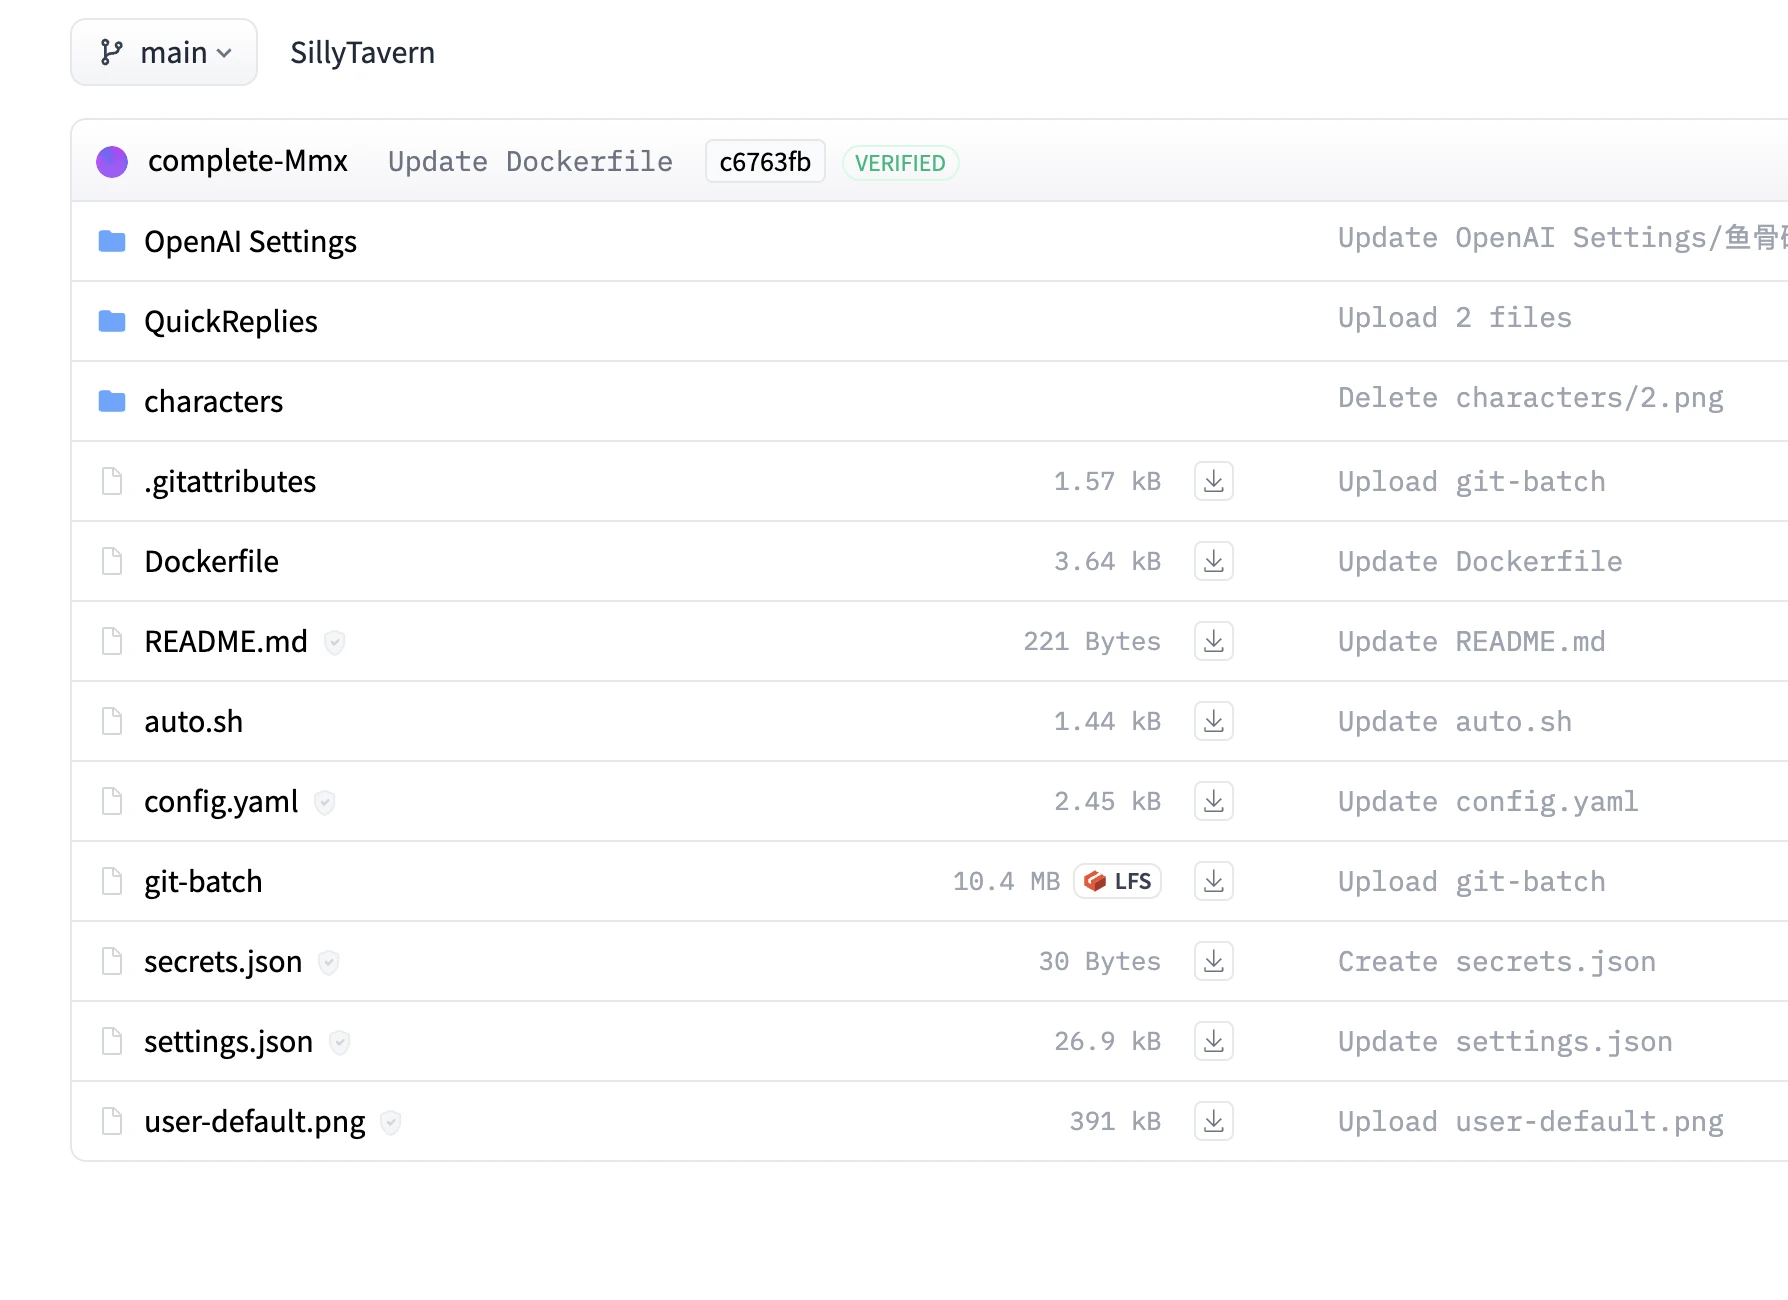
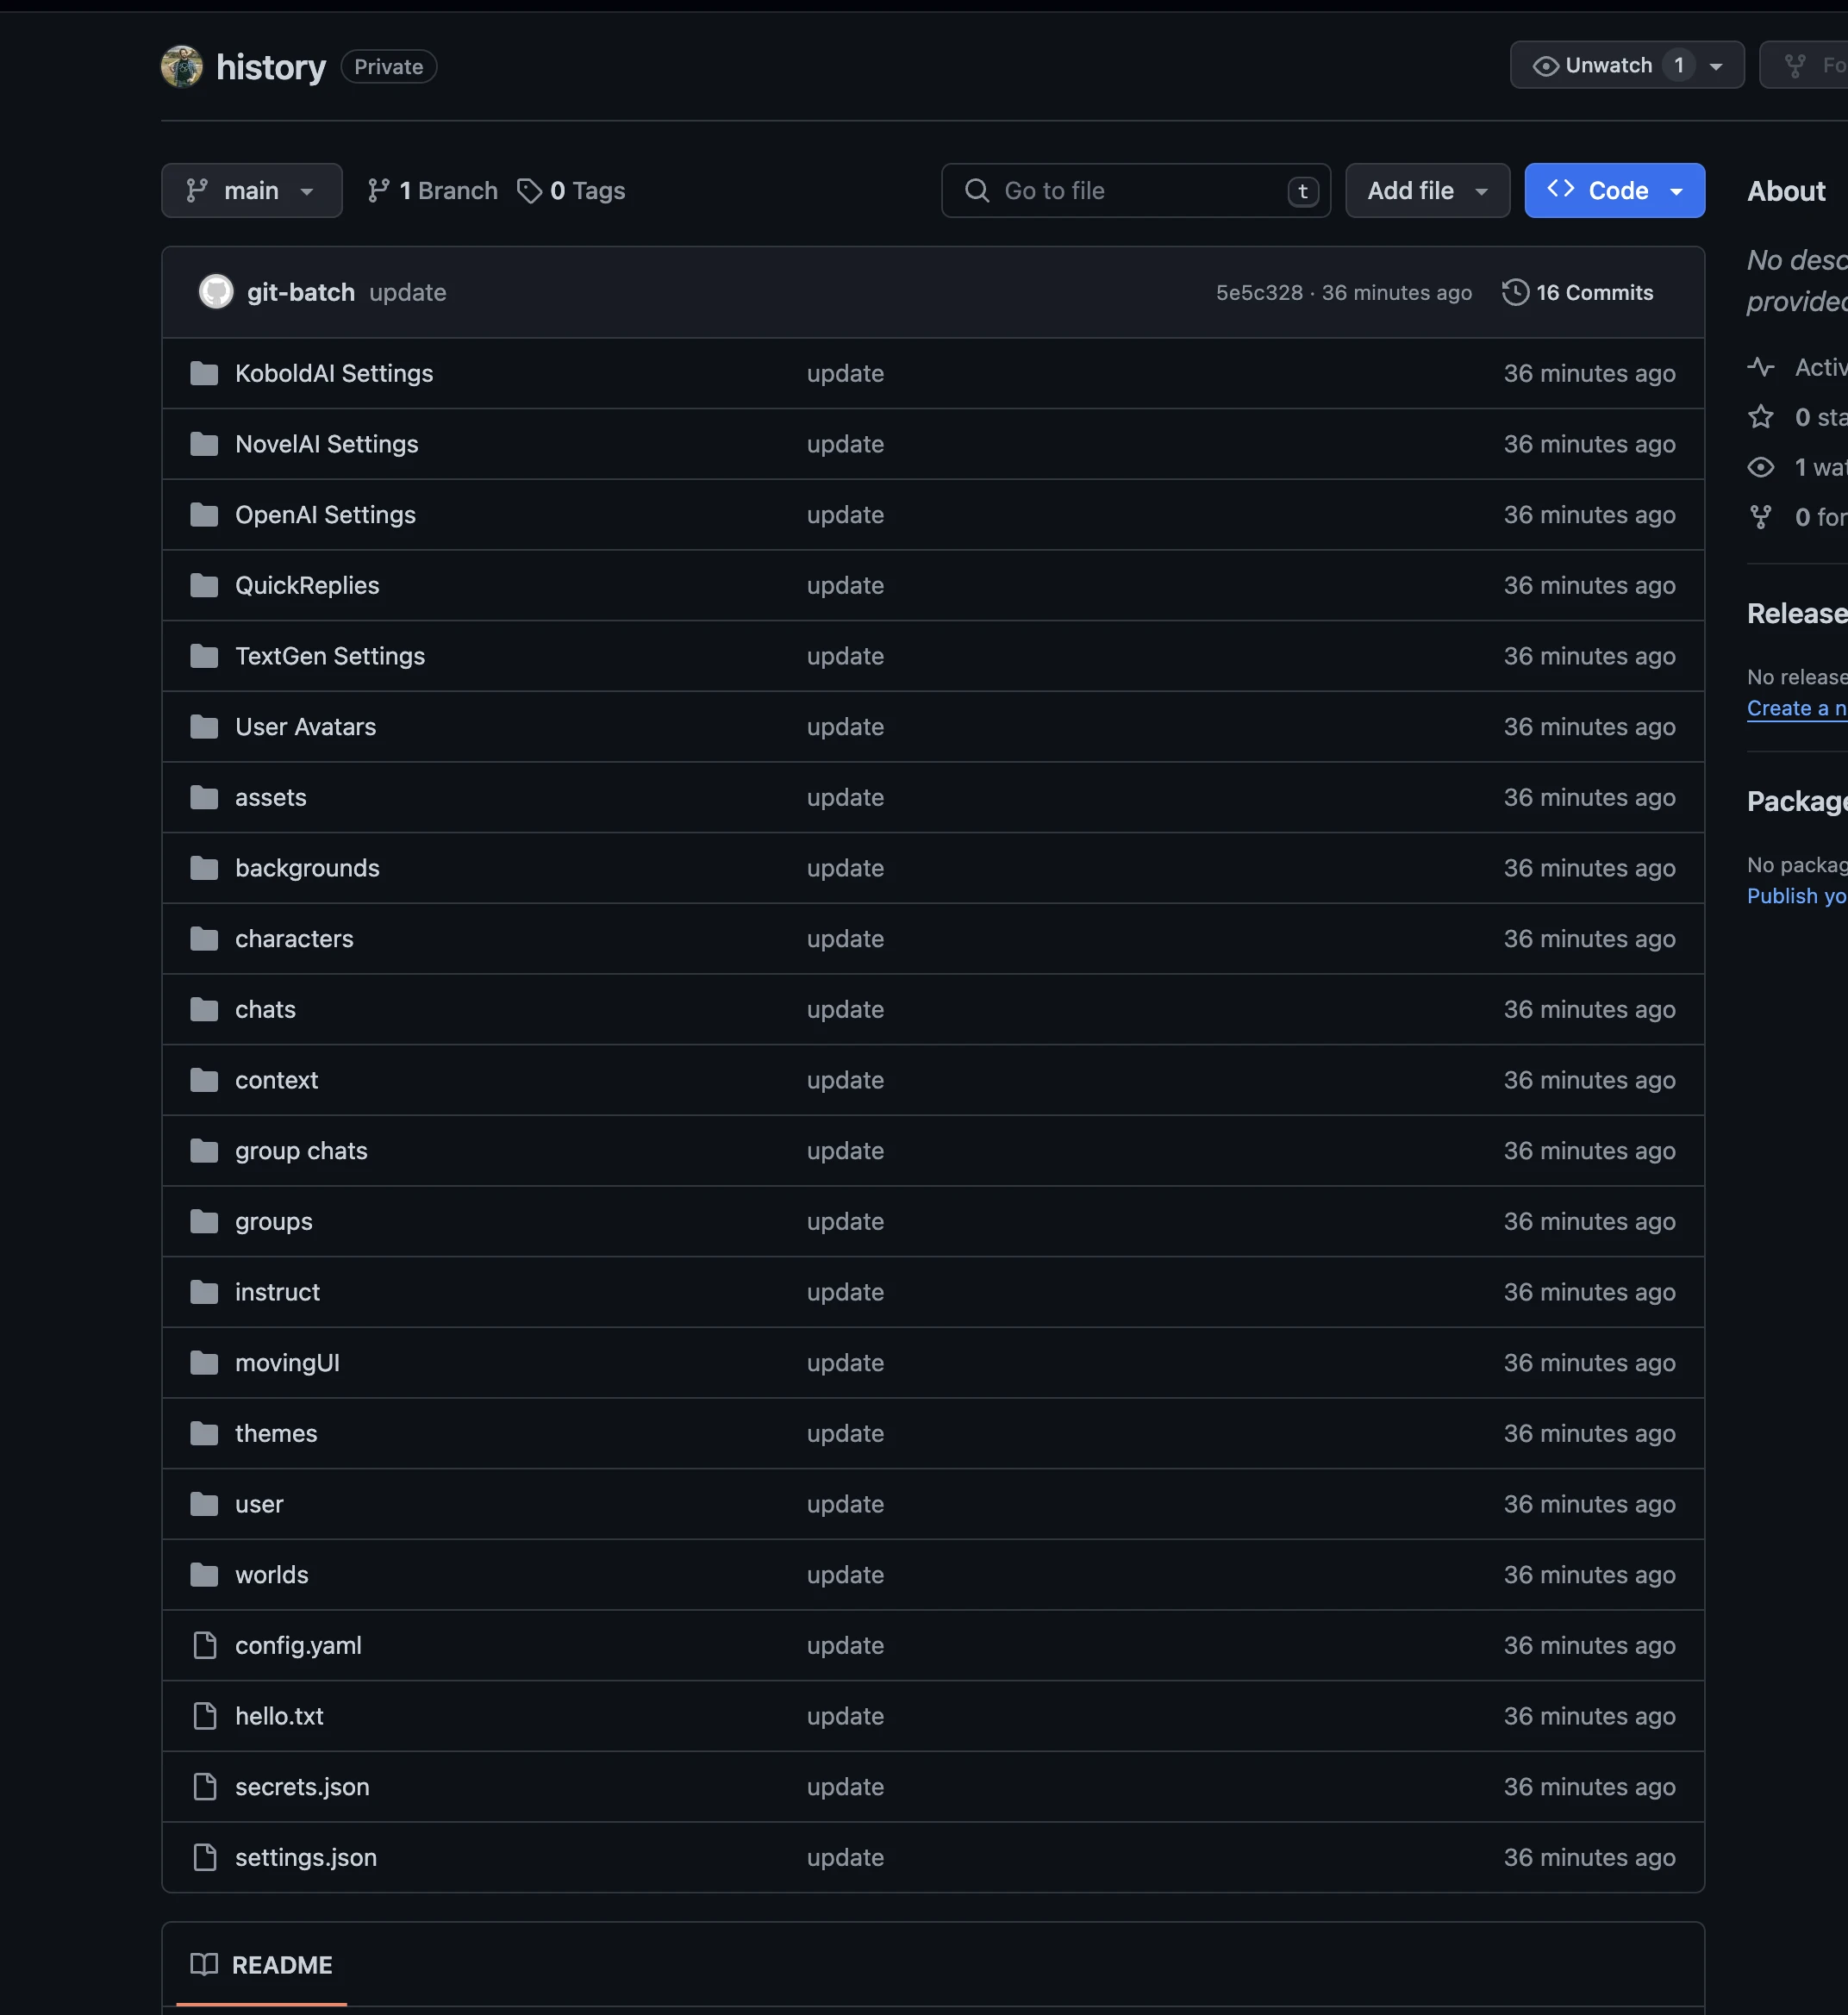
如图所示,我创建了一个项目: bincooo/history
step 2
创建一个github访问凭证token,用于同步历史数据 点我
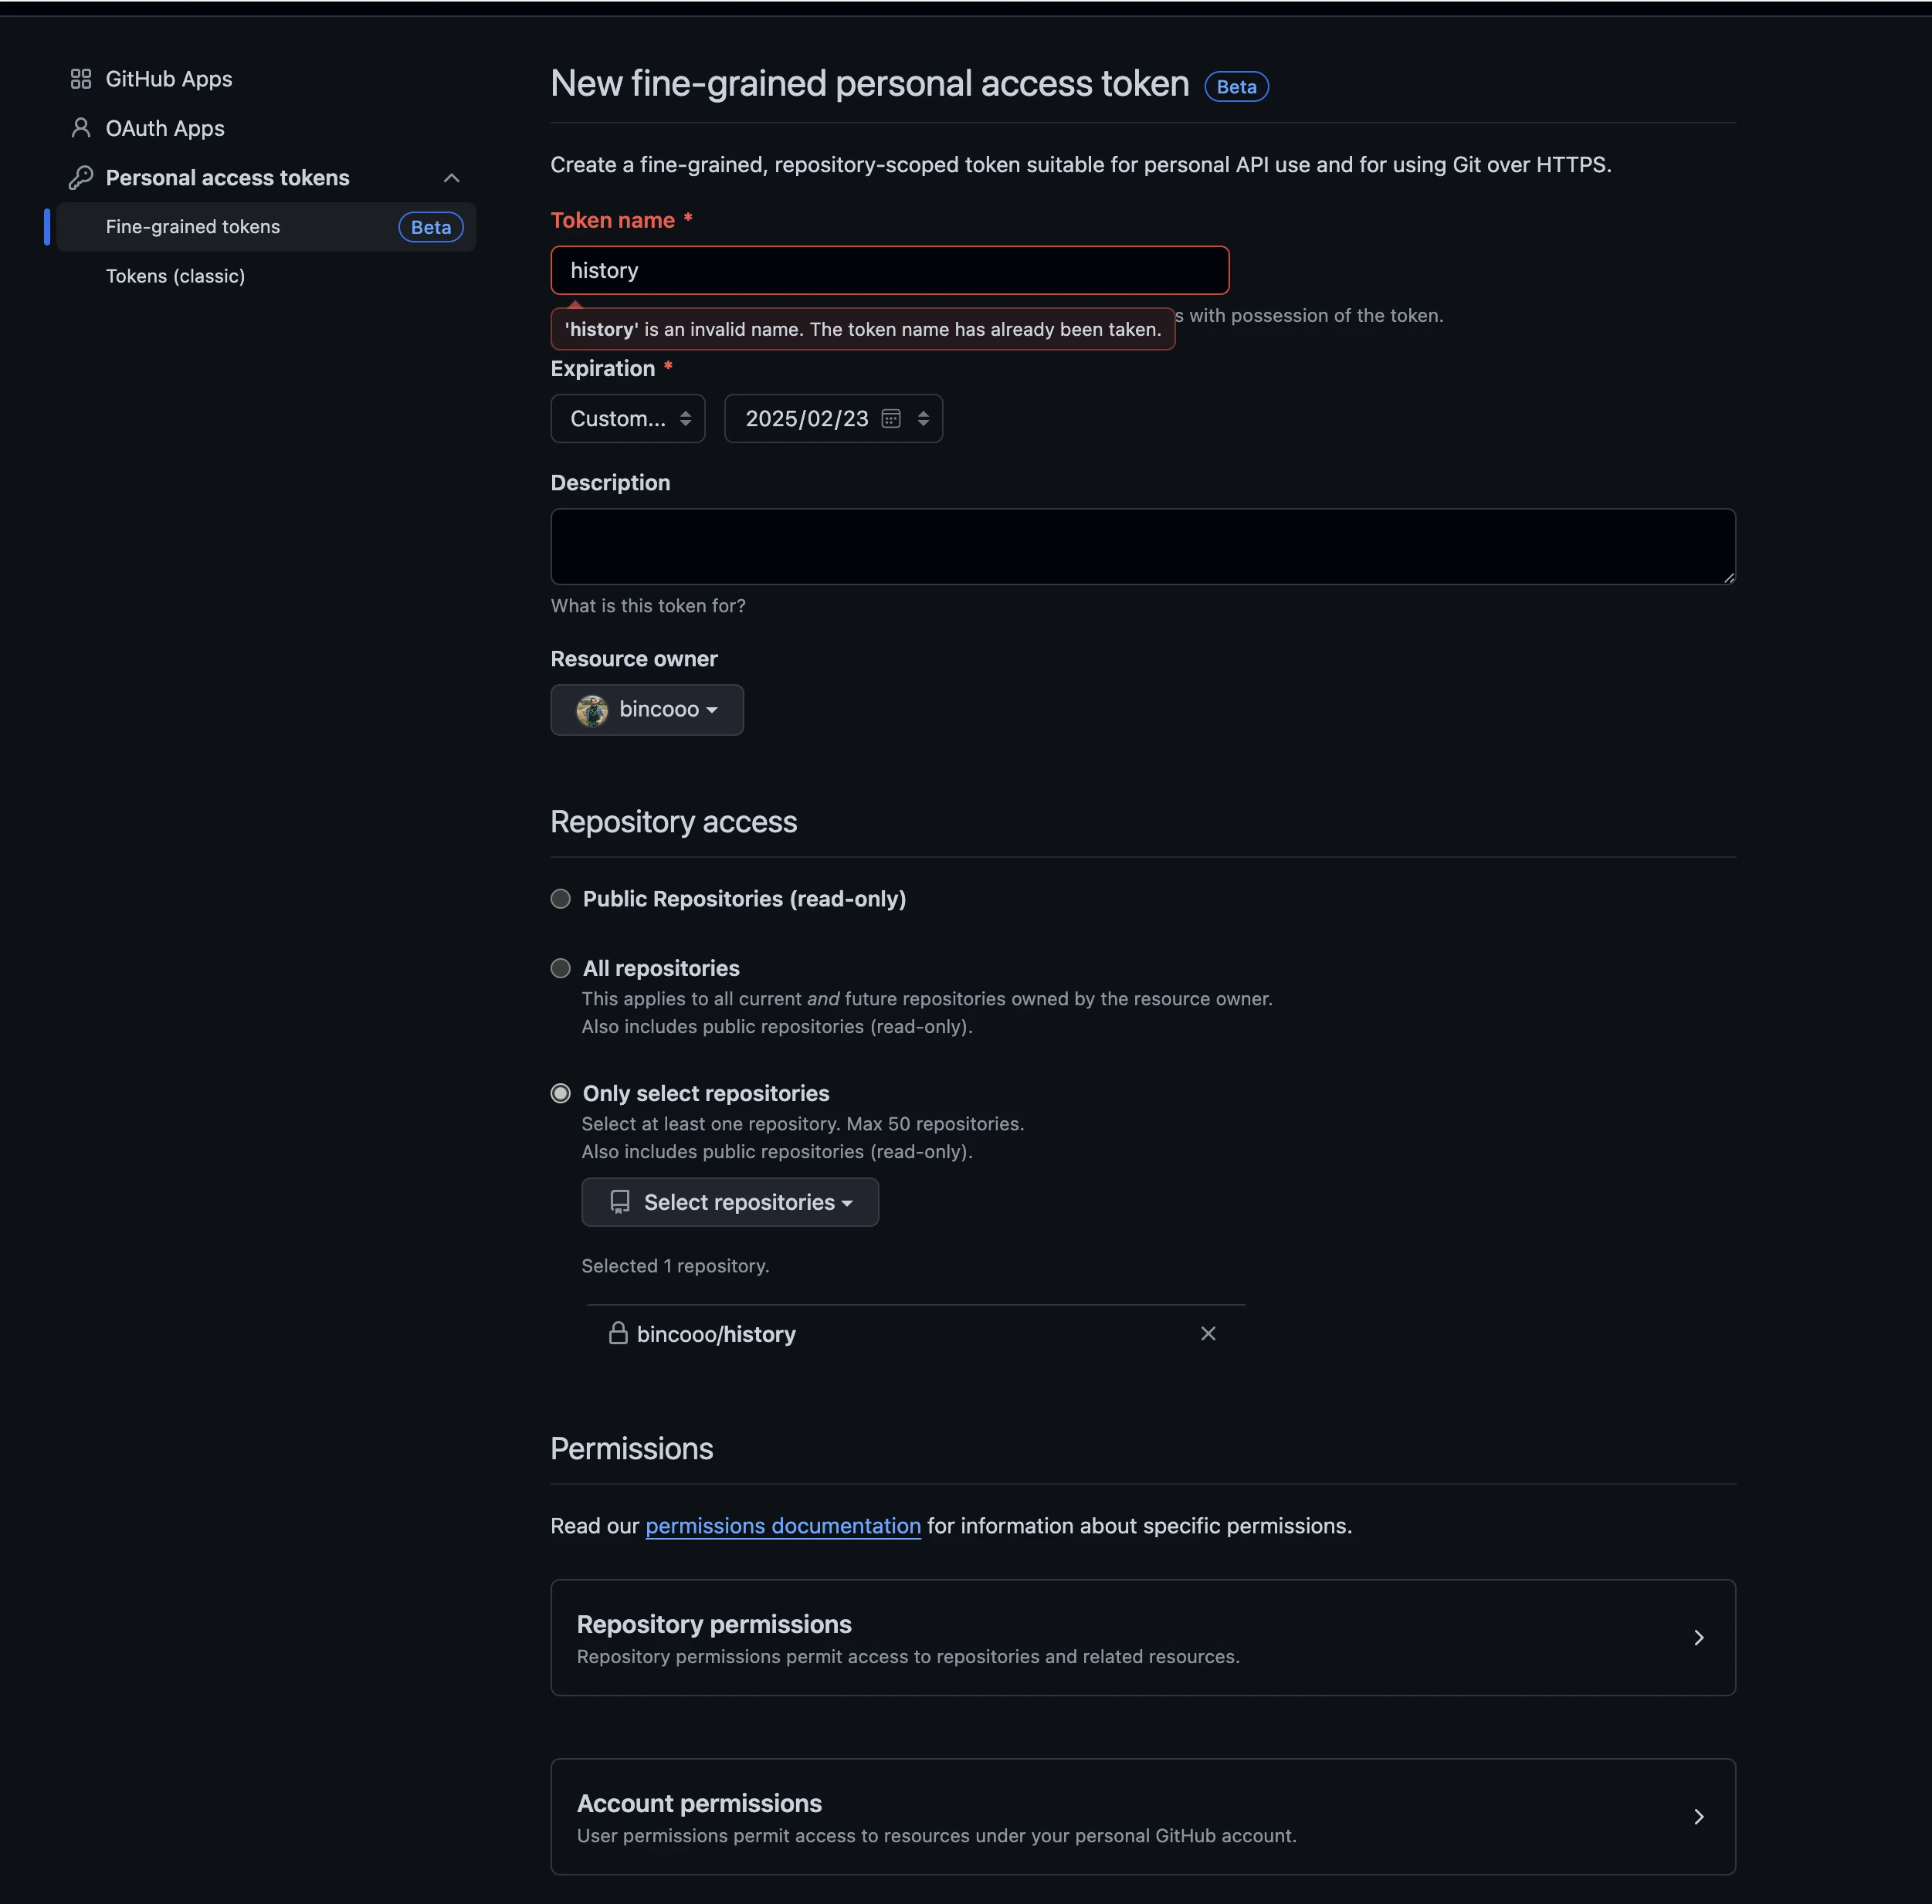
填写 Token name: history (随意)
填写 Expiration: 过期日期 (随意,没有永久选项)
选择 Only select repositories
选择 Select repositories: bincooo/history (你创建的项目)
点开 Repository permissions (授权)
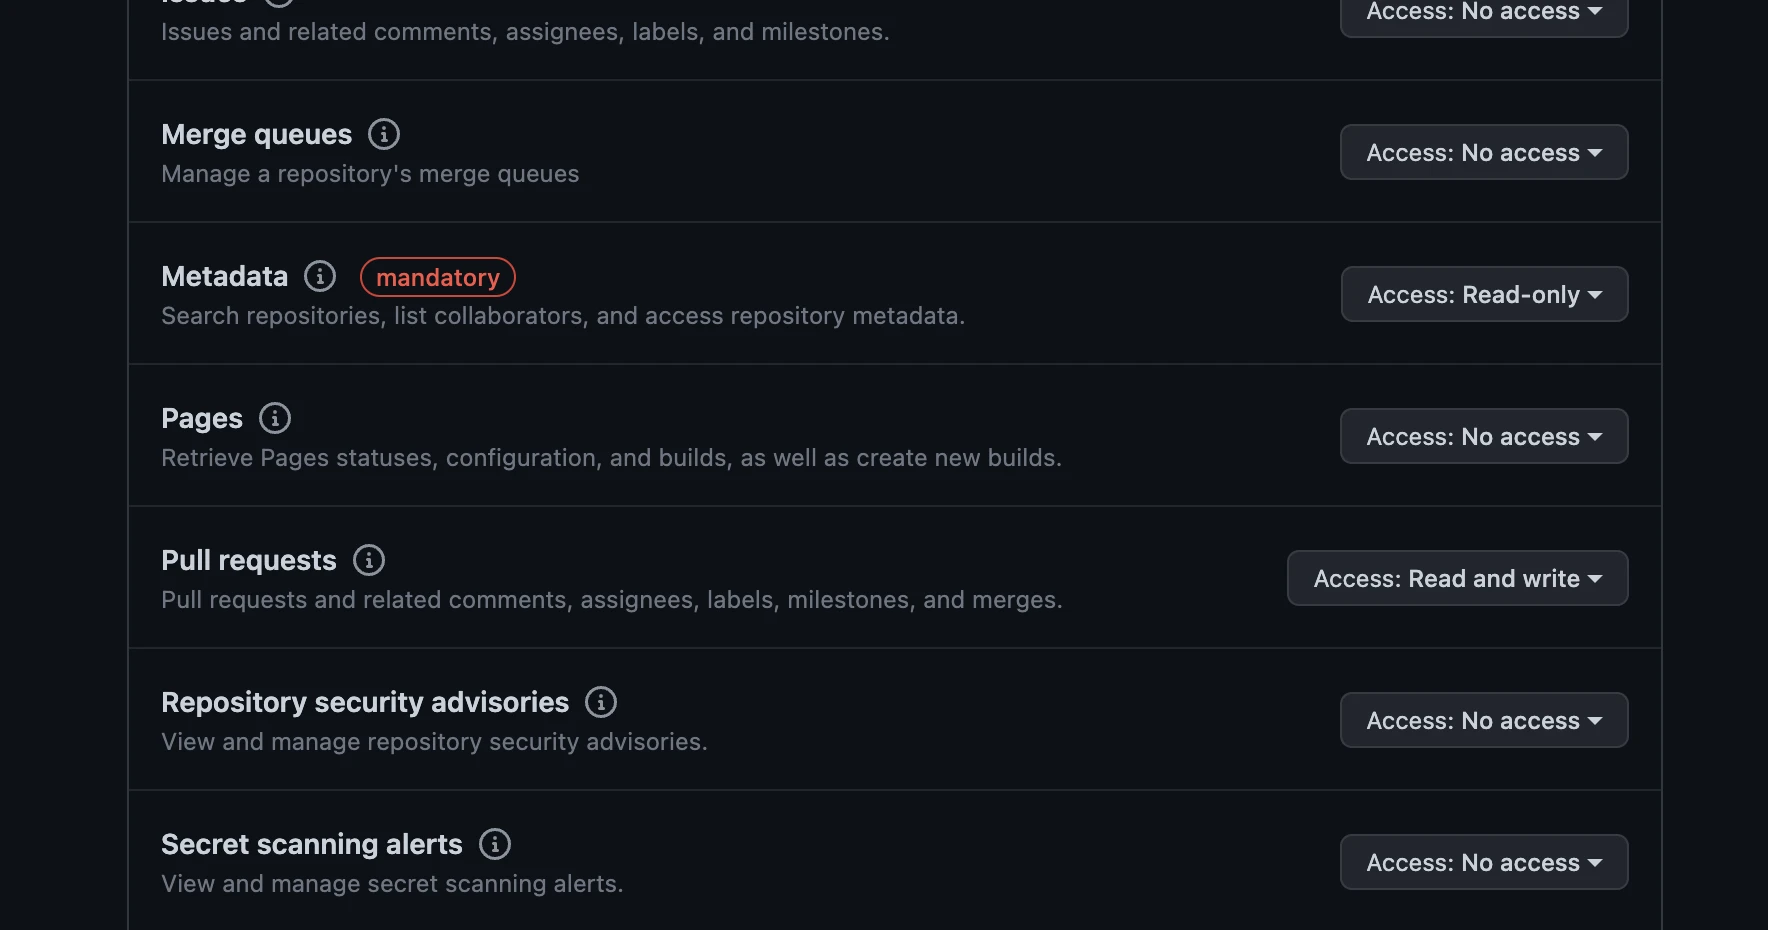
选择 Pull requests: Access: Read and write (授权读写)
最后点击最下面的生成按钮 Generate token
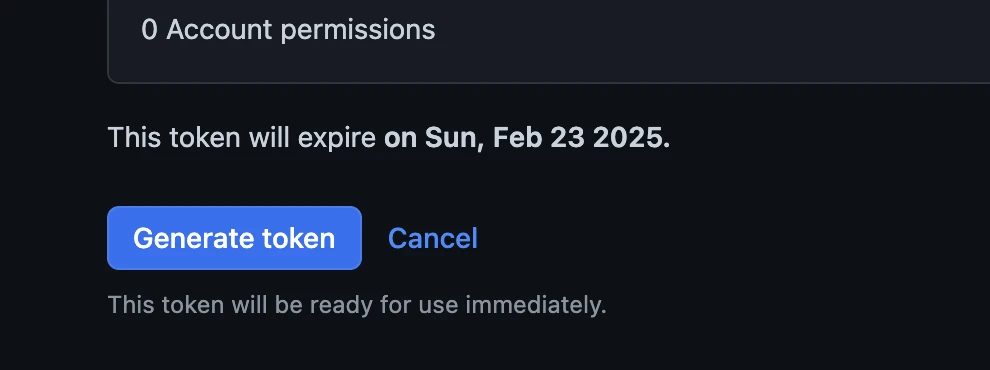
保存好你生成的token,离开这个页面后就再也看不到了
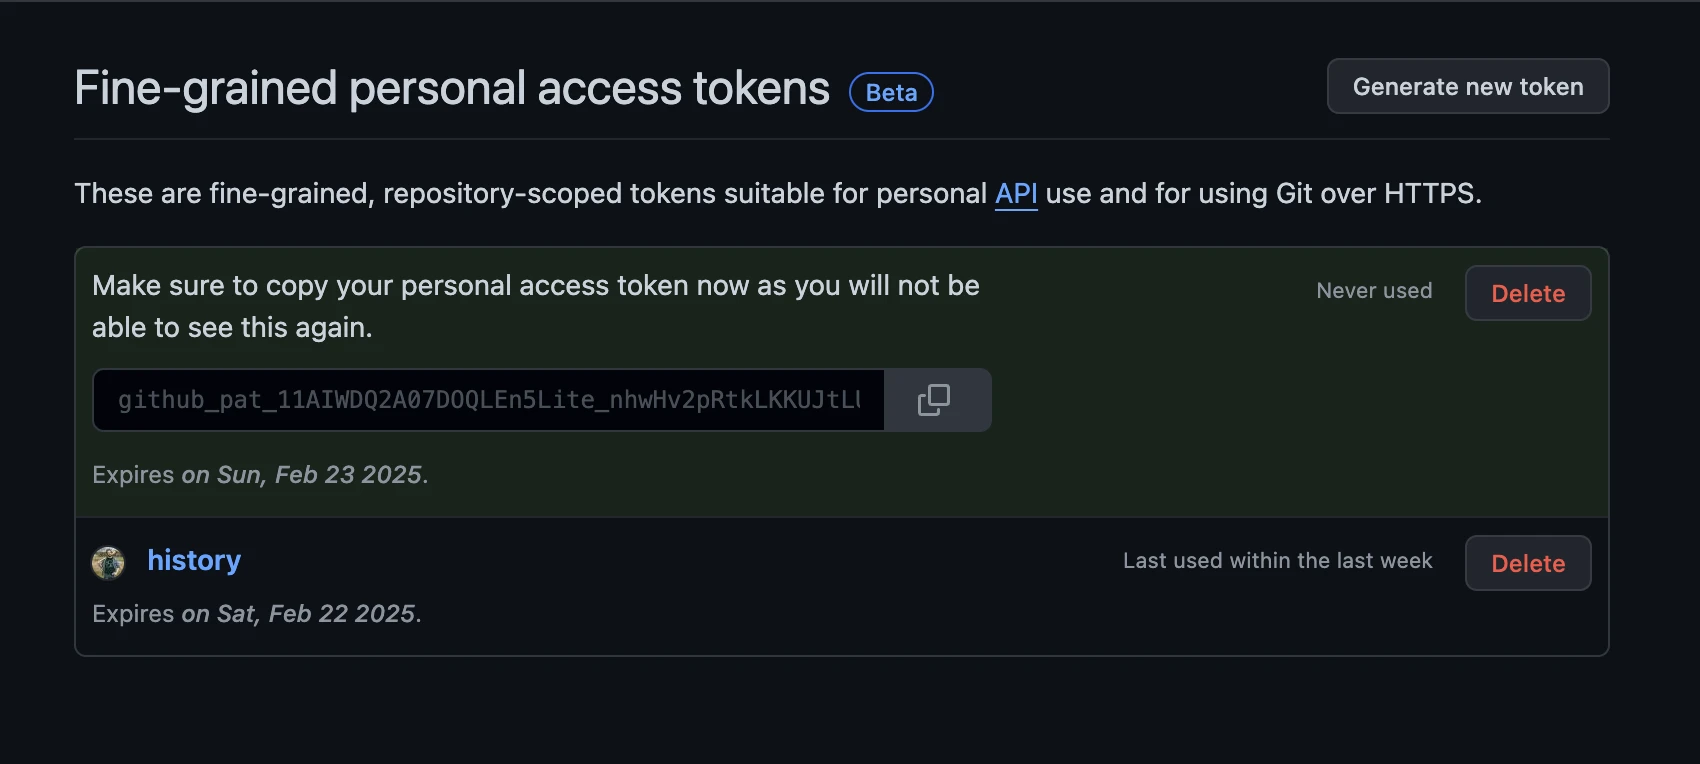
github_pat_11AIWDQ2A07DOQLEn5Lite_nhwHv2pxxxxx
step 3
https://github.com/bincooo/SillyTavern-Docker.git
到这个项目去下载下来
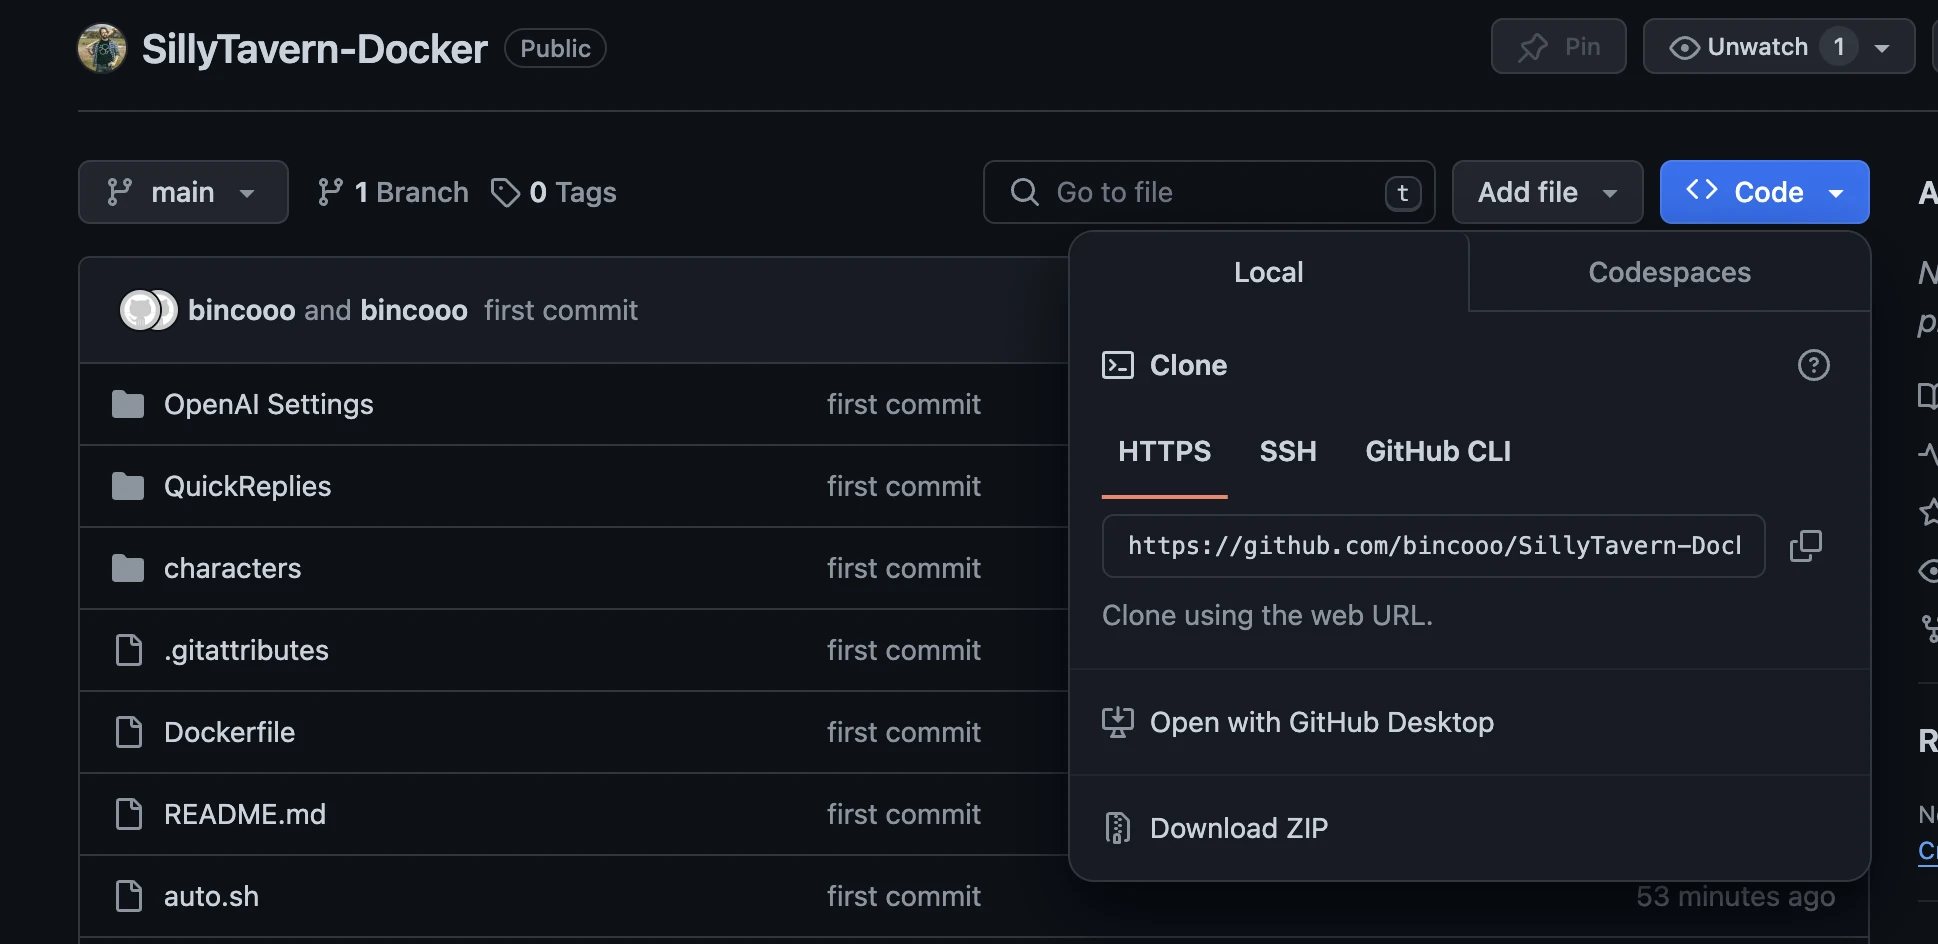
点击 Download ZIP 下载, 并解压
step 4
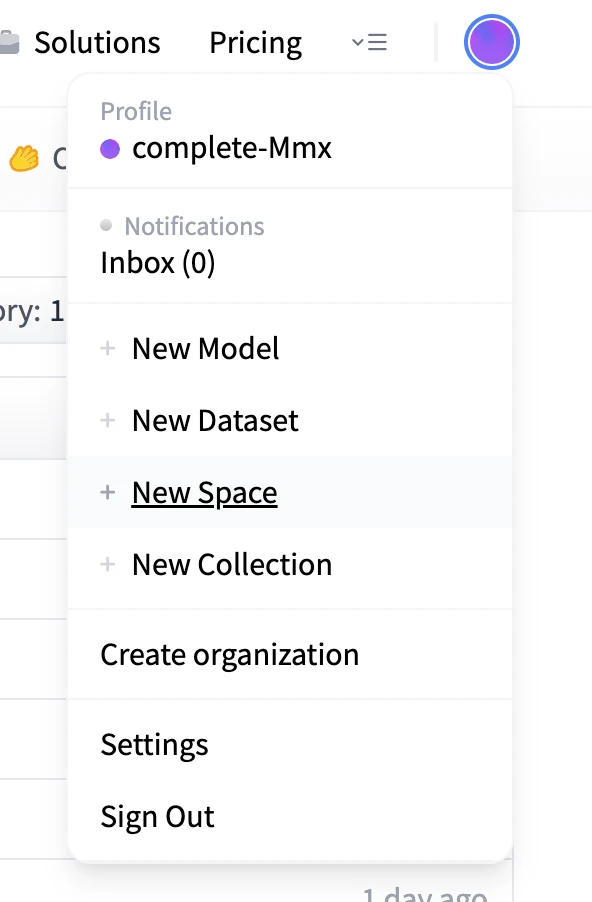
进入 huggingface 新建 space: 点击头像里的 New Space
创建完后,上传解压文件内容:Upload files
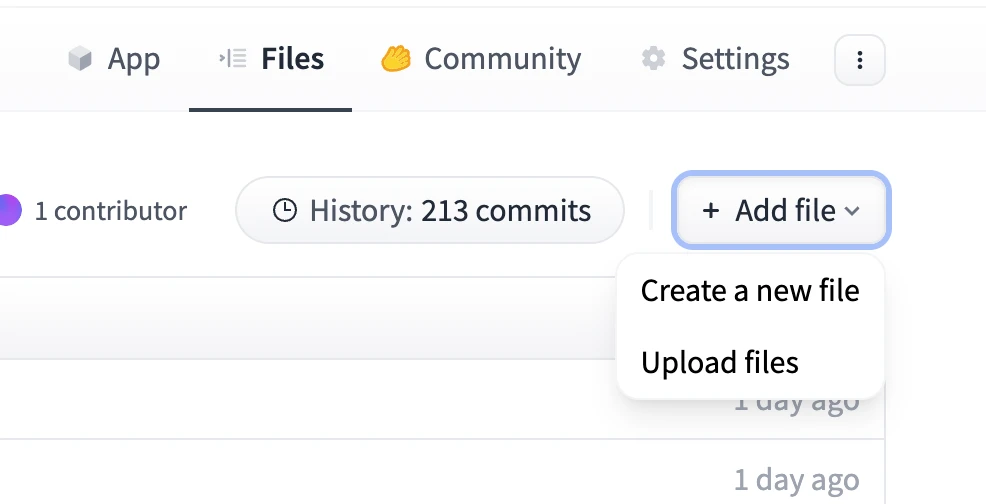
进入解压目录全选所有文件,拖入到上传控件
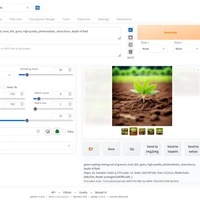
点击 Dockerfile 文件 编辑它
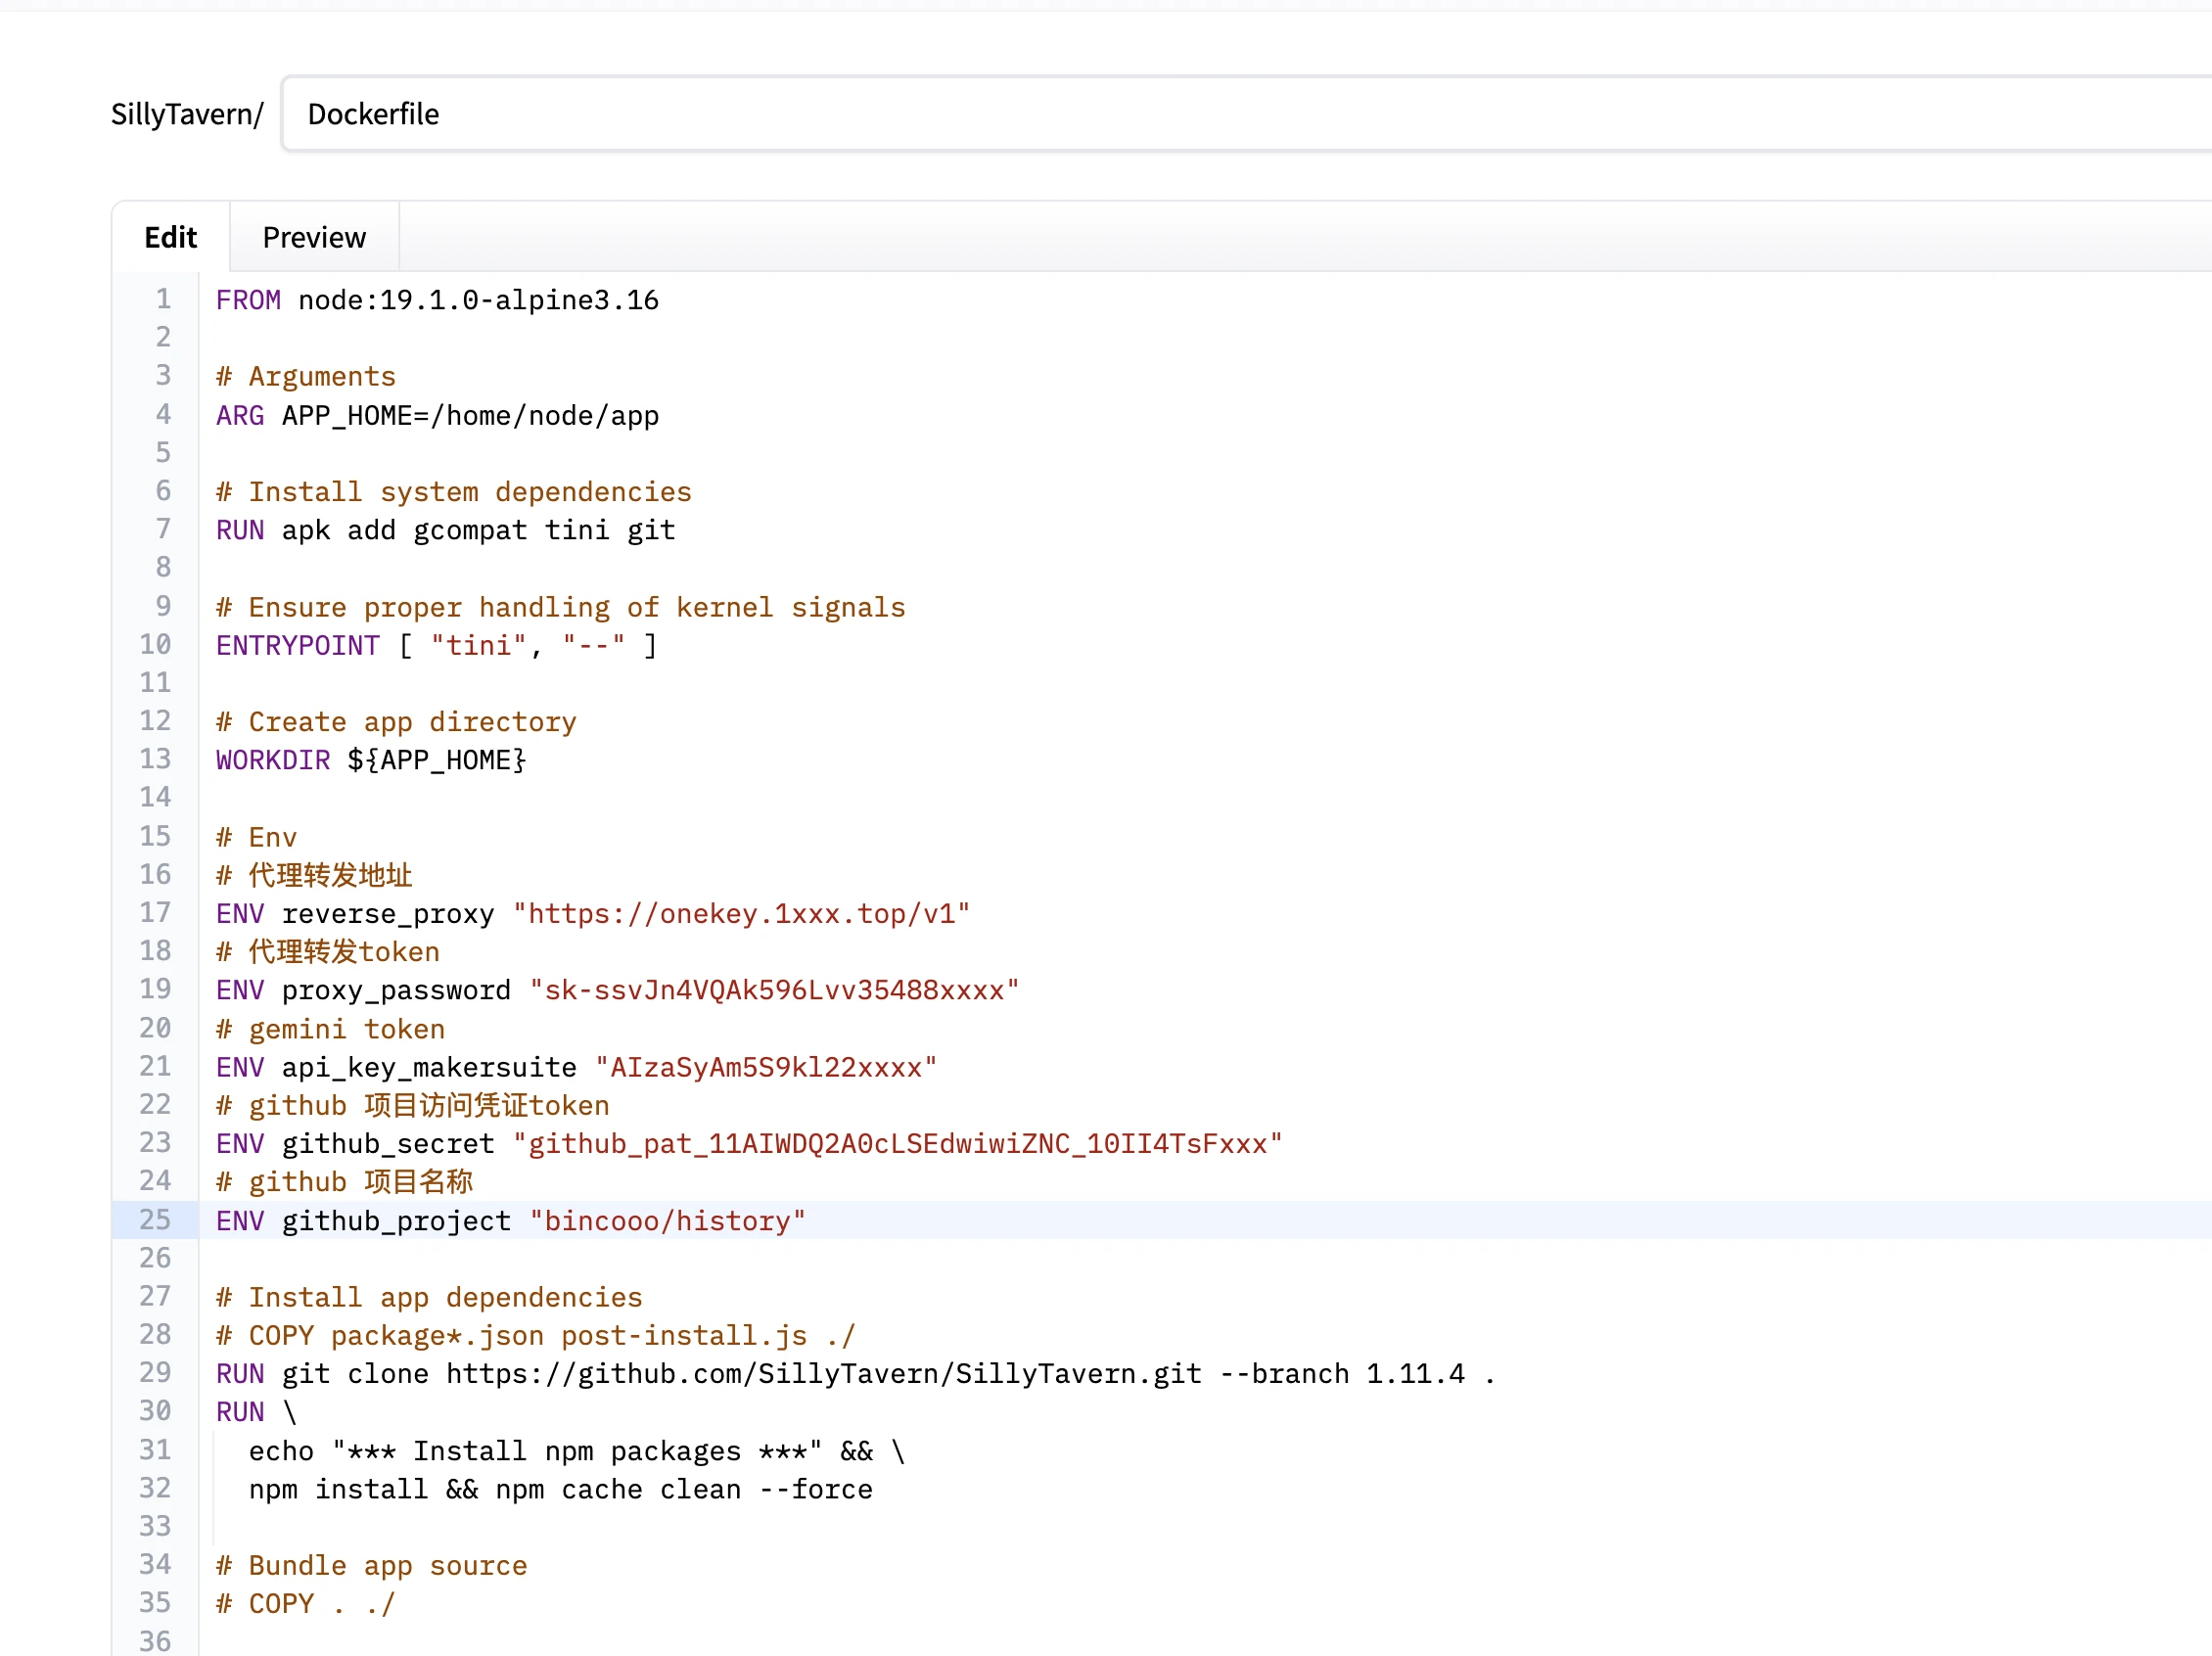
修改这部分内容:(不要照抄,这里的是假数据)
# Env
# 代理转发地址
ENV reverse_proxy "https://onekey.1xxx.top/v1"
# 代理转发token
ENV proxy_password "sk-ssvJn4VQAk596Lvv35488xxxx"
# gemini token
ENV api_key_makersuite "AIzaSyAm5S9kl22xxxx"
# github 项目访问凭证token
ENV github_secret "github_pat_11AIWDQ2A0cLSEdwiwiZNC_10II4TsFxxx"
# github 项目名称
ENV github_project "bincooo/history"
最后点击下面的 Commit changes main 保存即可
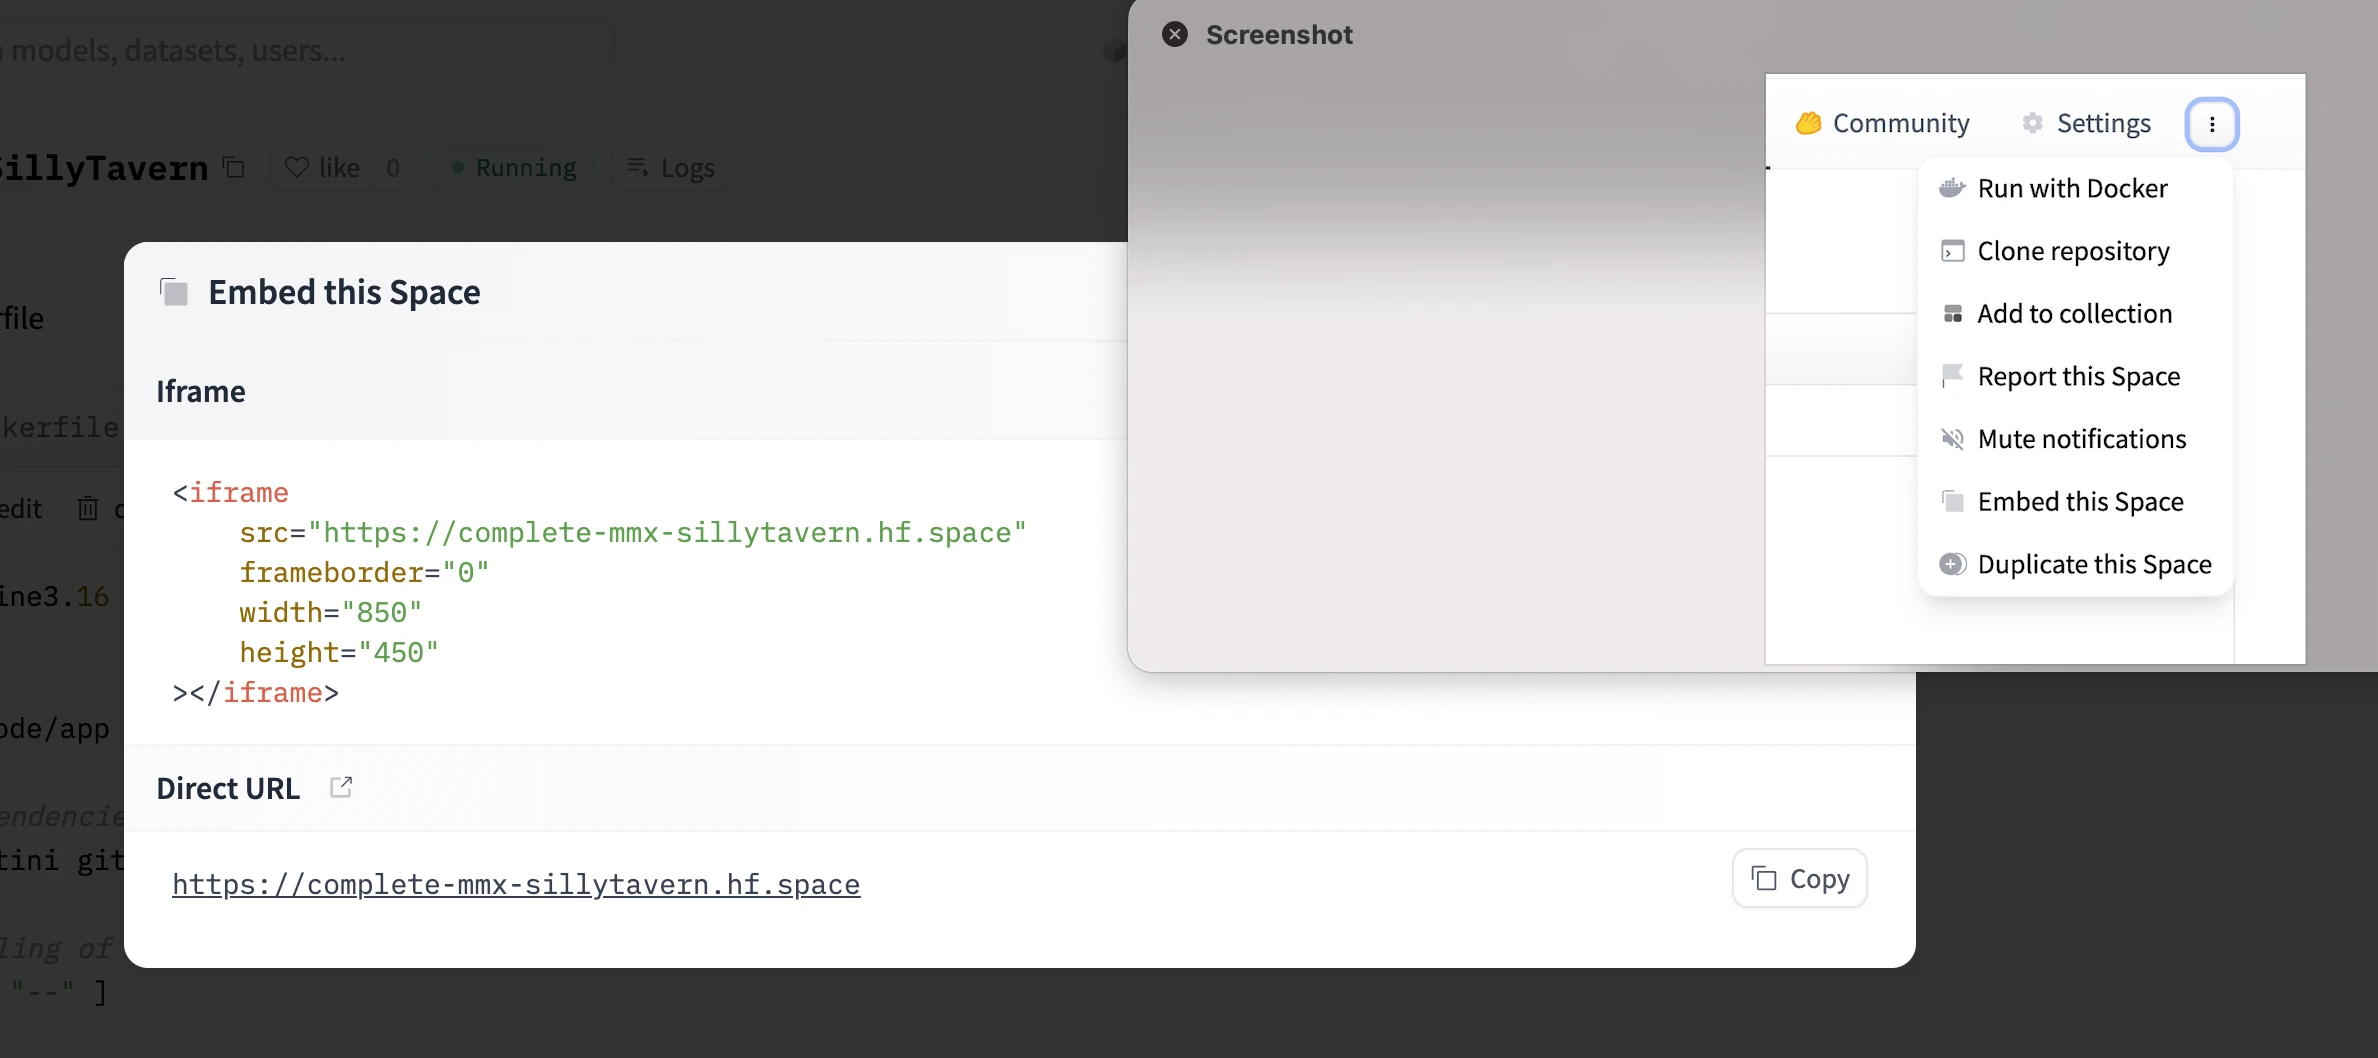
等待部署进度,变绿后获取访问链接:Embed this space
正常运行后会同步数据到你创建的github 项目下:
=====
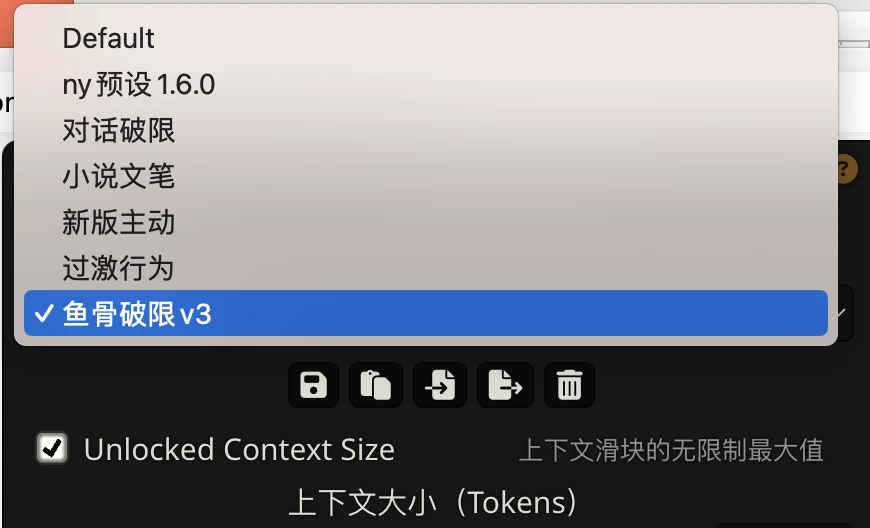
已默认导入了几个破限选项,也预置好了超级记忆

最后,同步代码书写不易,且用且珍惜 祝各位都能成功白嫖!