
File size: 3,459 Bytes
c9601ab |
1 2 3 4 5 6 7 8 9 10 11 12 13 14 15 16 17 18 19 20 21 22 23 24 25 26 27 28 29 30 31 32 33 34 35 36 37 38 39 40 41 42 43 44 45 46 47 48 49 50 51 52 53 54 55 56 57 58 59 60 61 62 63 64 65 66 67 68 69 70 71 72 73 74 75 76 77 78 79 80 81 82 83 84 85 86 87 88 89 90 91 92 93 94 95 96 97 98 99 100 101 102 103 104 105 106 107 108 109 110 111 112 113 114 115 116 117 118 119 120 121 122 123 124 125 126 127 128 129 130 131 132 133 134 135 136 137 138 139 140 141 142 143 144 145 146 147 148 149 |
### huggingface 部署酒馆教程 (带对话记录同步功能)
#### 准备工作
1. 用于同步数据的github仓库
2. 用户同步数据的github凭证
3. 下载初始酒馆项目
4. huggingface账号(略)
#### step 1
新建一个空项目,用于存储用户数据 [点我](https://github.com/new)
注意是空的,不要勾选 [Add a README file] 选项, 可以选私有化
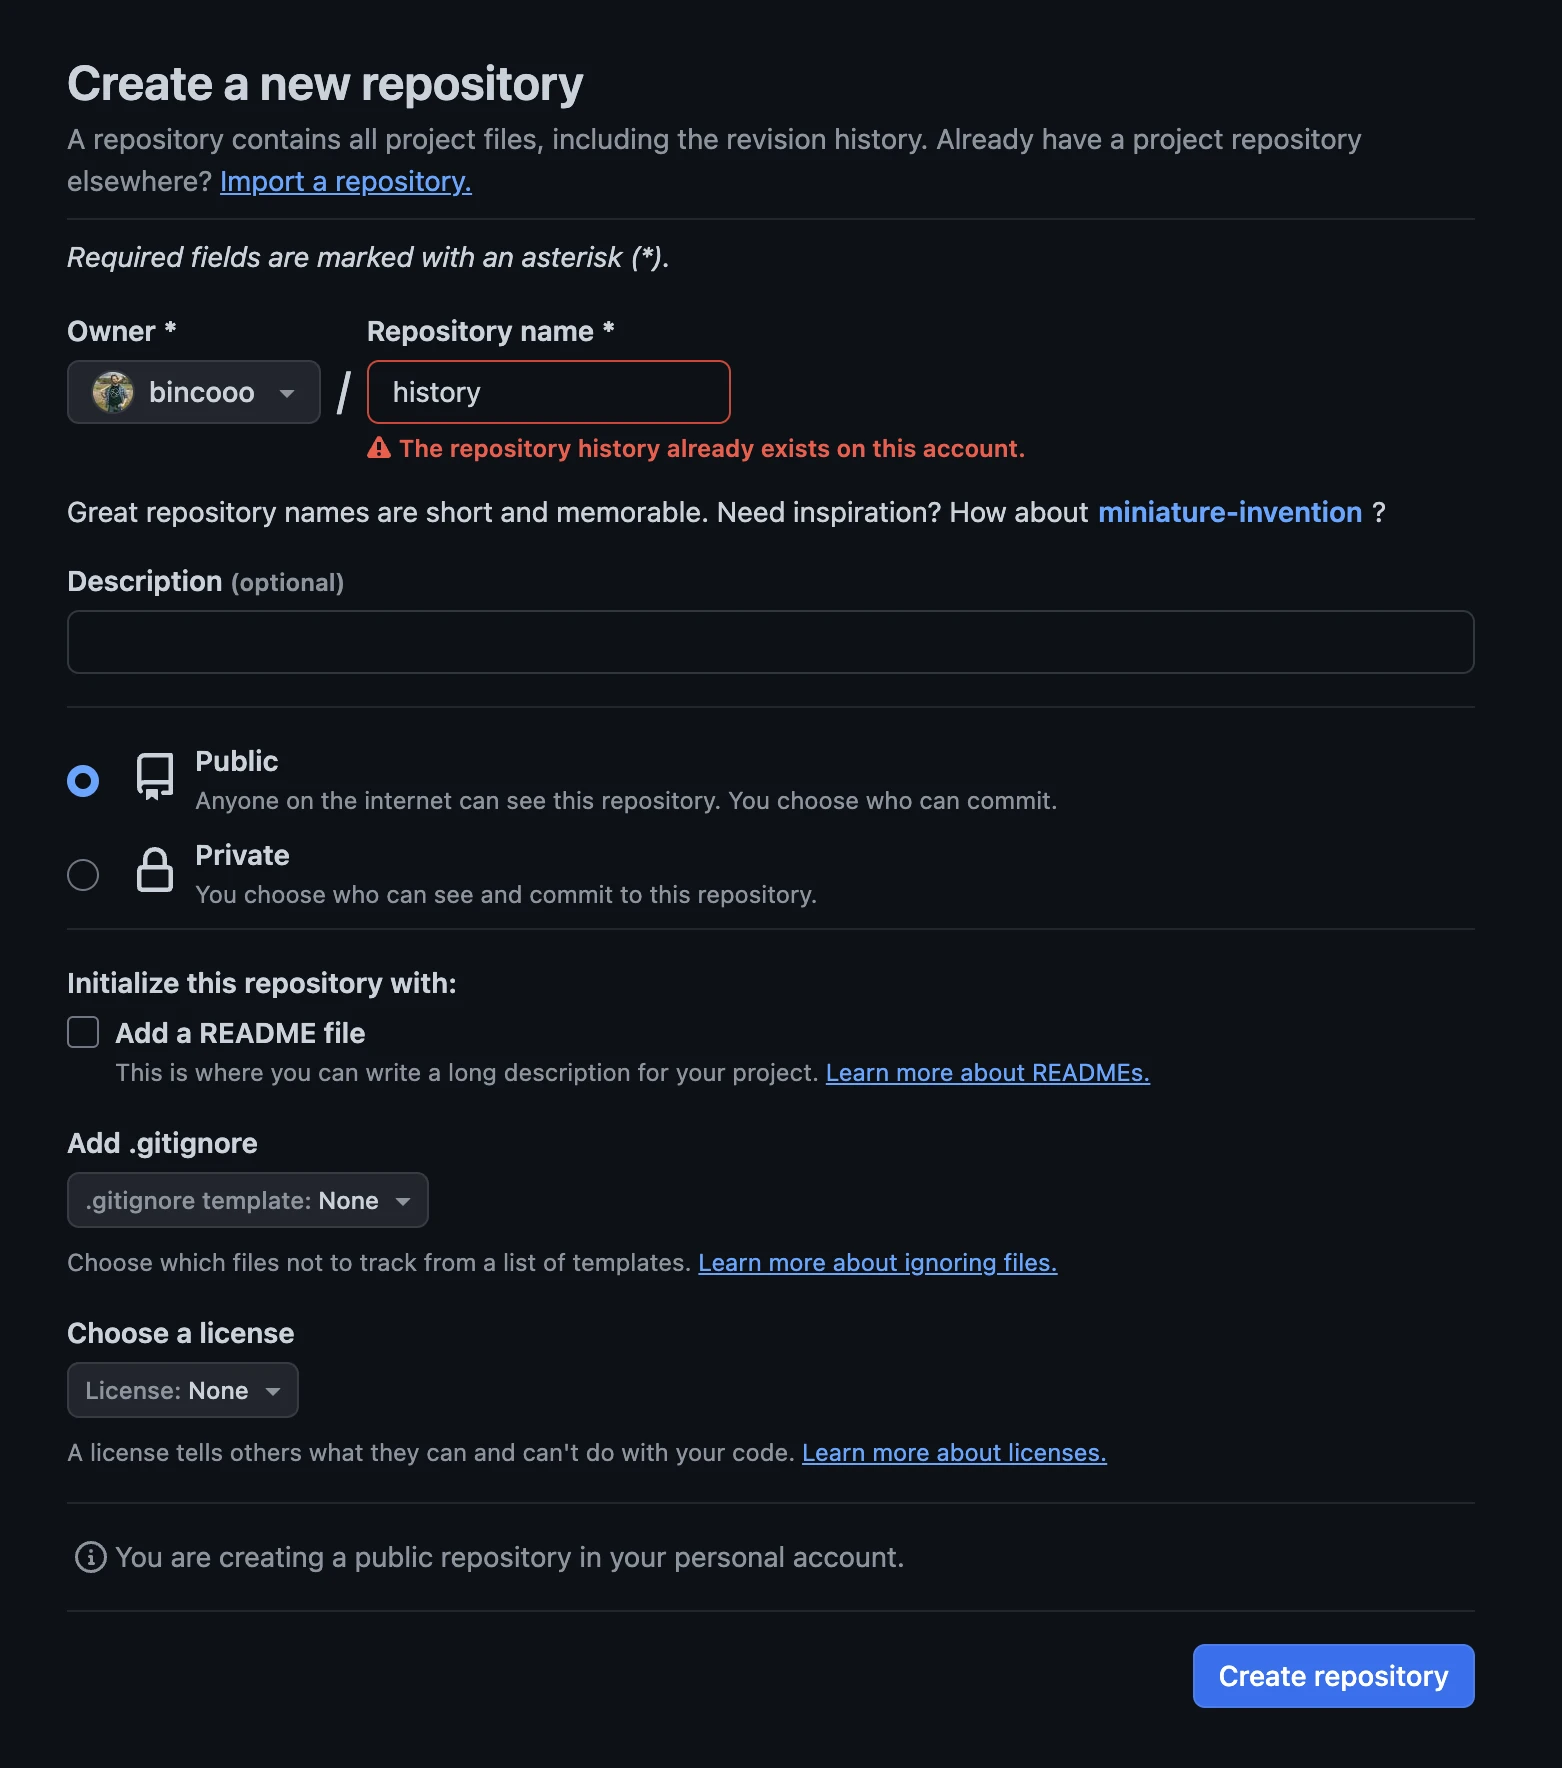
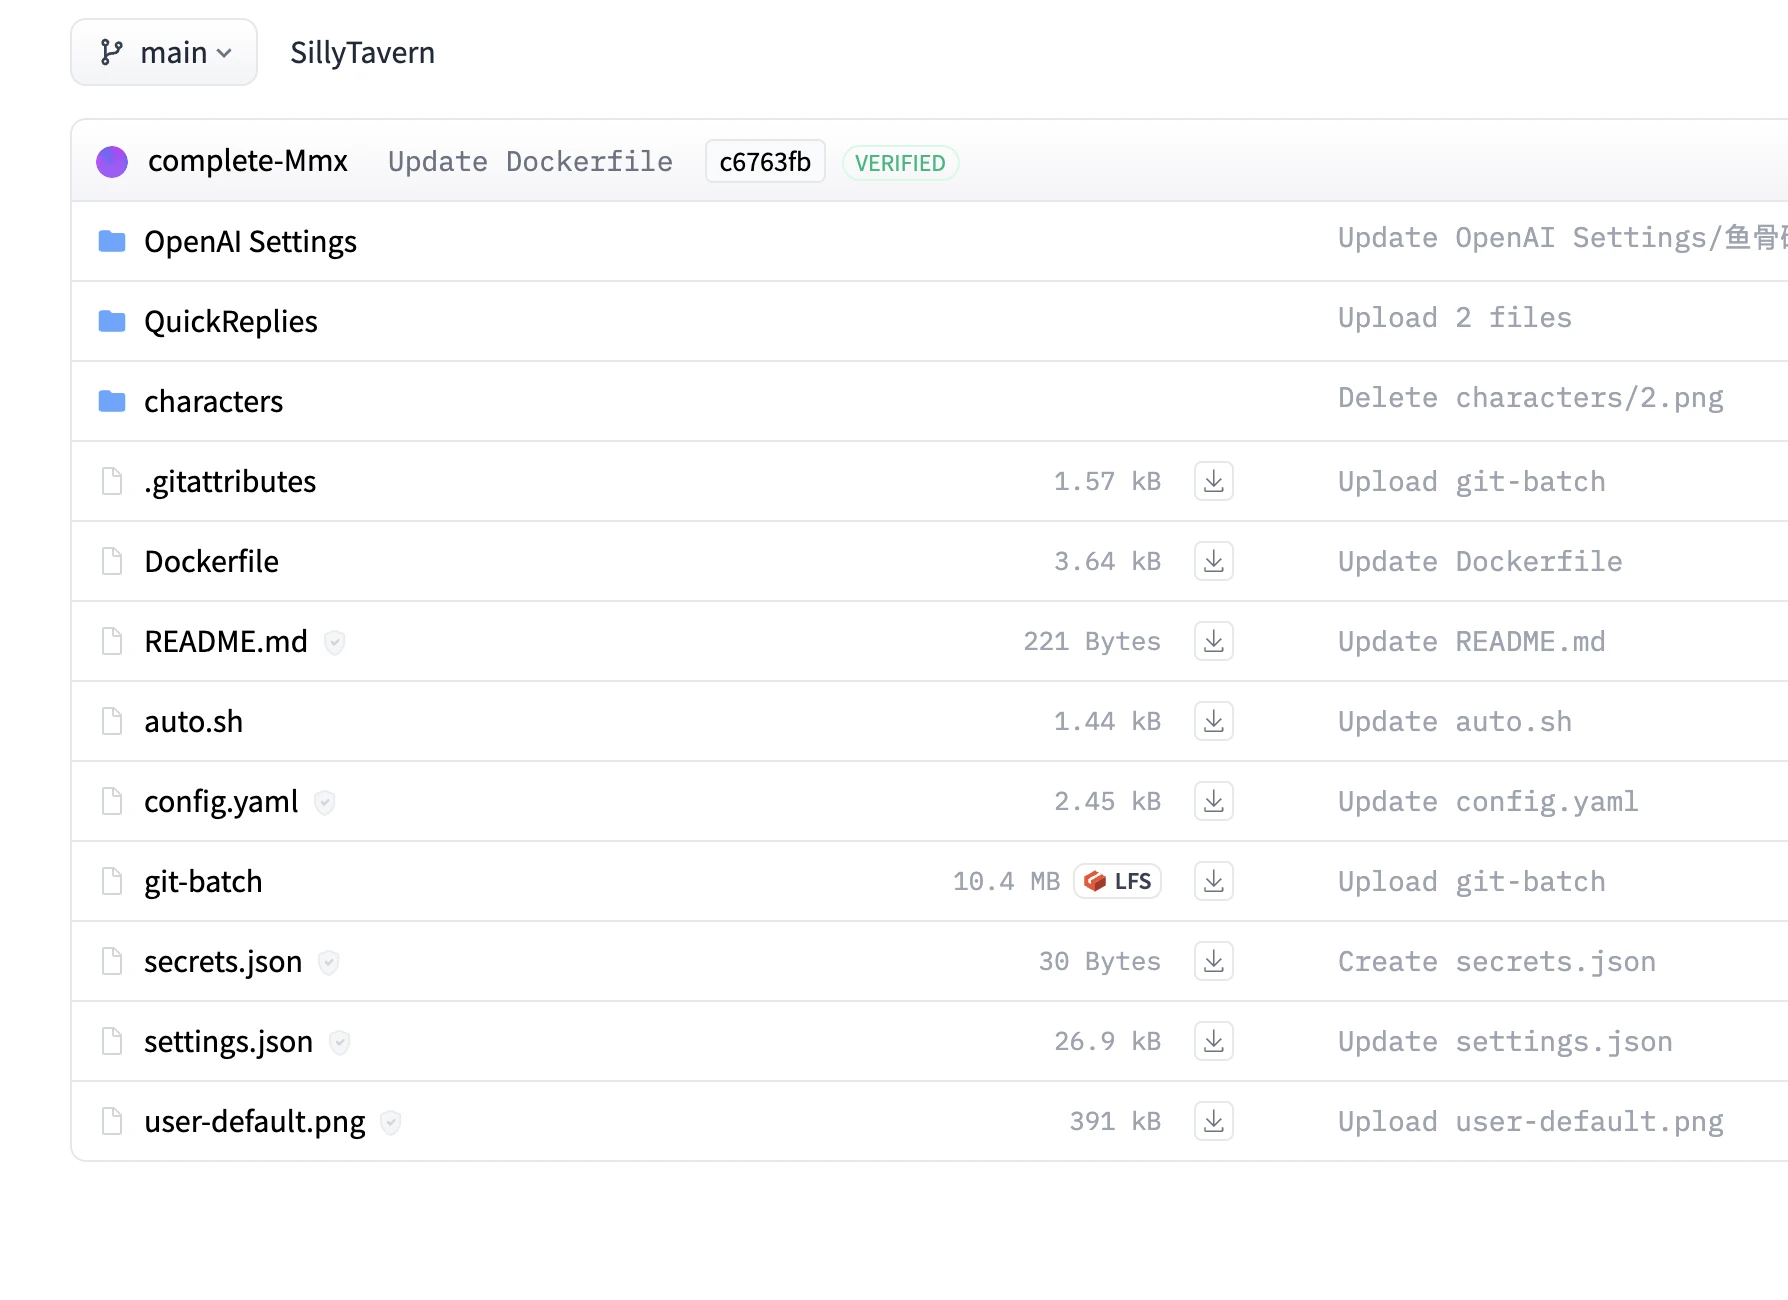
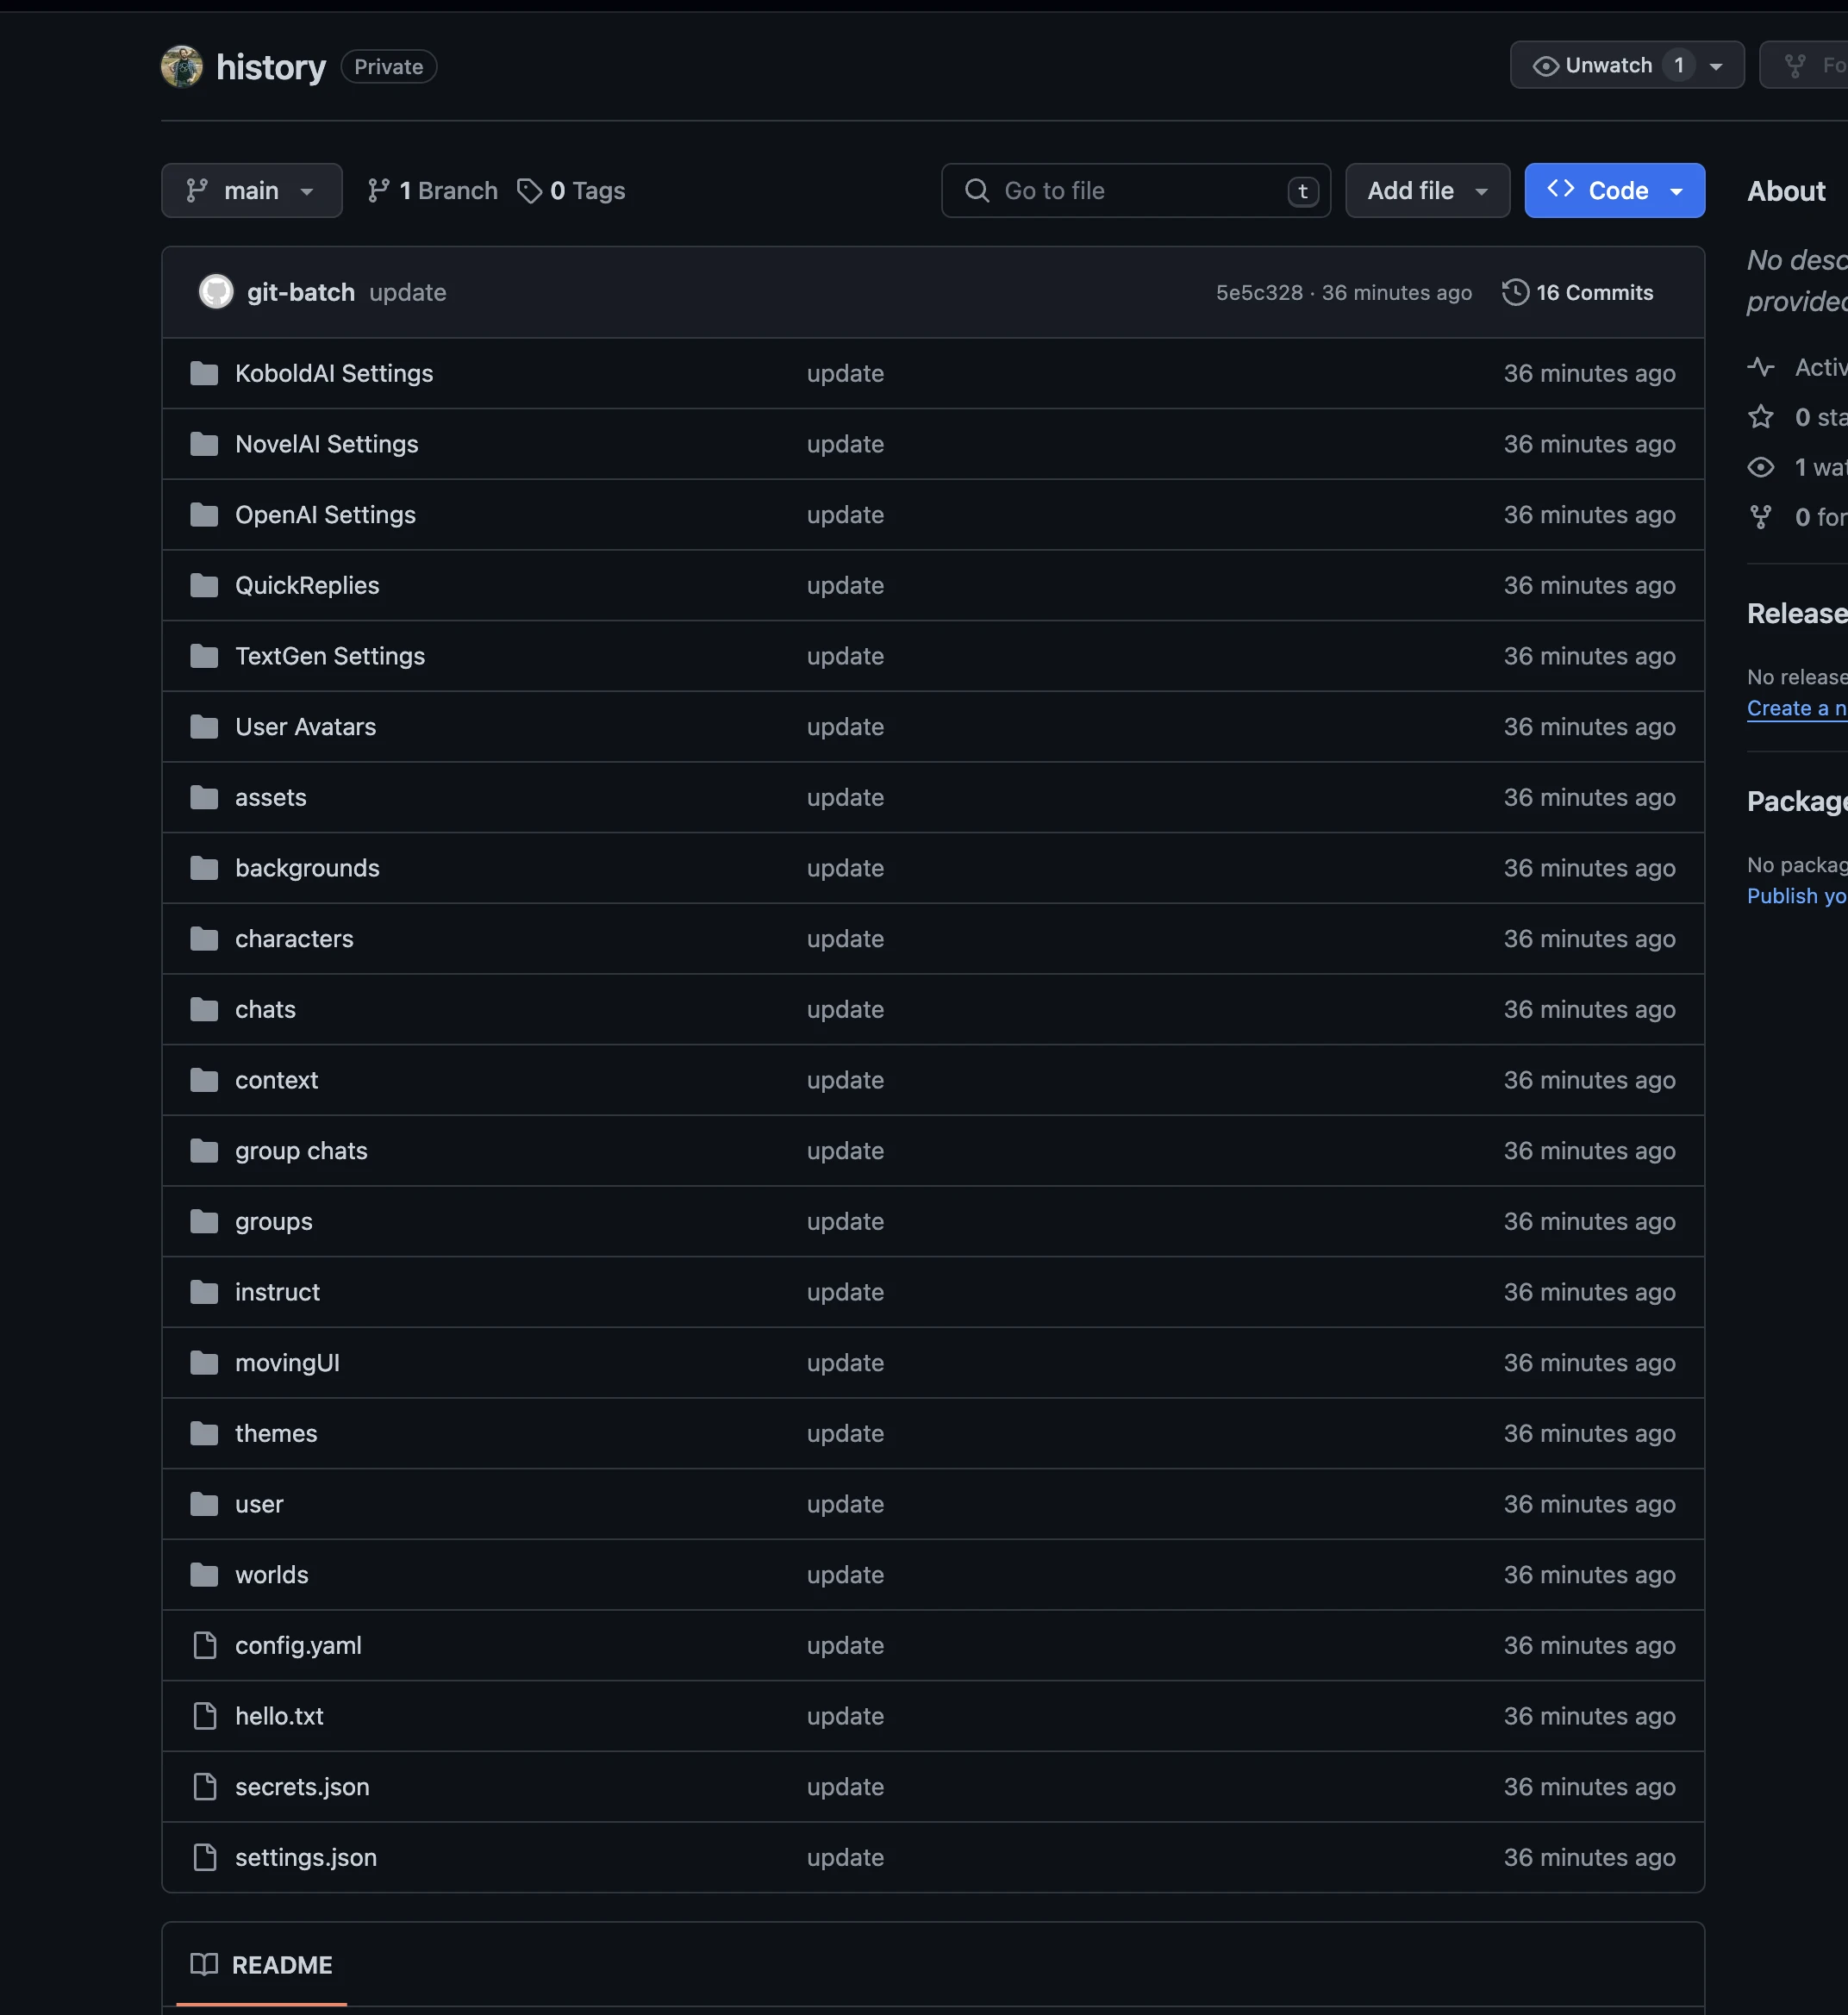
如图所示,我创建了一个项目: `bincooo/history`
#### step 2
创建一个github访问凭证token,用于同步历史数据 [点我](https://github.com/settings/personal-access-tokens/new)
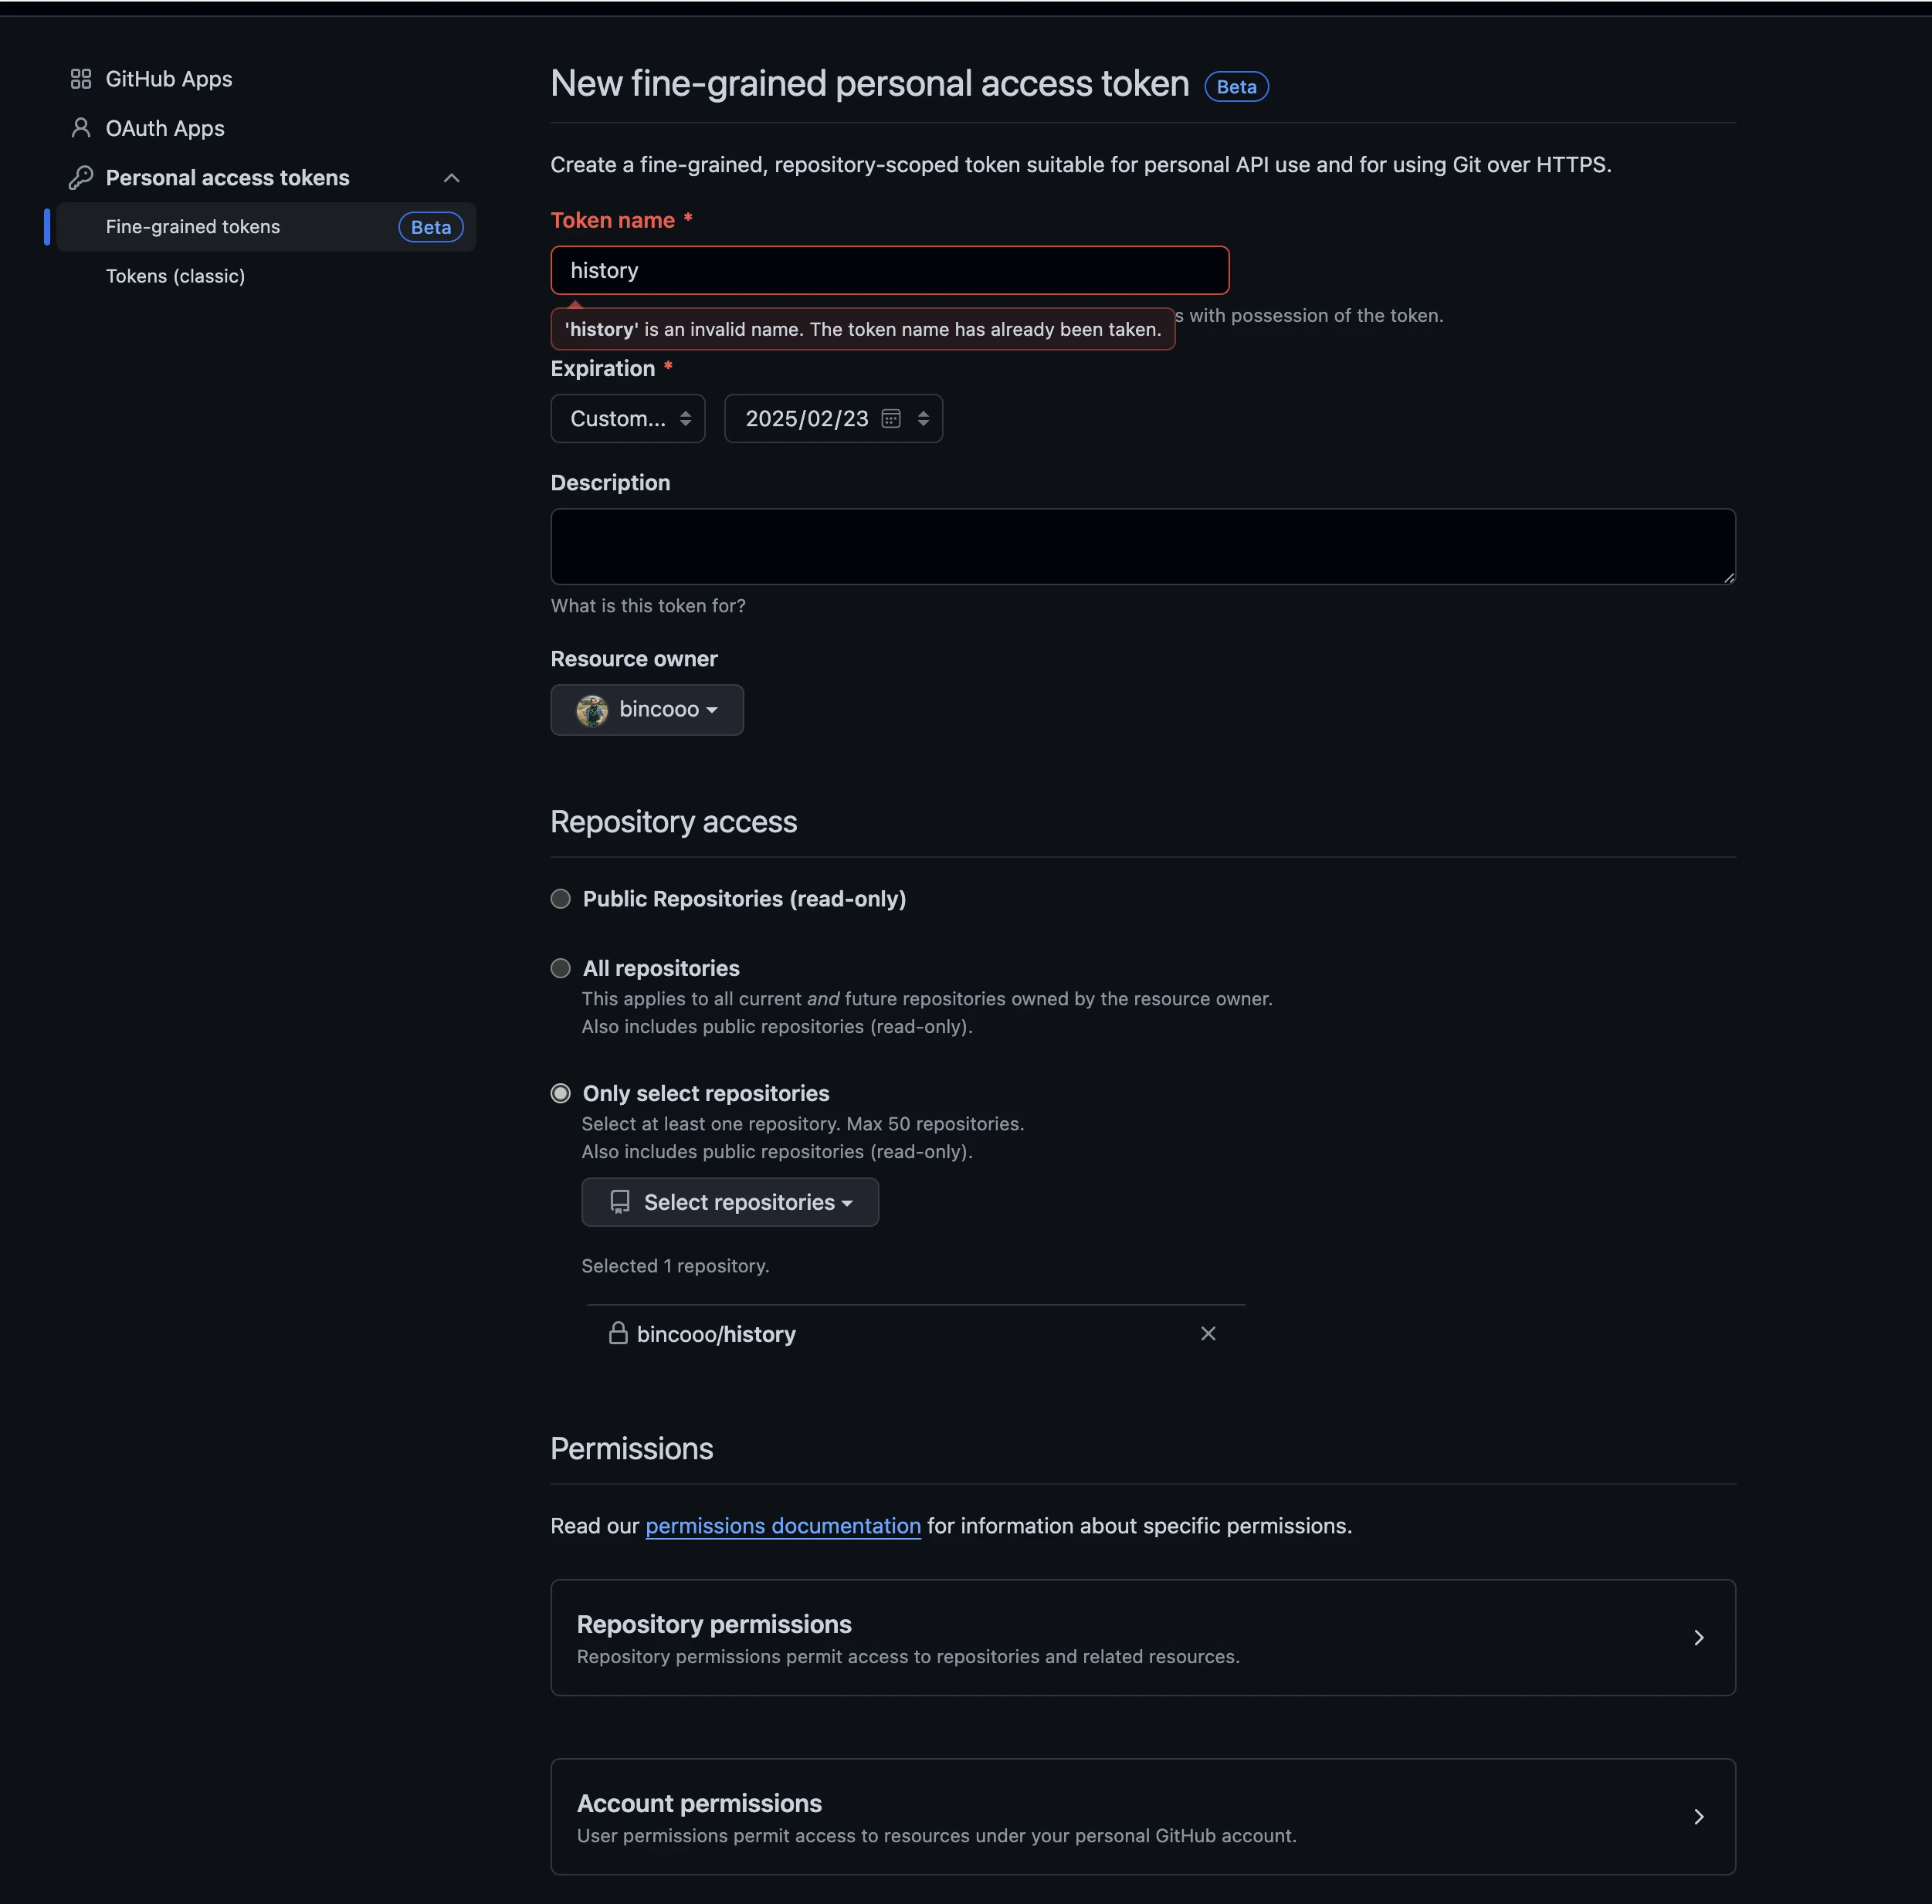
填写 Token name: history (随意)
填写 Expiration: 过期日期 (随意,没有永久选项)
选择 Only select repositories
选择 Select repositories: bincooo/history (你创建的项目)
点开 Repository permissions (授权)
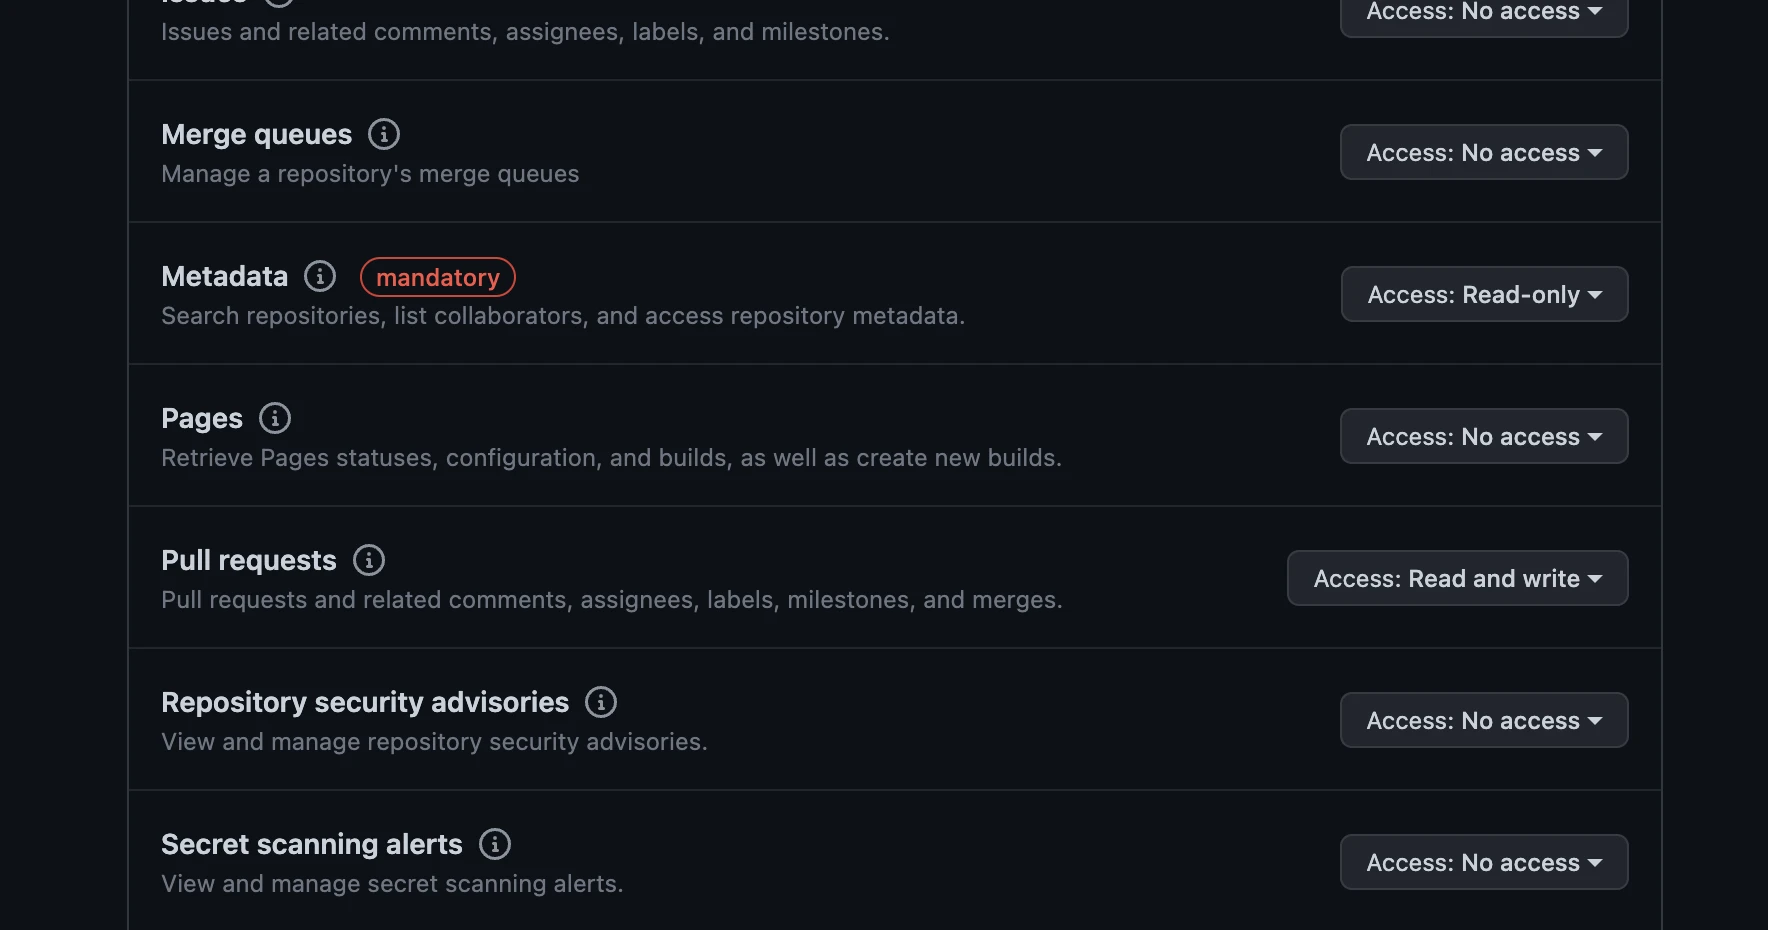
选择 Pull requests: Access: Read and write (授权读写)
最后点击最下面的生成按钮 Generate token
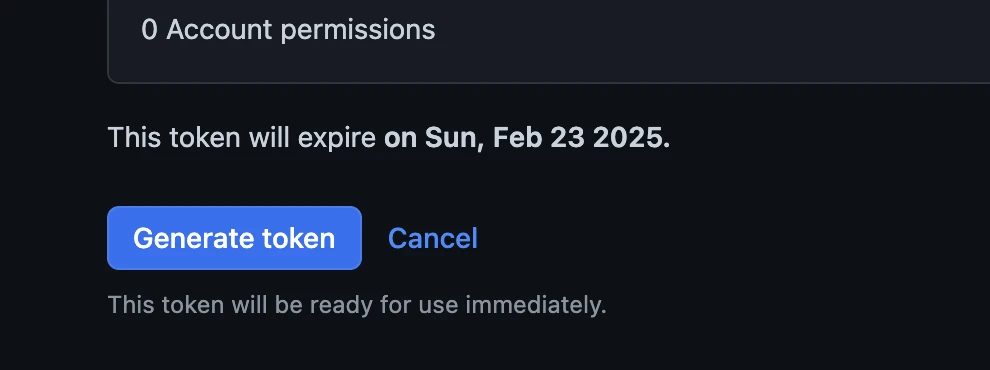
保存好你生成的token,离开这个页面后就再也看不到了
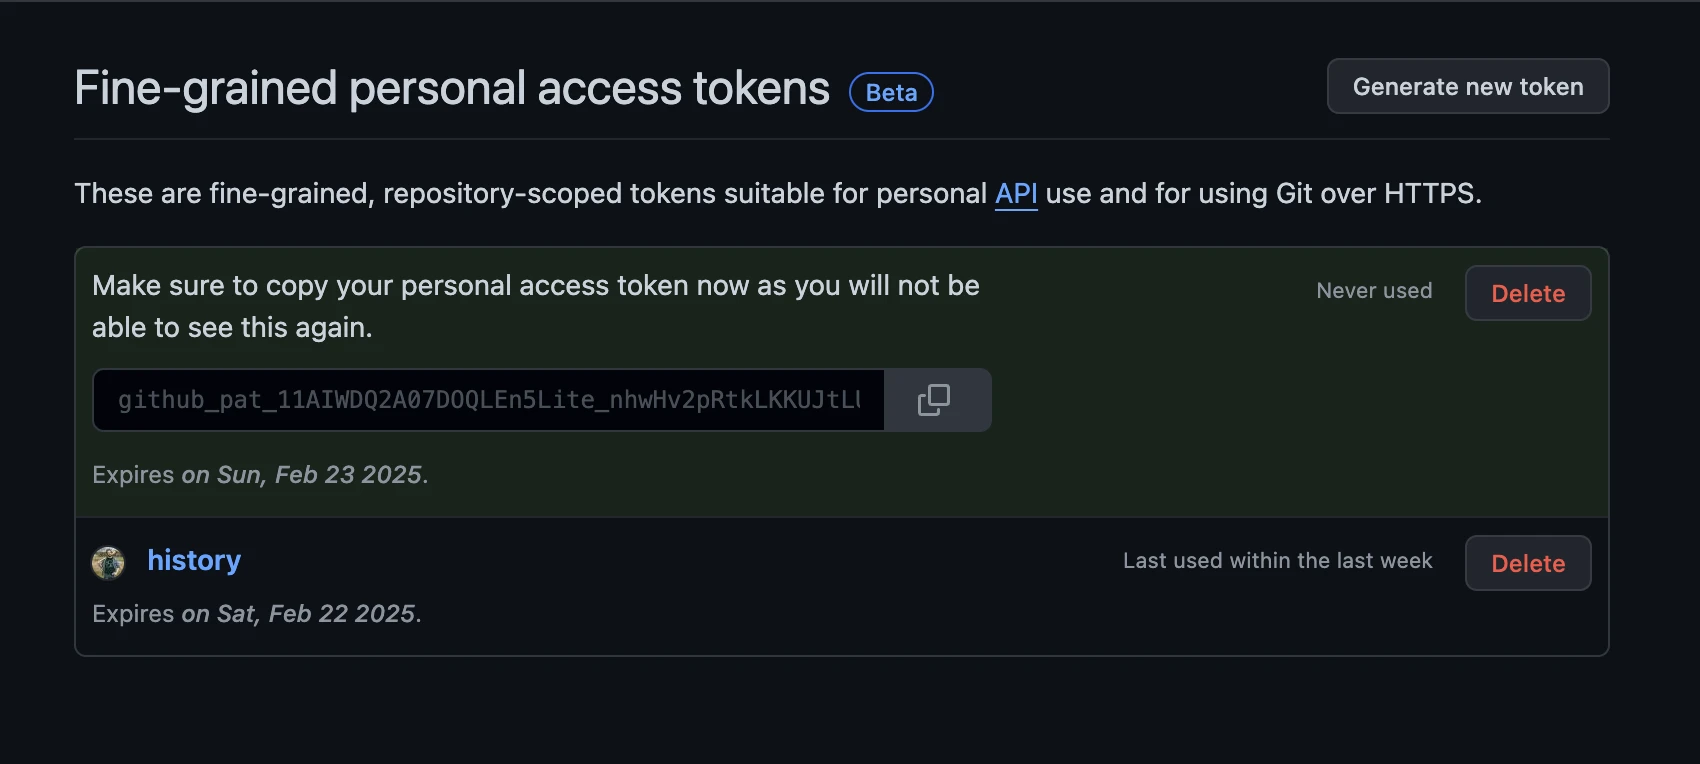
github_pat_11AIWDQ2A07DOQLEn5Lite_nhwHv2pxxxxx
#### step 3
https://github.com/bincooo/SillyTavern-Docker.git
到这个项目去下载下来
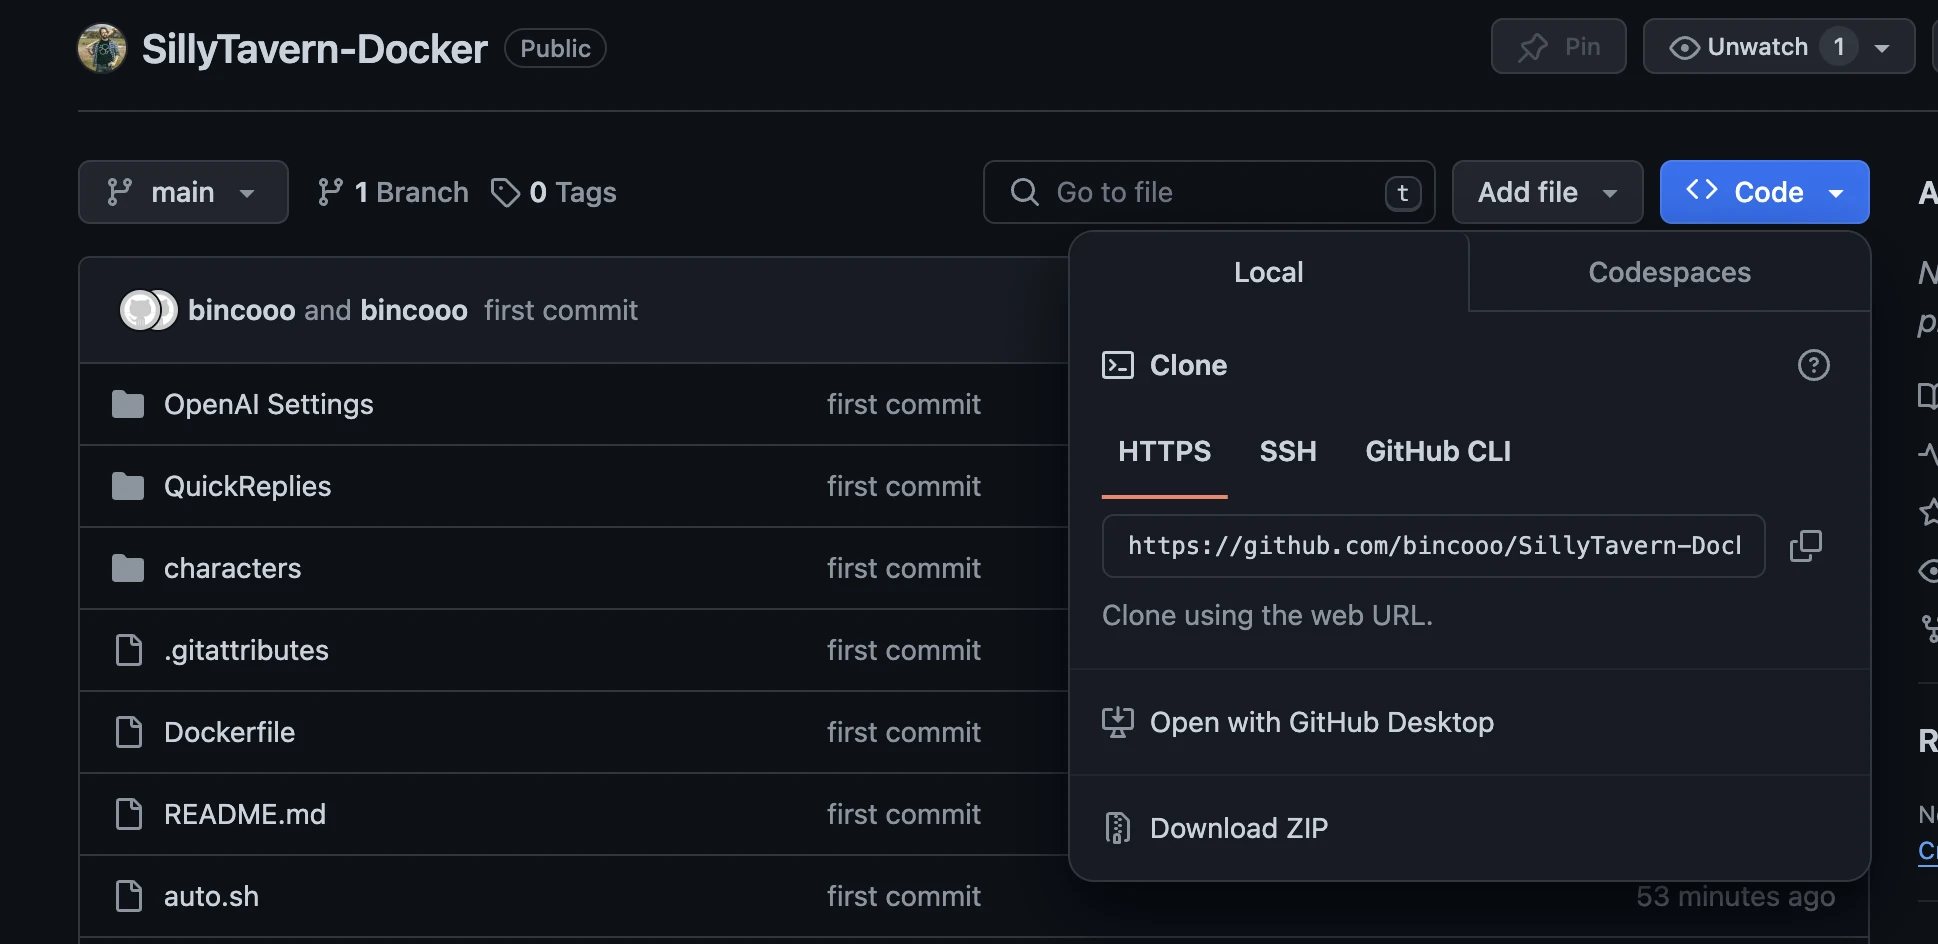
点击 Download ZIP 下载, 并解压
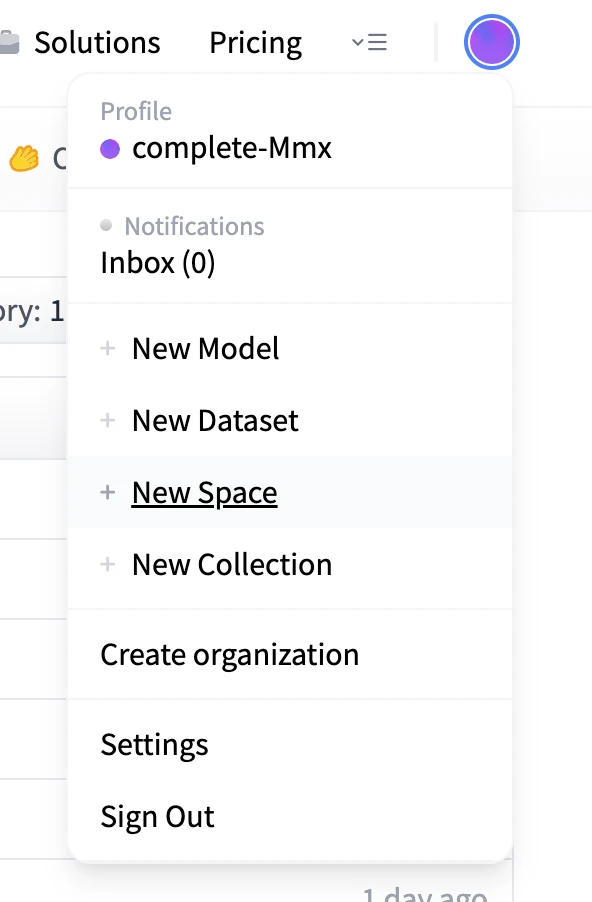
#### step 4
进入 huggingface 新建 space: 点击头像里的 New Space
创建完后,上传解压文件内容:Upload files
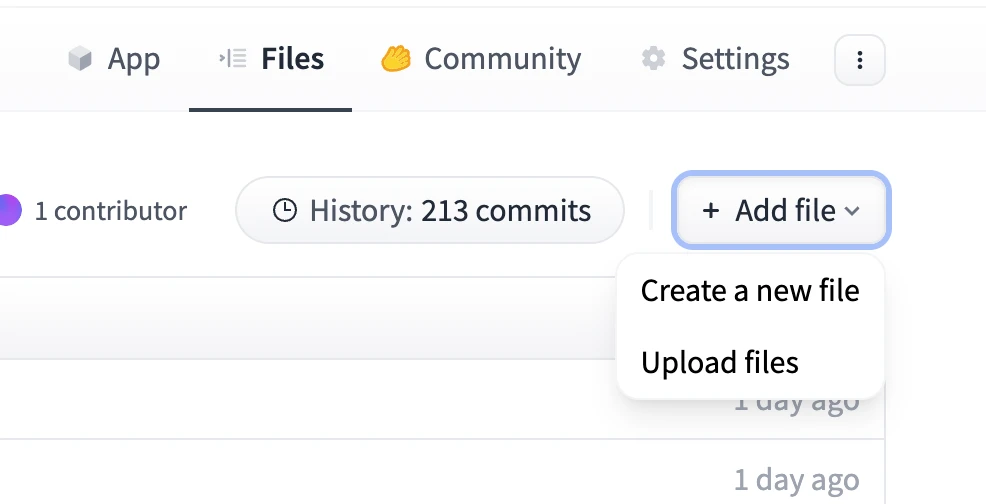
进入解压目录全选所有文件,拖入到上传控件
点击 Dockerfile 文件 编辑它
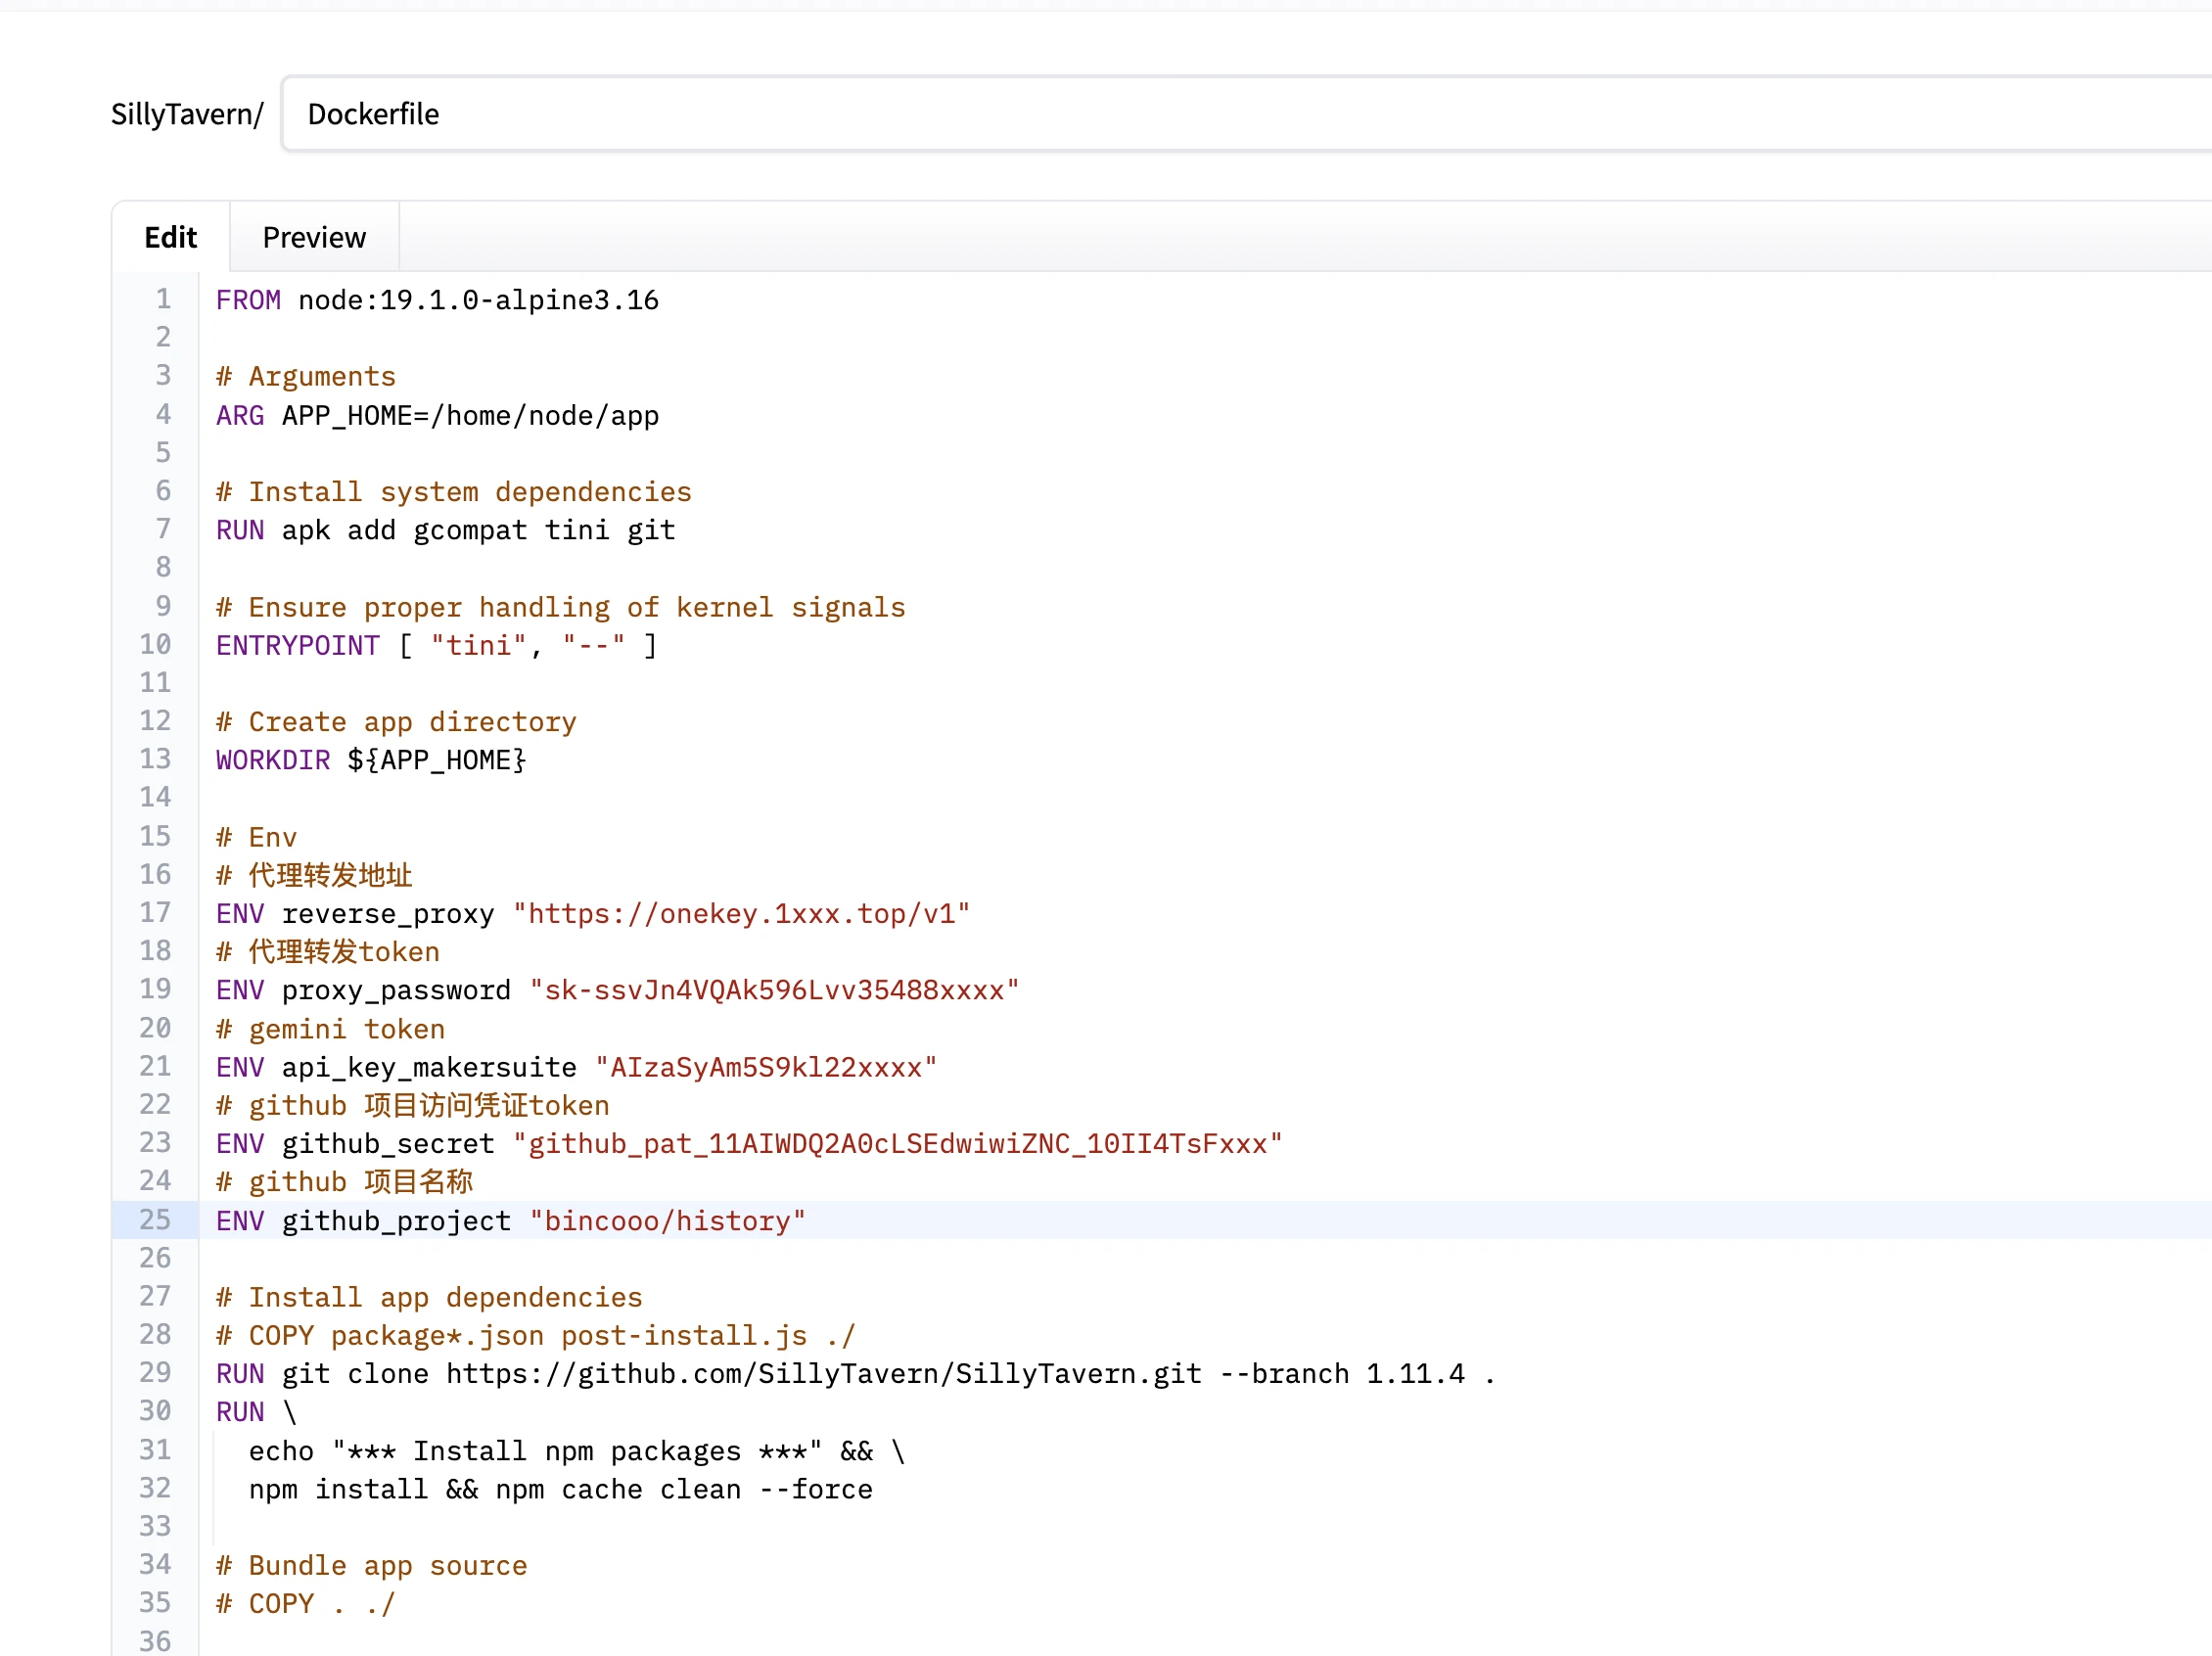
修改这部分内容:(不要照抄,这里的是假数据)
```md
# Env
# 代理转发地址
ENV reverse_proxy "https://onekey.1xxx.top/v1"
# 代理转发token
ENV proxy_password "sk-ssvJn4VQAk596Lvv35488xxxx"
# gemini token
ENV api_key_makersuite "AIzaSyAm5S9kl22xxxx"
# github 项目访问凭证token
ENV github_secret "github_pat_11AIWDQ2A0cLSEdwiwiZNC_10II4TsFxxx"
# github 项目名称
ENV github_project "bincooo/history"
```
最后点击下面的 `Commit changes main` 保存即可
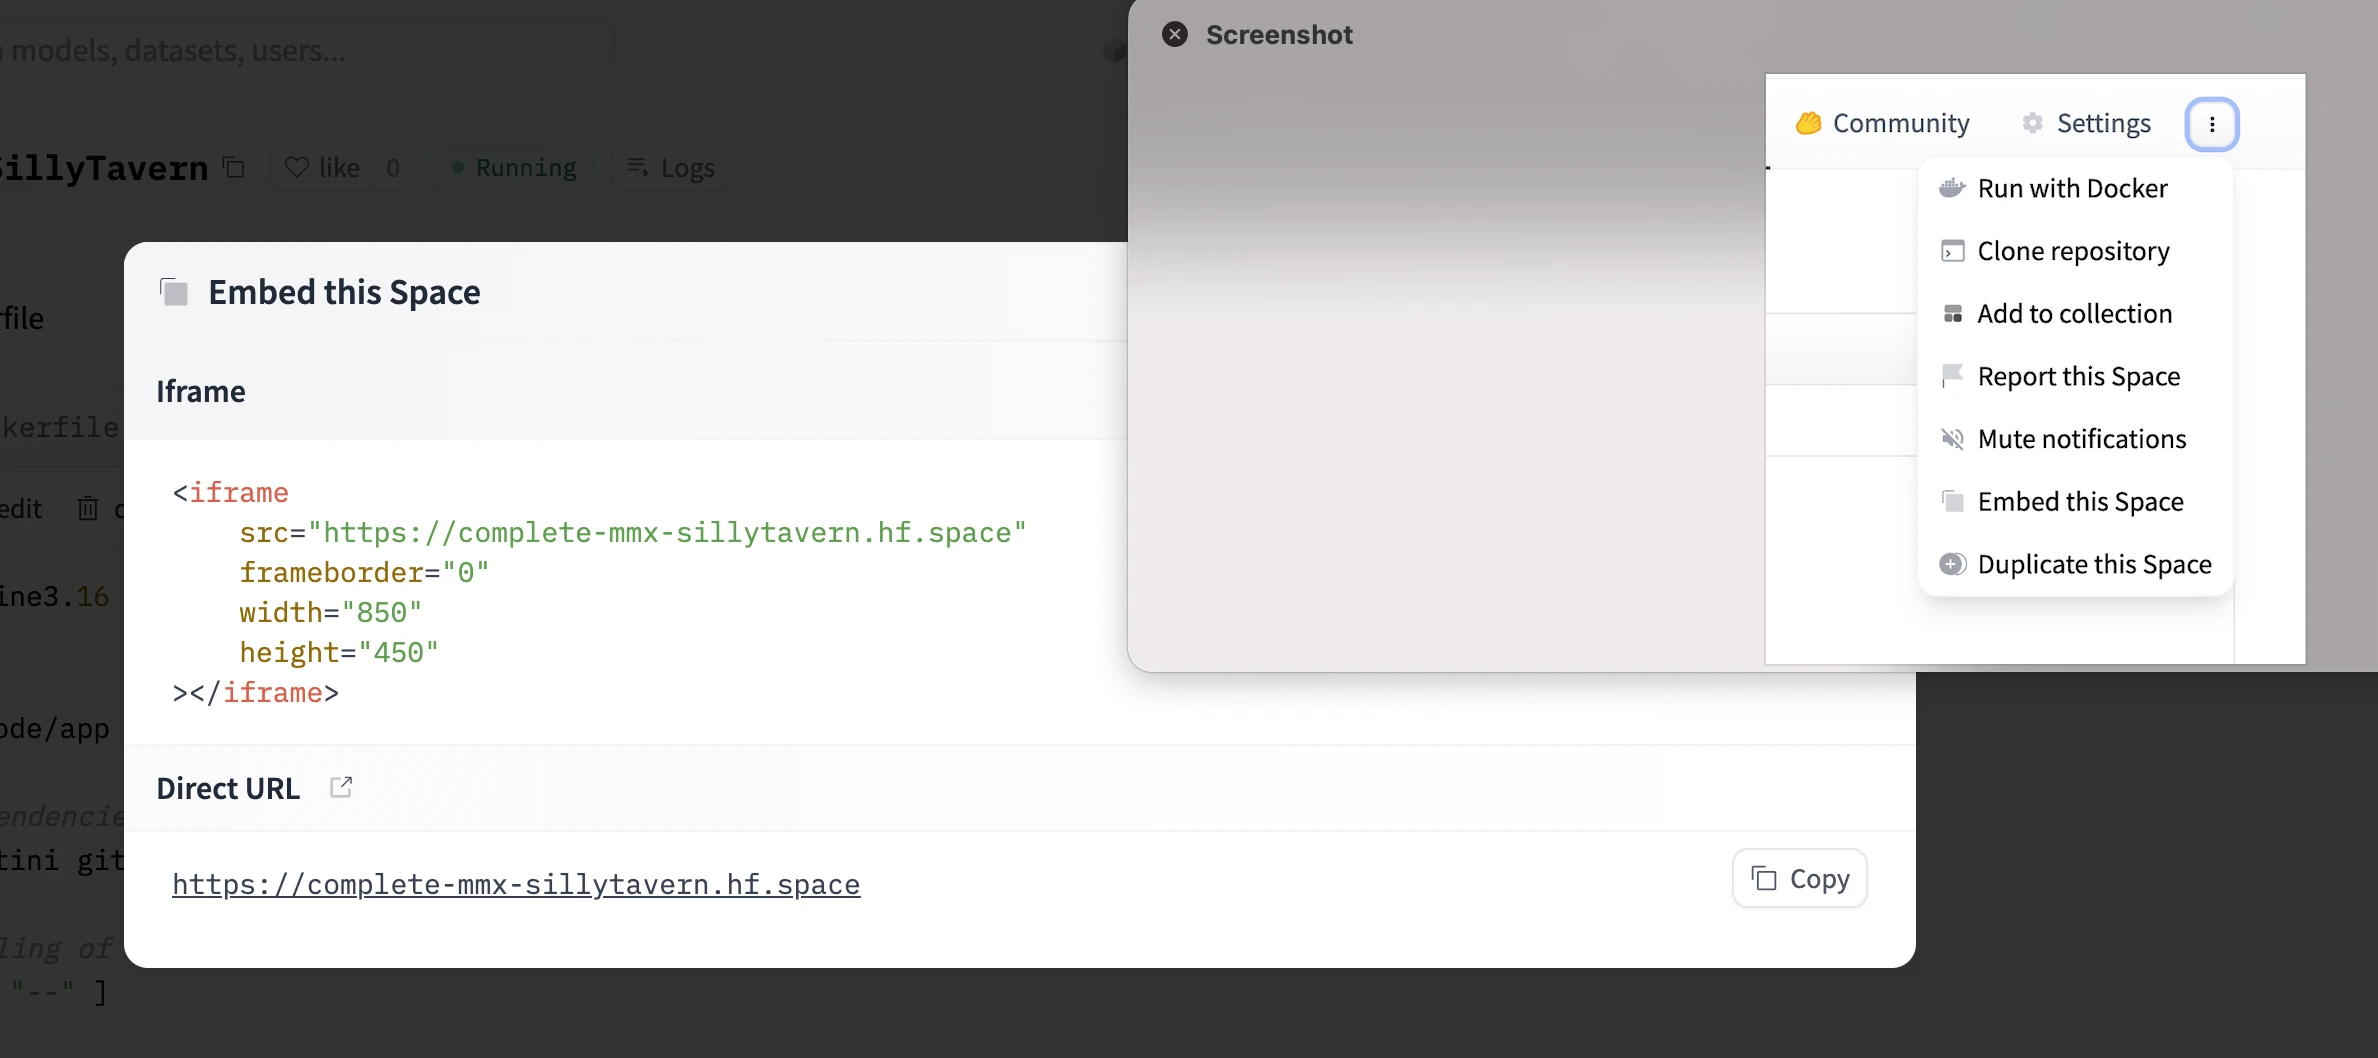
等待部署进度,变绿后获取访问链接:`Embed this space`
正常运行后会同步数据到你创建的github 项目下:
=====
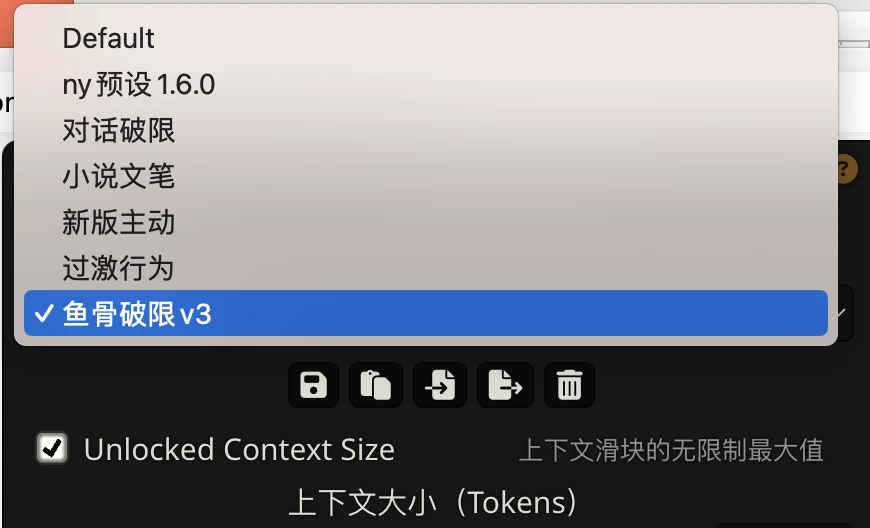
已默认导入了几个破限选项,也预置好了超级记忆

最后,同步代码书写不易,且用且珍惜 祝各位都能成功白嫖! |