Transformers documentation
Keypoint matching
Keypoint matching
Keypoint matching matches different points of interests that belong to same object appearing in two different images. Most modern keypoint matchers take images as input and output the following:
- Keypoint coordinates (x,y): one-to-one mapping of pixel coordinates between the first and the second image using two lists. Each keypoint at a given index in the first list is matched to the keypoint at the same index in the second list.
- Matching scores: Scores assigned to the keypoint matches.
In this tutorial, you will extract keypoint matches with the EfficientLoFTR model trained with the MatchAnything framework, and refine the matches. This model is only 16M parameters and can be run on a CPU. You will use the AutoModelForKeypointMatching class.
from transformers import AutoImageProcessor, AutoModelForKeypointMatching
import torch

processor = AutoImageProcessor.from_pretrained("zju-community/matchanything_eloftr")
model = AutoModelForKeypointMatching.from_pretrained("zju-community/matchanything_eloftr"))
Load two images that have the same object of interest. The second photo is taken a second apart, it’s colors are edited, and it is further cropped and rotated.
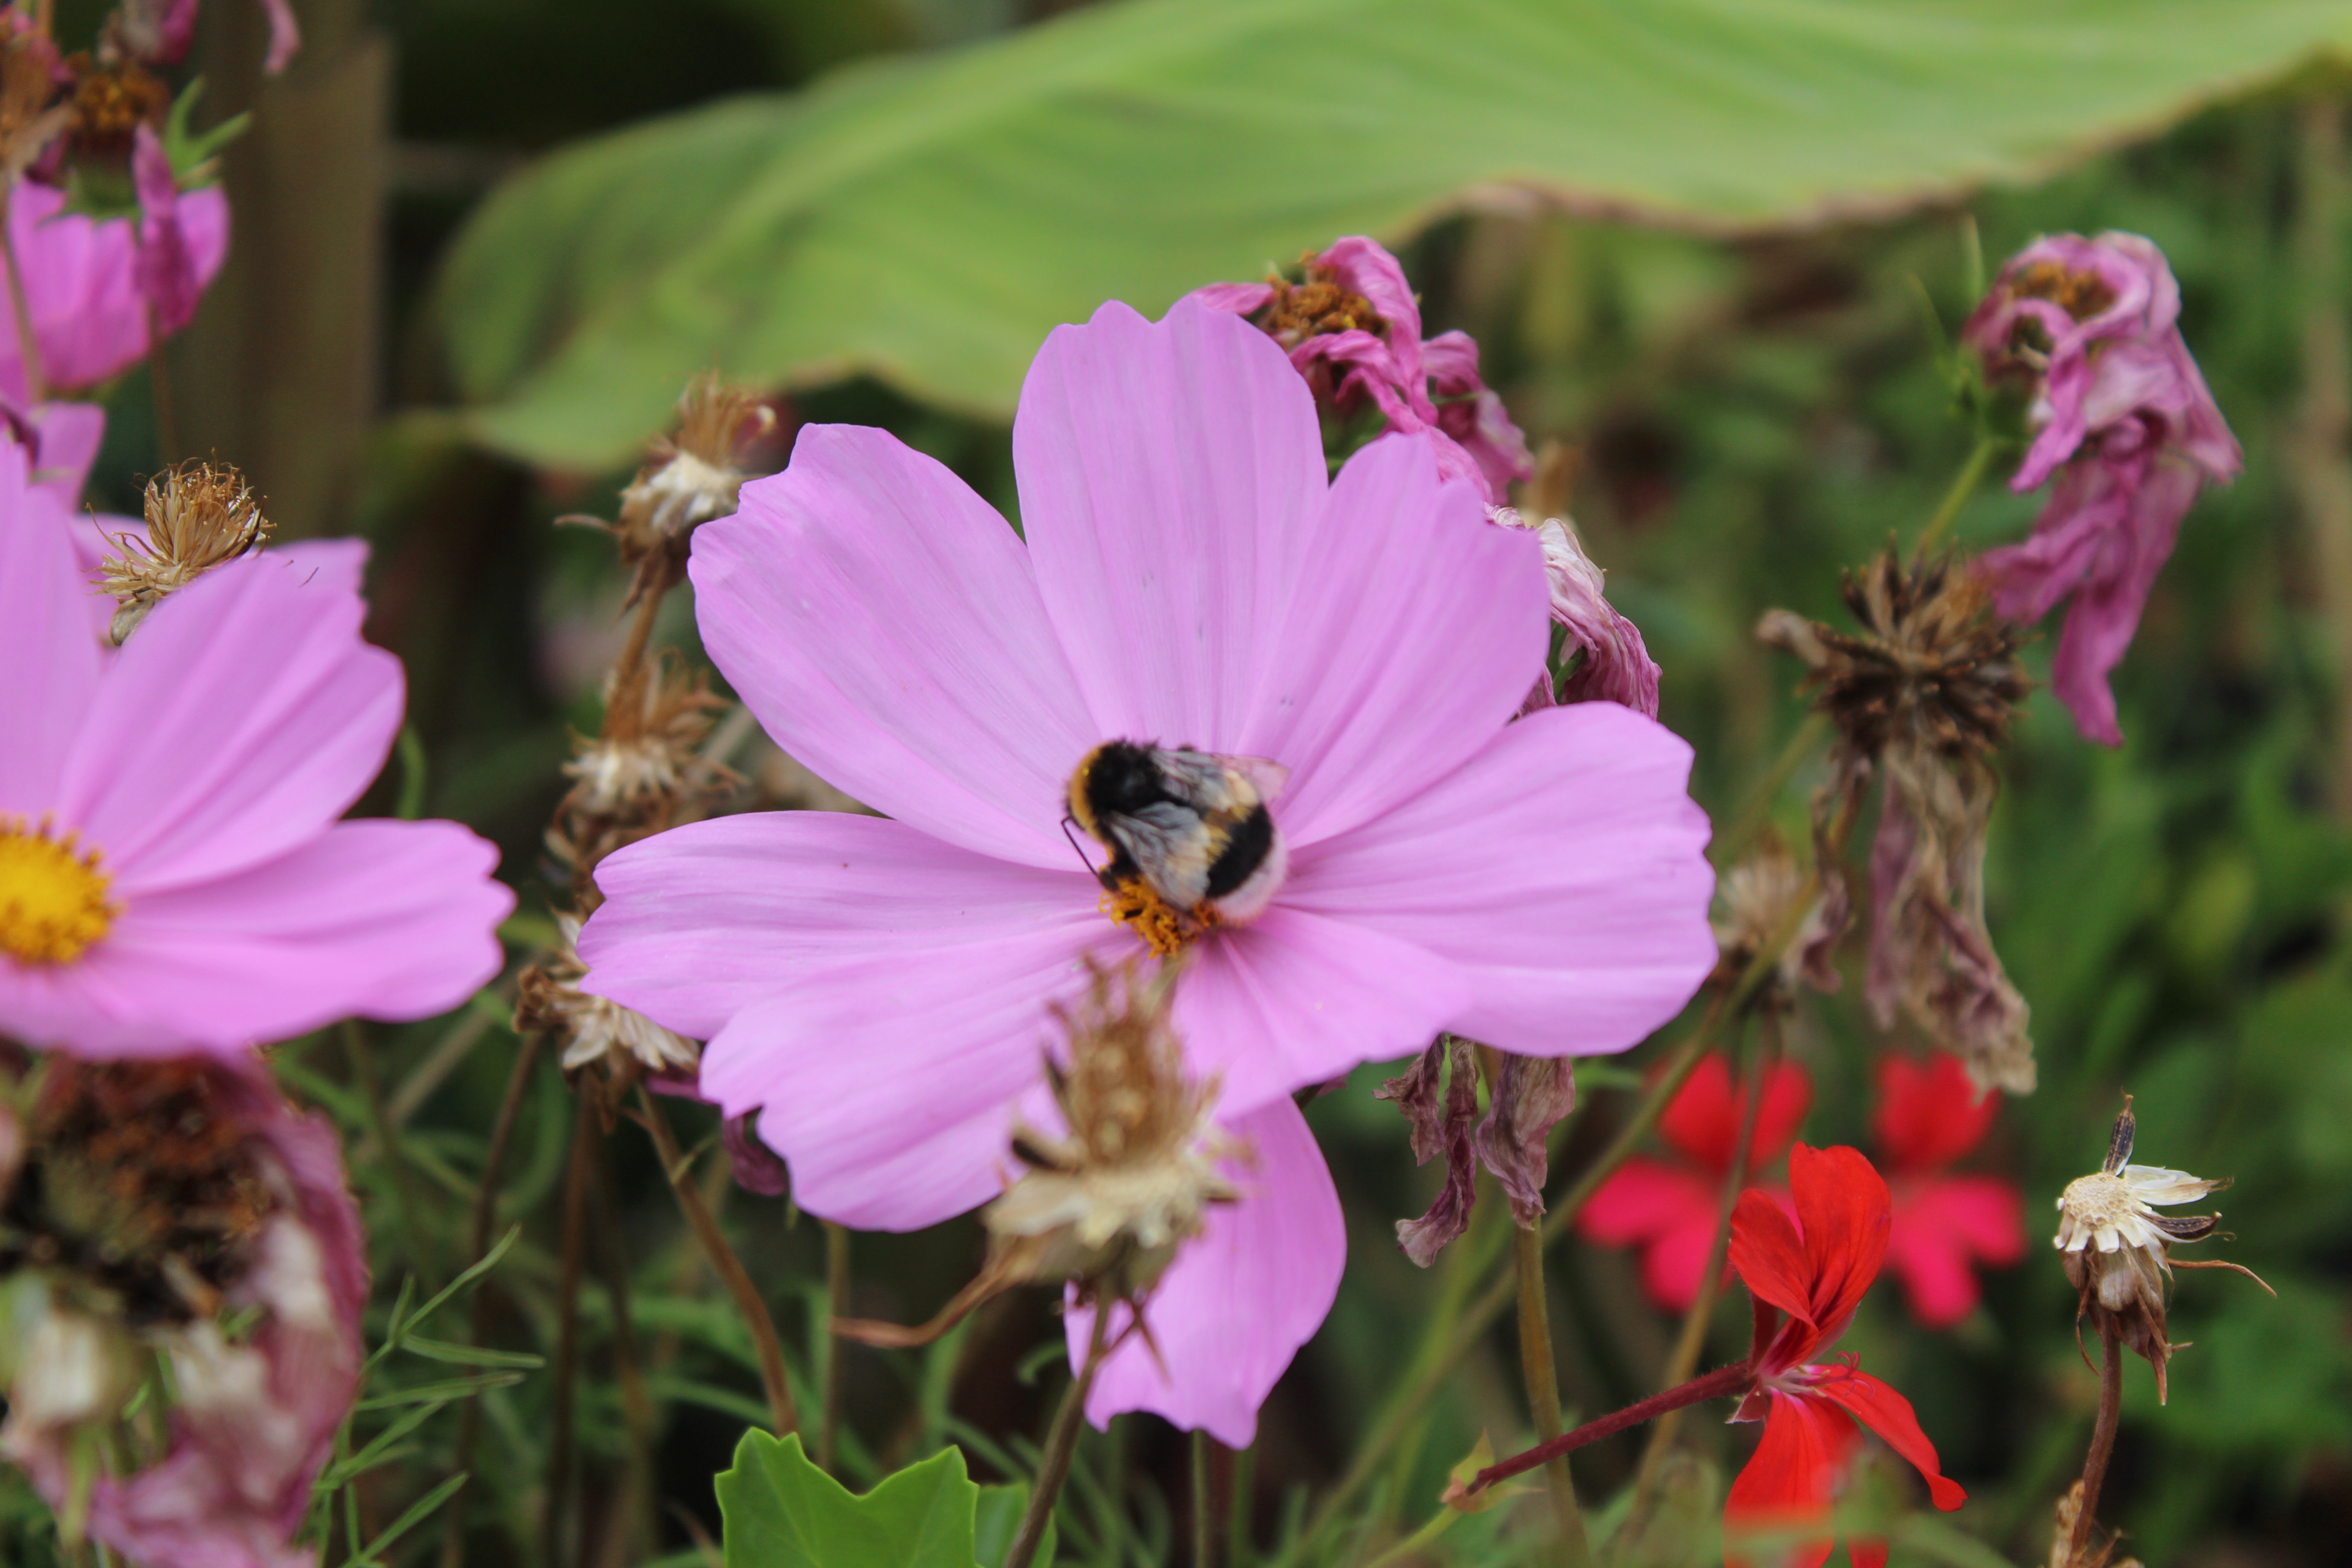

from transformers.image_utils import load_image
image1 = load_image("https://huggingface.co/datasets/huggingface/documentation-images/resolve/main/bee.jpg")
image2 = load_image("https://huggingface.co/datasets/huggingface/documentation-images/resolve/main/bee_edited.jpg")

images = [image1, image2]
We can pass the images to the processor and infer.
inputs = processor(images, return_tensors="pt")
with torch.no_grad():
    outputs = model(**inputs)
We can postprocess the outputs. The threshold parameter is used to refine noise (lower confidence thresholds) in the output matches.
image_sizes = [[(image.height, image.width) for image in images]]

outputs = processor.post_process_keypoint_matching(outputs, image_sizes, threshold=0.2)
print(outputs)
Here’s the outputs.
[{'keypoints0': tensor([[4514,  550],
          [4813,  683],
          [1972, 1547],
          ...
          [3916, 3408]], dtype=torch.int32),
  'keypoints1': tensor([[2280,  463],
          [2378,  613],
          [2231,  887],
          ...
          [1521, 2560]], dtype=torch.int32),
  'matching_scores': tensor([0.2189, 0.2073, 0.2414, ...
    ])}]
We have trimmed the output but there’s 401 matches!
len(outputs[0]["keypoints0"])
# 401
We can visualize them using the processor’s visualize_keypoint_matching() method.
plot_images = processor.visualize_keypoint_matching(images, outputs)
plot_images

Optionally, you can use the Pipeline API and set the task to keypoint-matching.
from transformers import pipeline

image_1 = "https://huggingface.co/datasets/huggingface/documentation-images/resolve/main/bee.jpg"
image_2 = "https://huggingface.co/datasets/huggingface/documentation-images/resolve/main/bee_edited.jpg"

pipe = pipeline("keypoint-matching", model="zju-community/matchanything_eloftr")
pipe([image_1, image_2])
The output looks like following.
[{'keypoint_image_0': {'x': 2444, 'y': 2869},
  'keypoint_image_1': {'x': 837, 'y': 1500},
  'score': 0.9756593704223633},
 {'keypoint_image_0': {'x': 1248, 'y': 2819},
  'keypoint_image_1': {'x': 862, 'y': 866},
  'score': 0.9735618829727173},
 {'keypoint_image_0': {'x': 1547, 'y': 3317},
  'keypoint_image_1': {'x': 1436, 'y': 1500},
  ...
 }
]