Diffusers documentation
이미지 밝기 조절하기
You are viewing main version, which requires installation from source. If you'd like
regular pip install, checkout the latest stable version (v0.35.1).
이미지 밝기 조절하기
Stable Diffusion 파이프라인은 일반적인 디퓨전 노이즈 스케줄과 샘플 단계에 결함이 있음 논문에서 설명한 것처럼 매우 밝거나 어두운 이미지를 생성하는 데는 성능이 평범합니다. 이 논문에서 제안한 솔루션은 현재 DDIMScheduler에 구현되어 있으며 이미지의 밝기를 개선하는 데 사용할 수 있습니다.
💡 제안된 솔루션에 대한 자세한 내용은 위에 링크된 논문을 참고하세요!
해결책 중 하나는 v 예측값과 v 로스로 모델을 훈련하는 것입니다. 다음 flag를 train_text_to_image.py 또는 train_text_to_image_lora.py 스크립트에 추가하여 v_prediction을 활성화합니다:
--prediction_type="v_prediction"예를 들어, v_prediction으로 미세 조정된 ptx0/pseudo-journey-v2 체크포인트를 사용해 보겠습니다.
다음으로 DDIMScheduler에서 다음 파라미터를 설정합니다:
- rescale_betas_zero_snr=True`, 노이즈 스케줄을 제로 터미널 신호 대 잡음비(SNR)로 재조정합니다.
timestep_spacing="trailing", 마지막 타임스텝부터 샘플링 시작
>>> from diffusers import DiffusionPipeline, DDIMScheduler
>>> pipeline = DiffusionPipeline.from_pretrained("ptx0/pseudo-journey-v2")
# switch the scheduler in the pipeline to use the DDIMScheduler
>>> pipeline.scheduler = DDIMScheduler.from_config(
... pipeline.scheduler.config, rescale_betas_zero_snr=True, timestep_spacing="trailing"
... )
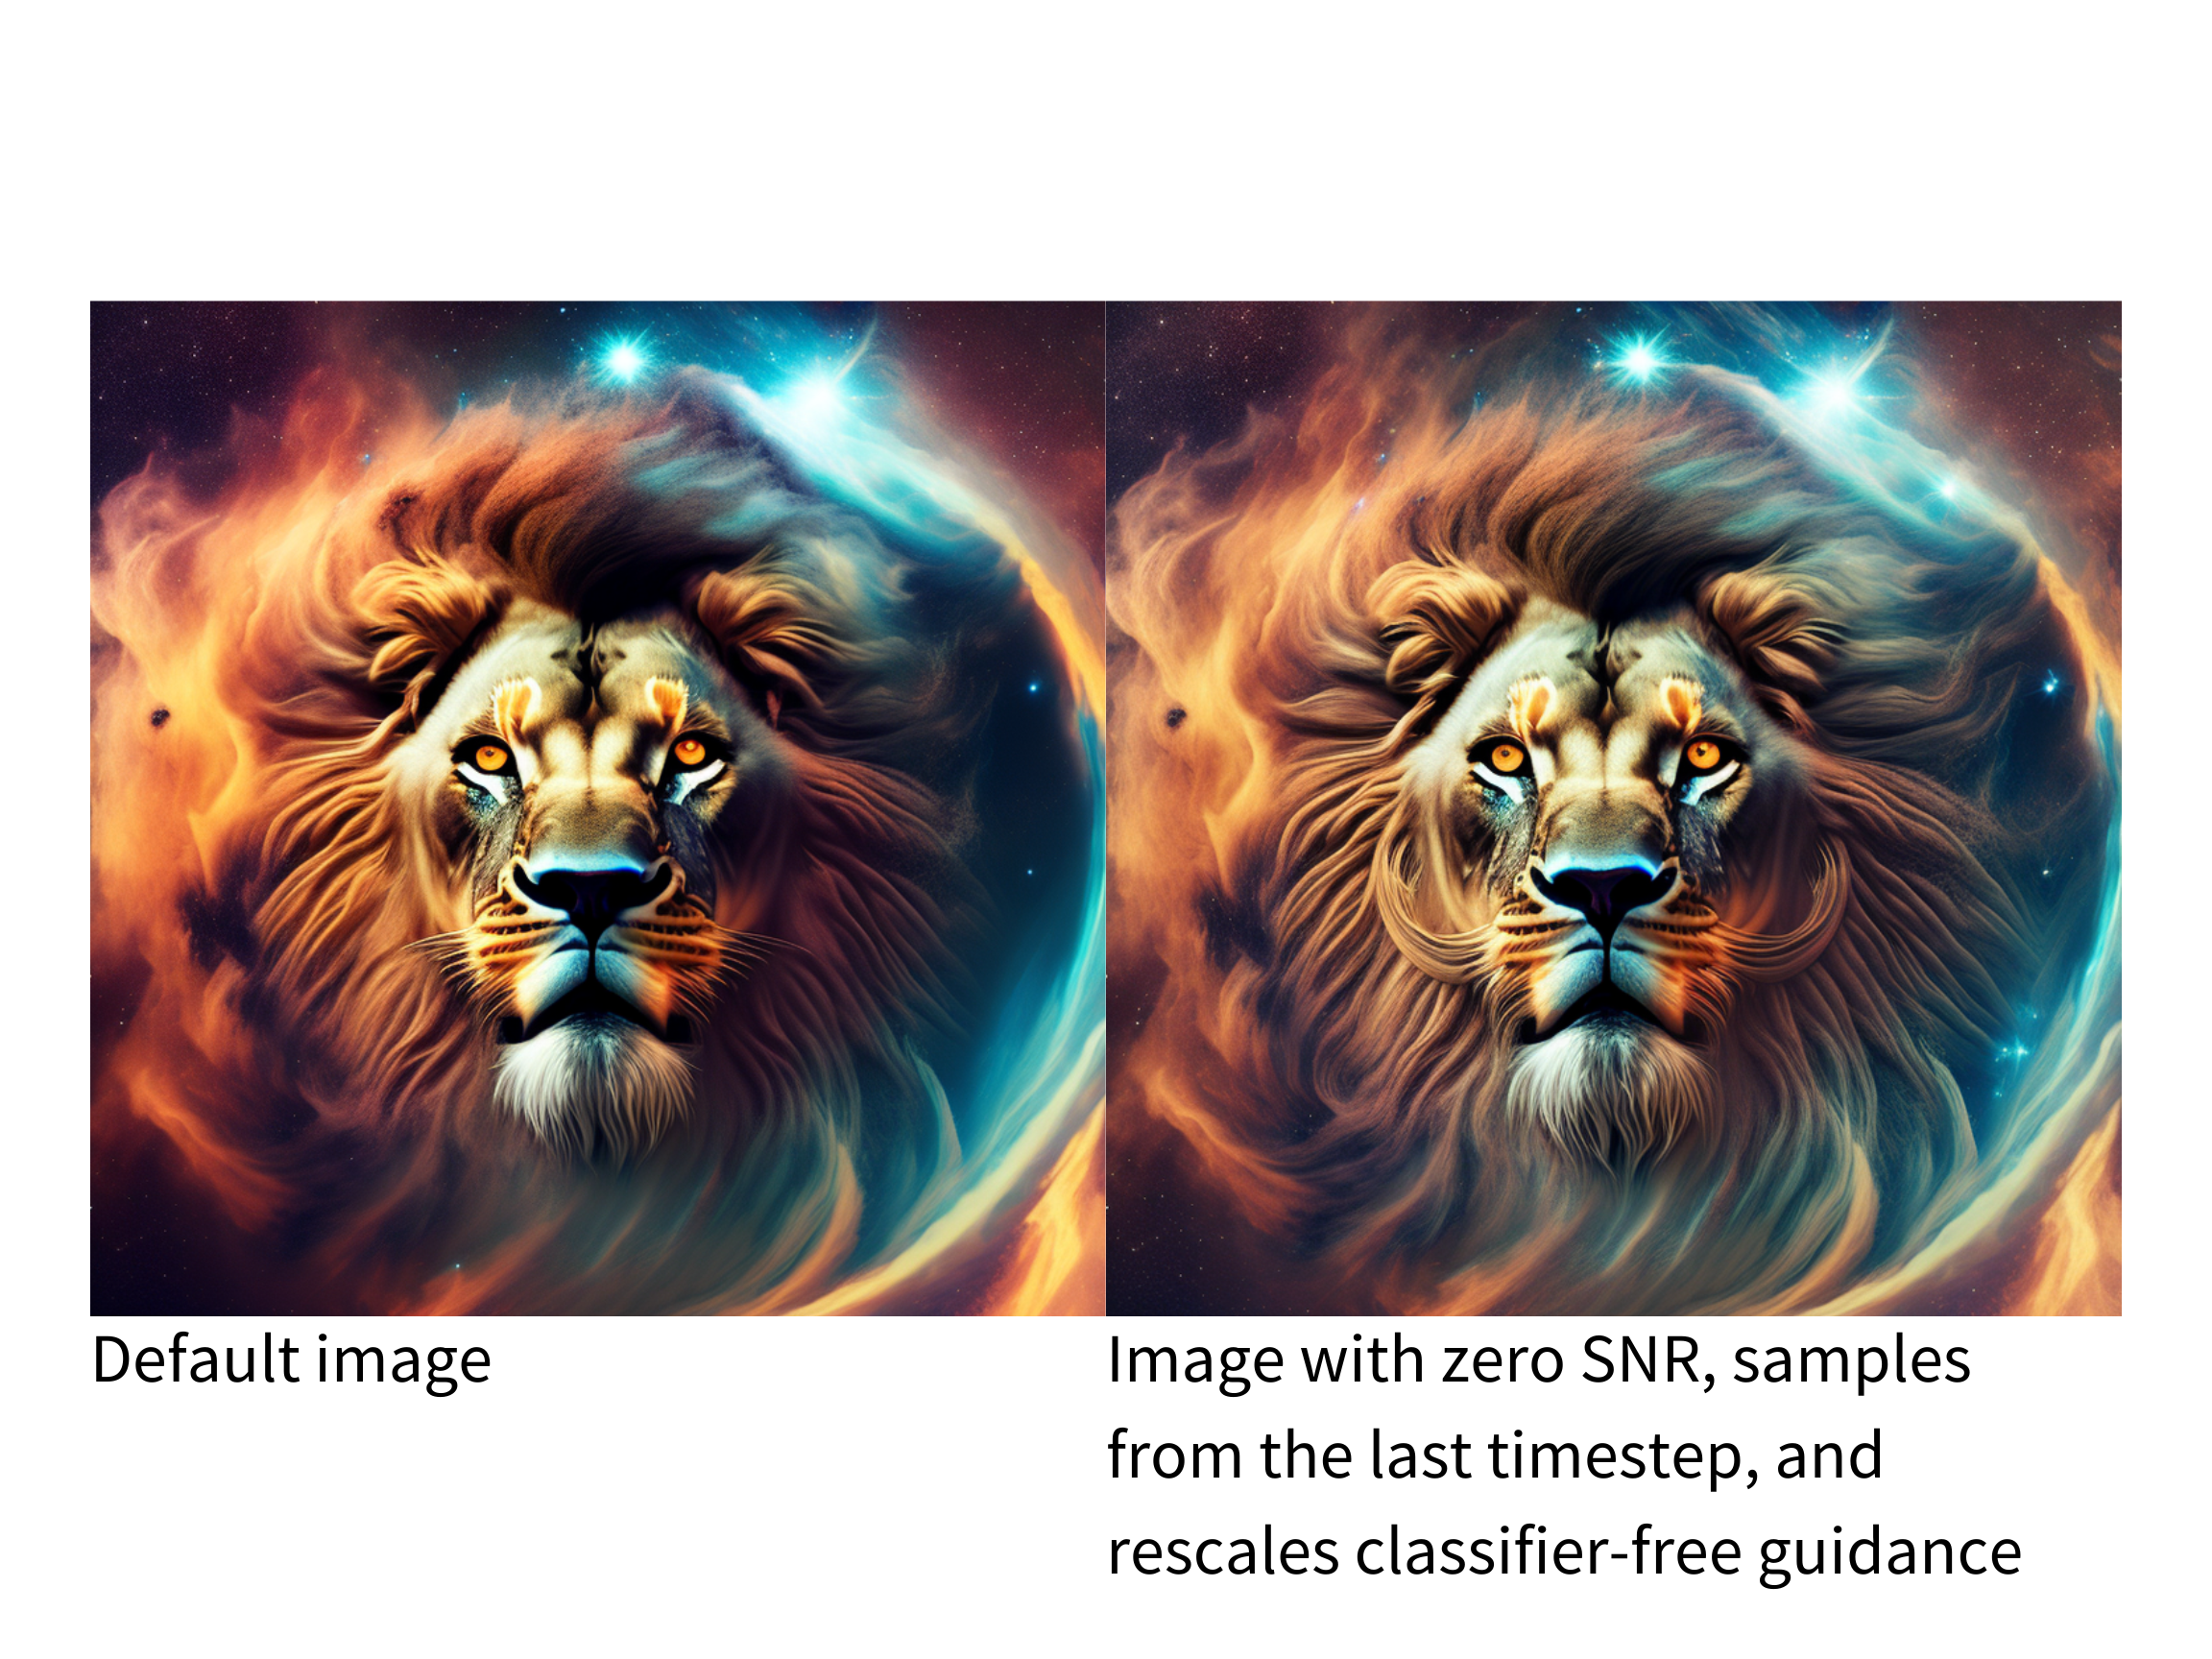
>>> pipeline.to("cuda")마지막으로 파이프라인에 대한 호출에서 guidance_rescale을 설정하여 과다 노출을 방지합니다:
prompt = "A lion in galaxies, spirals, nebulae, stars, smoke, iridescent, intricate detail, octane render, 8k"
image = pipeline(prompt, guidance_rescale=0.7).images[0]