Gradio 3.0 is Out!

Machine Learning Demos
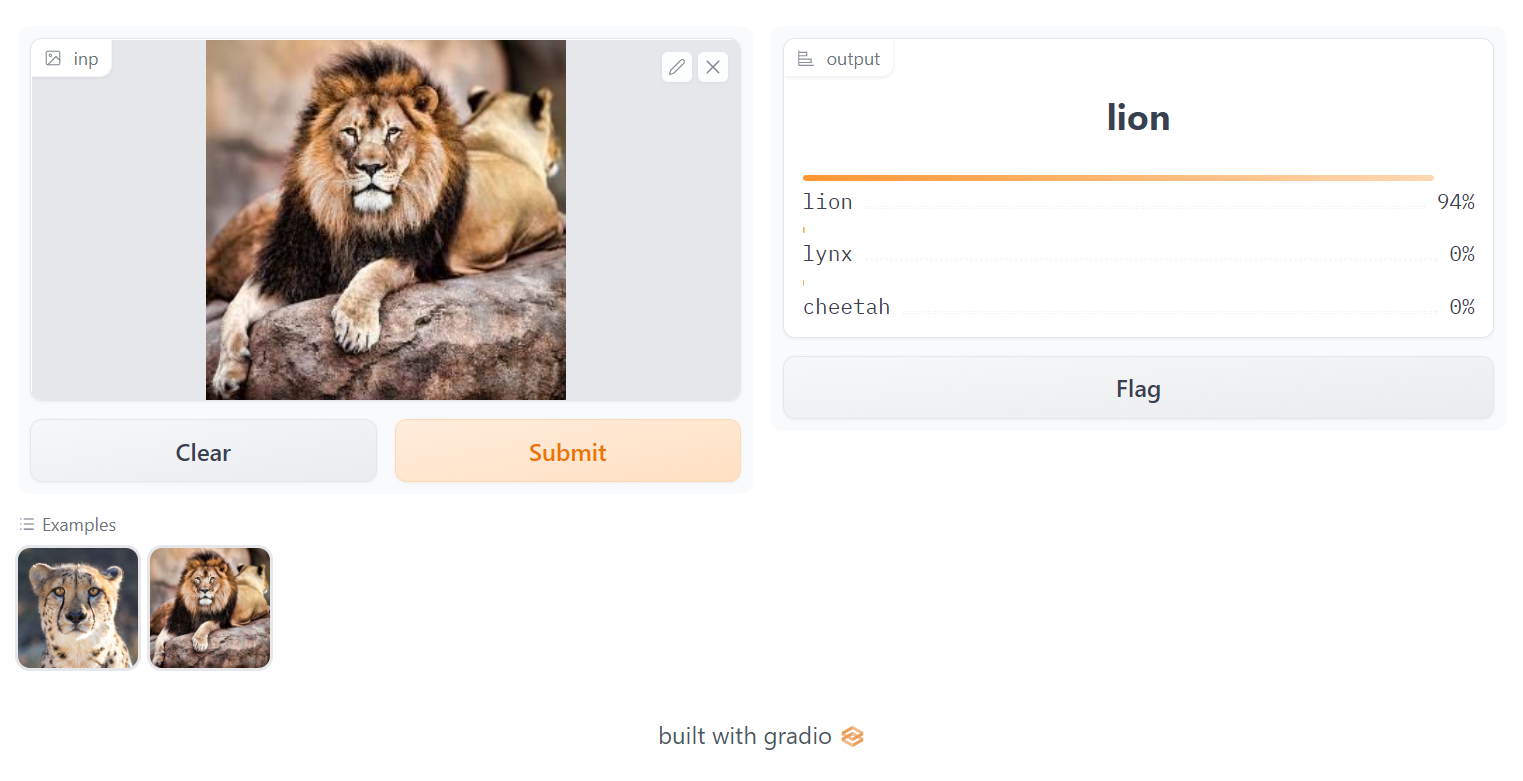
Machine learning demos are an increasingly vital part of releasing a model. Demos allow anyone — not just ML engineers — to try out a model in the browser, give feedback on predictions, and build trust in the model if it performs well.
More than 600,000 ML demos have been built with the Gradio library since its first version in 2019, and today, we are thrilled to announce Gradio 3.0: a ground-up redesign of the Gradio library 🥳
What's New in Gradio 3.0?
🔥 A complete redesign of the frontend, based on the feedback we're hearing from Gradio users:
We've switched to modern technologies (like Svelte) to build the Gradio frontend. We're seeing much smaller payloads and much faster page loads as a result!
We've also embranced a much cleaner design that will allow Gradio demos to fit in visually in more settings (such as being embedded in blog posts).
- We've revamped our existing components, like
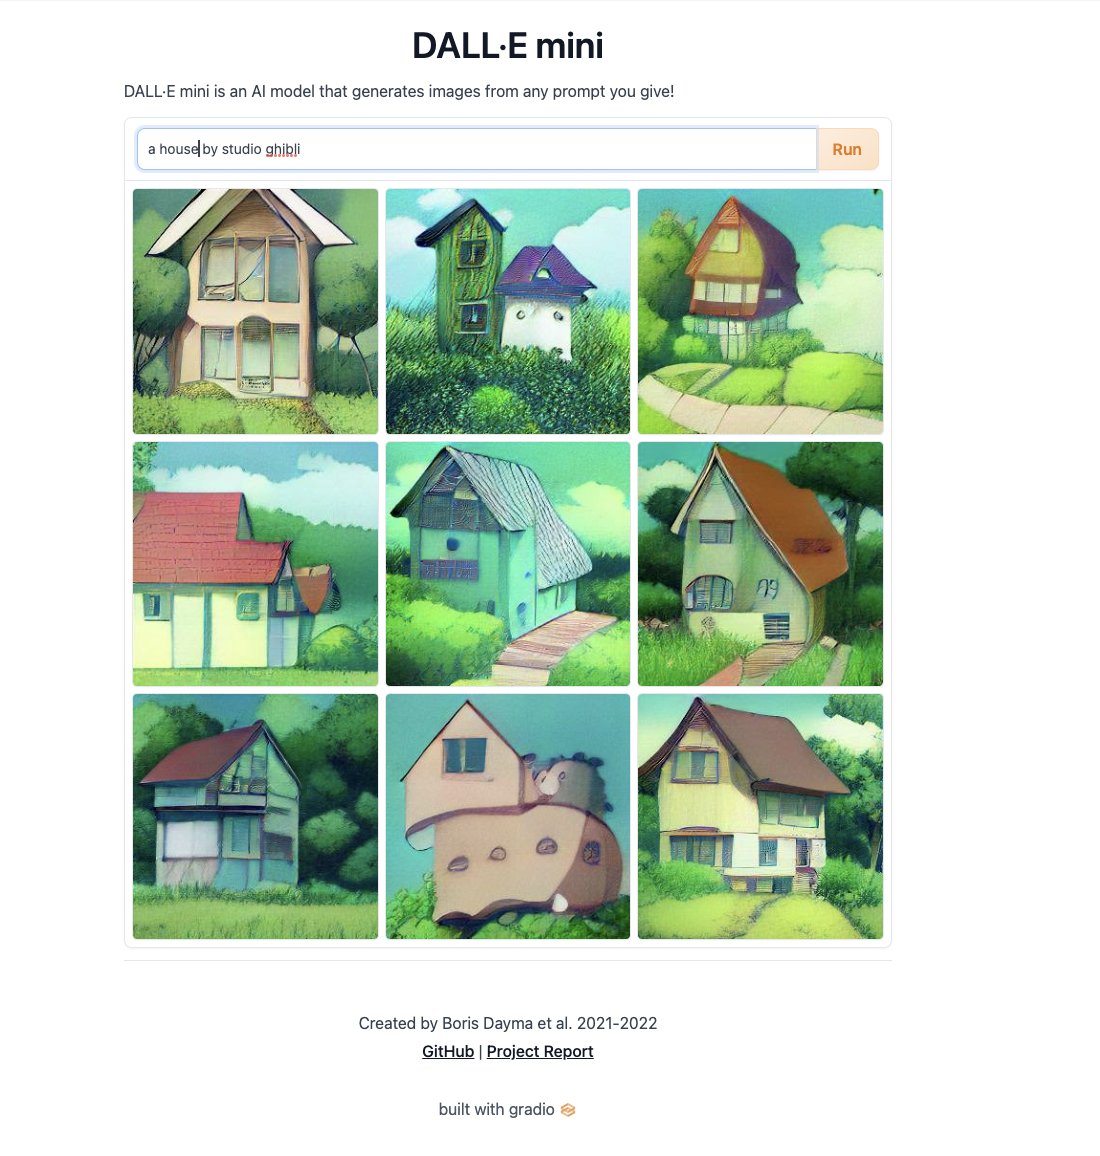
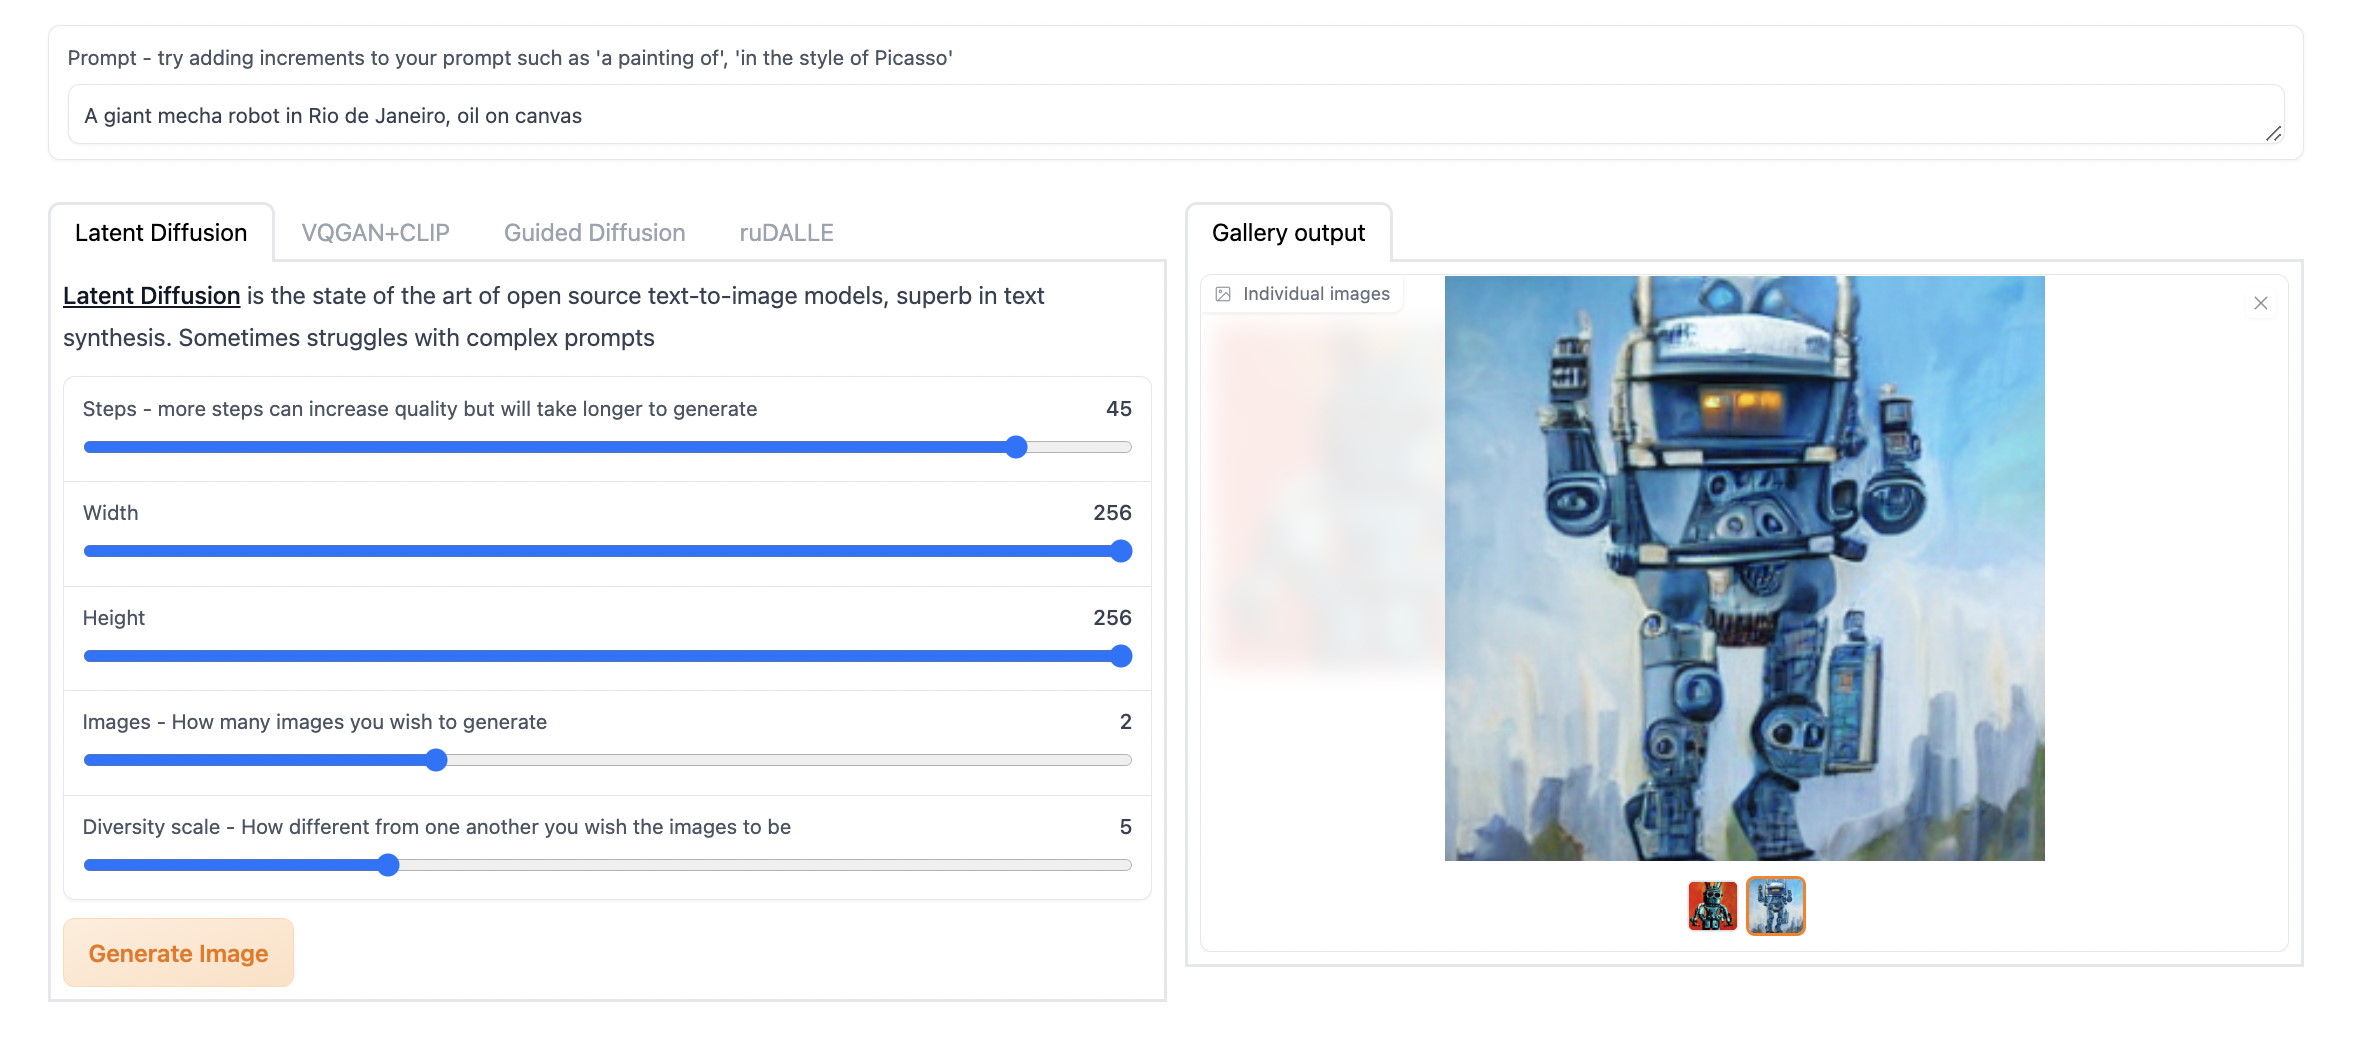
Dataframeto be more user-friendly (try dragging-and-dropping a CSV file into a Dataframe) as well as added new components, such as theGallery, to allow you to build the right UI for your model.
- We've added a
TabbedInterfaceclass which allows you to group together related demos as multiple tabs in one web app

Check out all the components you can use on our (redesigned) docs 🤗!
🔥 We've created a new low-level language called Gradio Blocks that lets you build complex custom web apps, right in Python:
Why did we create Blocks? Gradio demos are very easy to build, but what if you want more control over the layout of your demo, or more flexibility on how the data flows? For example, you might want to:
- Change the layout of your demo instead of just having all of the inputs on the left and outputs on the right
- Have multi-step interfaces, in which the output of one model becomes the input to the next model, or have more flexible data flows in general
- Change a component's properties (for example, the choices in a Dropdown) or its visibilty based on user input
The low-level Blocks API allows you to do all of this, right in Python.
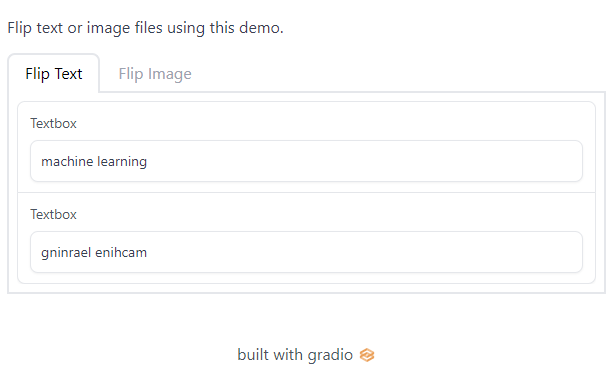
Here's an example of a Blocks demo that creates two simple demos and uses tabs to group them together:
import numpy as np
import gradio as gr

def flip_text(x):
    return x[::-1]

def flip_image(x):
    return np.fliplr(x)

with gr.Blocks() as demo:
    gr.Markdown("Flip text or image files using this demo.")
    with gr.Tabs():
        with gr.TabItem("Flip Text"):
            text_input = gr.Textbox()
            text_output = gr.Textbox()
            # this demo runs whenever the input textbox changes
            text_input.change(flip_text, inputs=text_input, outputs=text_output)

        with gr.TabItem("Flip Image"):
            with gr.Row():
                image_input = gr.Image()
                image_output = gr.Image()
            button = gr.Button("Flip")
            # this demo runs whenever the button is clicked
            button.click(flip_image, inputs=image_input, outputs=image_output)

demo.launch()
Once you run launch(), the following demo will appear:
For a step-by-step introduction to Blocks, check out the dedicated Blocks Guide
The Gradio Blocks Party
We're very excited about Gradio Blocks -- and we'd love for you to try it out -- so we are organizing a competition, the Gradio Blocks Party (😉), to see who can build the best demos with Blocks. By building these demos, we can make state-of-the-art machine learning accessible, not just to engineers, but anyone who can use an Internet browser!
Even if you've never used Gradio before, this is the perfect time to start, because the Blocks Party is running until the end of May. We'll be giving out 🤗 merch and other prizes at the end of the Party for demos built using Blocks.
Learn more about Blocks Party here: https://huggingface.co/spaces/Gradio-Blocks/README

