Diffusers documentation
이미지 밝기 조절하기
You are viewing v0.28.2 version.
A newer version
v0.35.1 is available.
이미지 밝기 조절하기
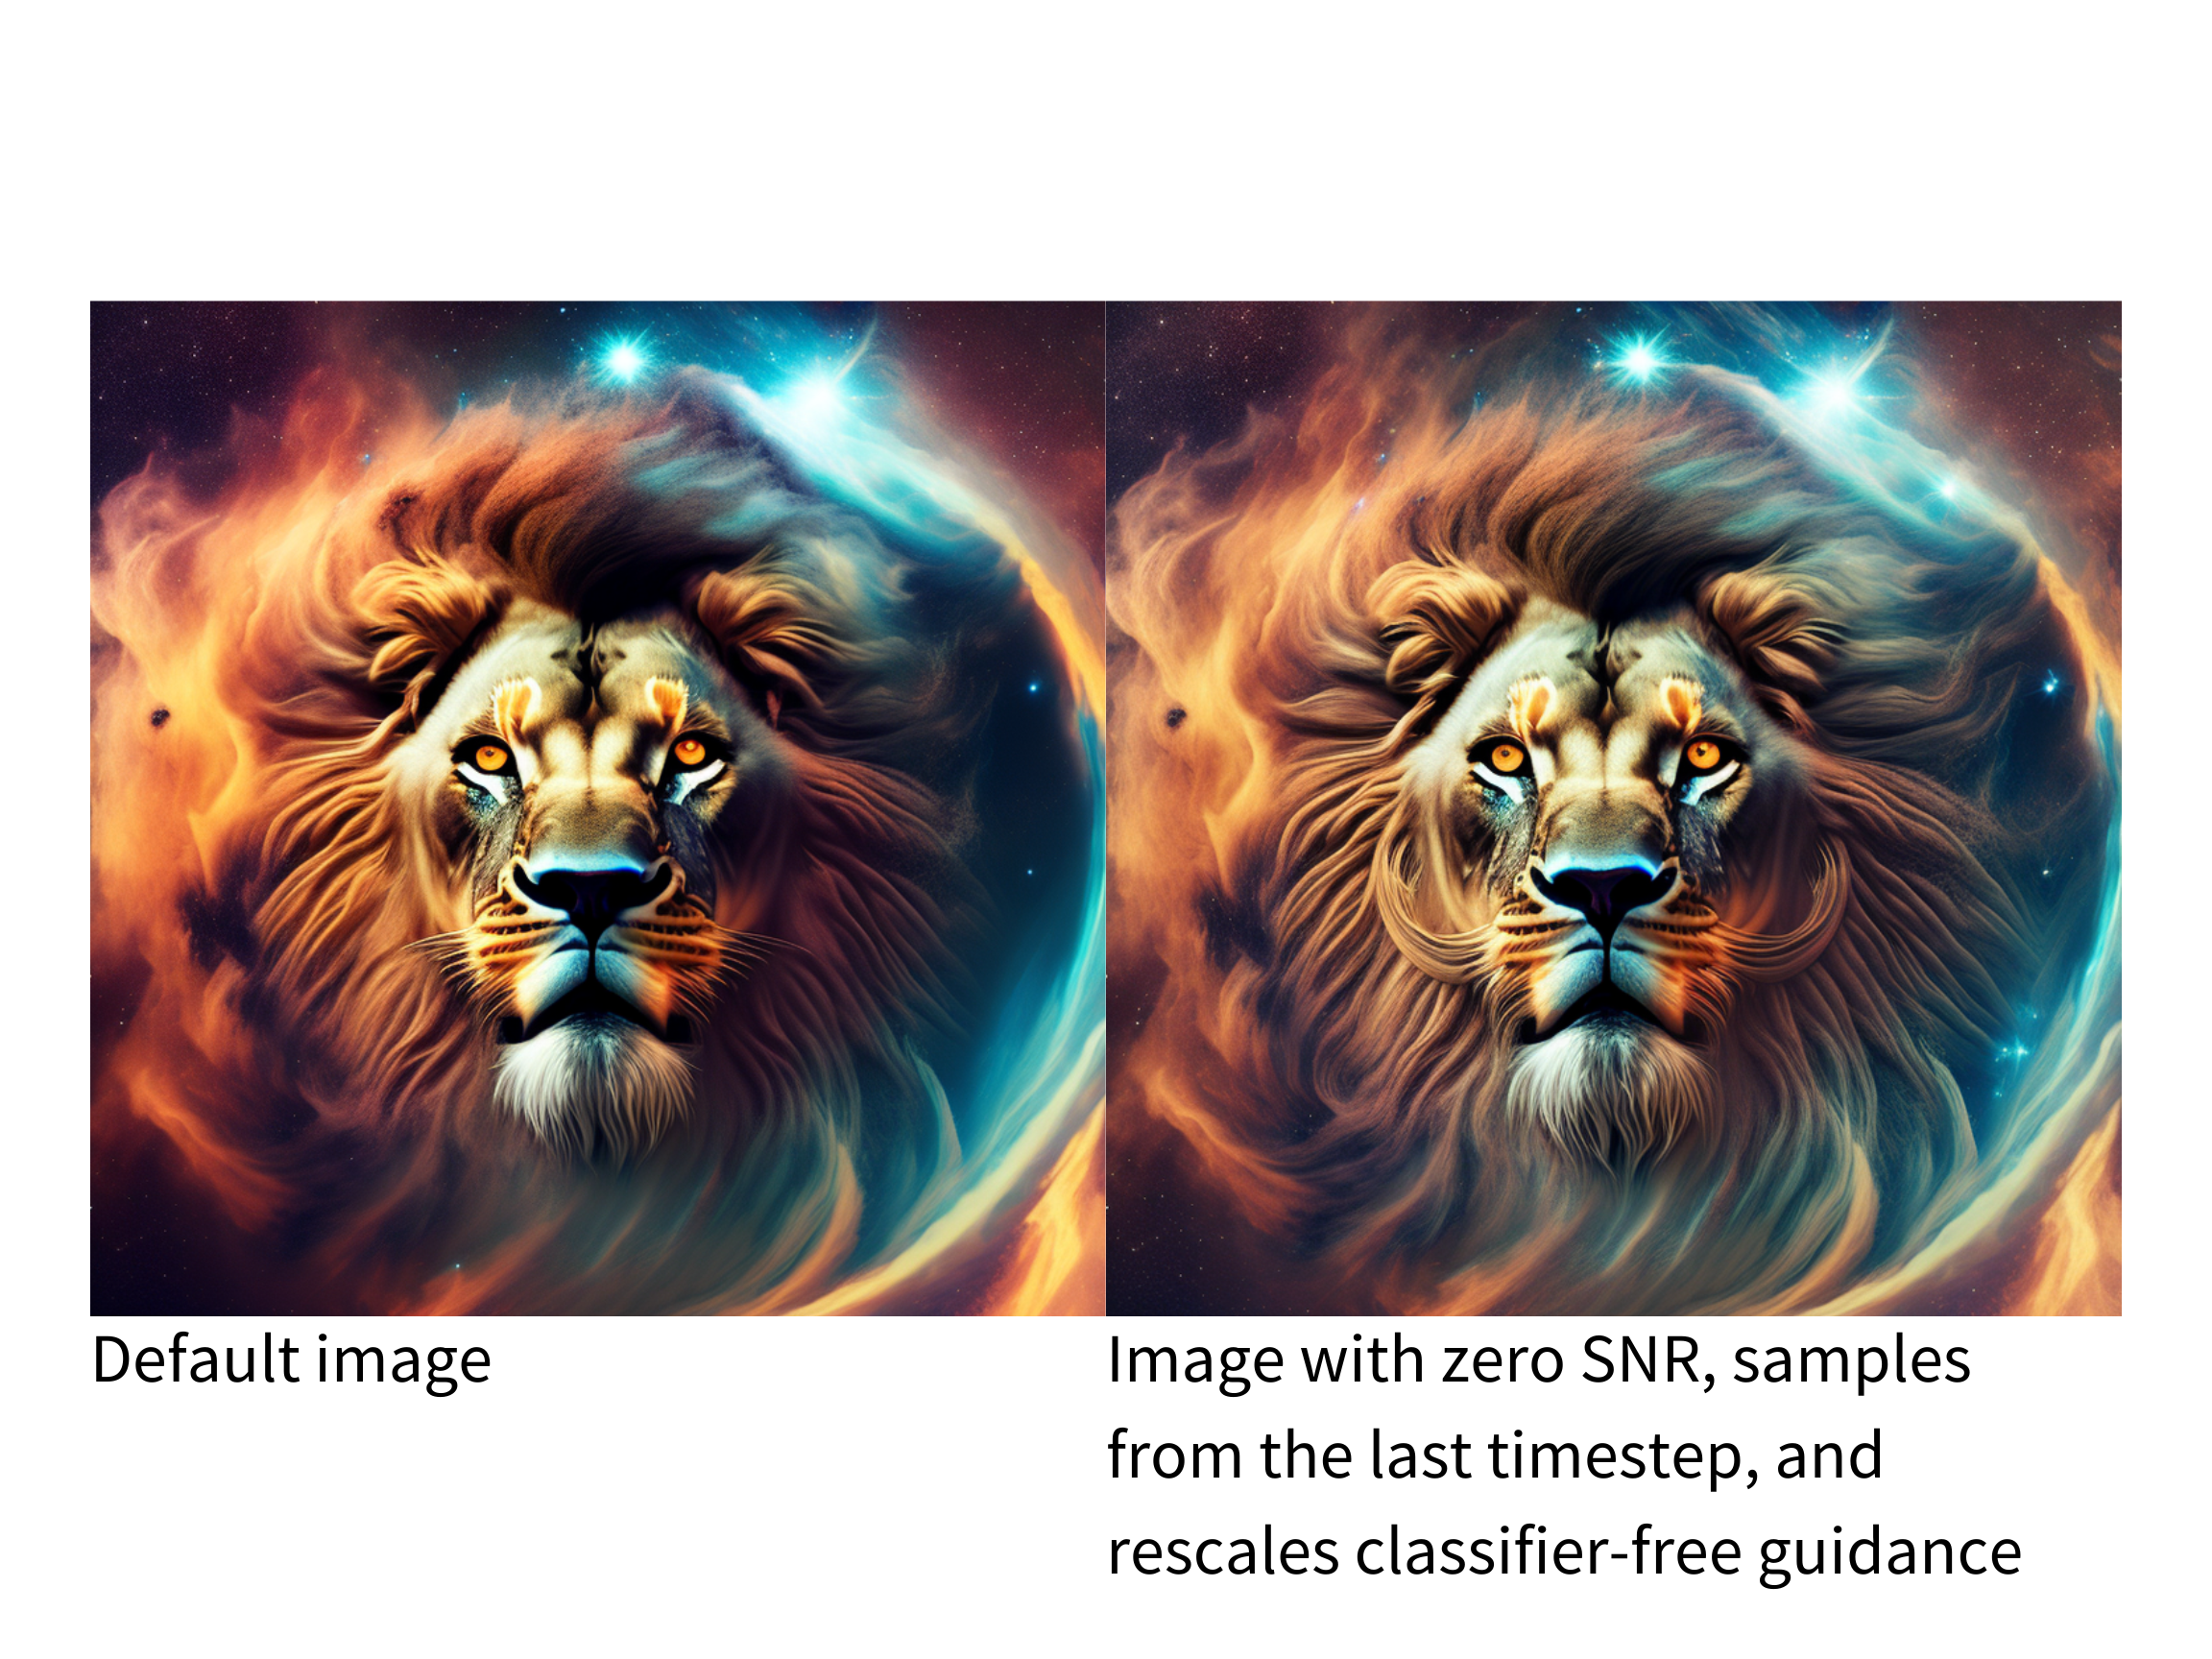
Stable Diffusion 파이프라인은 일반적인 디퓨전 노이즈 스케줄과 샘플 단계에 결함이 있음 논문에서 설명한 것처럼 매우 밝거나 어두운 이미지를 생성하는 데는 성능이 평범합니다. 이 논문에서 제안한 솔루션은 현재 DDIMScheduler에 구현되어 있으며 이미지의 밝기를 개선하는 데 사용할 수 있습니다.
💡 제안된 솔루션에 대한 자세한 내용은 위에 링크된 논문을 참고하세요!
해결책 중 하나는 v 예측값과 v 로스로 모델을 훈련하는 것입니다. 다음 flag를 train_text_to_image.py 또는 train_text_to_image_lora.py 스크립트에 추가하여 v_prediction을 활성화합니다:
--prediction_type="v_prediction"예를 들어, v_prediction으로 미세 조정된 ptx0/pseudo-journey-v2 체크포인트를 사용해 보겠습니다.
다음으로 DDIMScheduler에서 다음 파라미터를 설정합니다:
- rescale_betas_zero_snr=True`, 노이즈 스케줄을 제로 터미널 신호 대 잡음비(SNR)로 재조정합니다.
timestep_spacing="trailing", 마지막 타임스텝부터 샘플링 시작
>>> from diffusers import DiffusionPipeline, DDIMScheduler

>>> pipeline = DiffusionPipeline.from_pretrained("ptx0/pseudo-journey-v2")
# switch the scheduler in the pipeline to use the DDIMScheduler

>>> pipeline.scheduler = DDIMScheduler.from_config(
...     pipeline.scheduler.config, rescale_betas_zero_snr=True, timestep_spacing="trailing"
... )
>>> pipeline.to("cuda")
마지막으로 파이프라인에 대한 호출에서 guidance_rescale을 설정하여 과다 노출을 방지합니다:
prompt = "A lion in galaxies, spirals, nebulae, stars, smoke, iridescent, intricate detail, octane render, 8k"
image = pipeline(prompt, guidance_rescale=0.7).images[0]