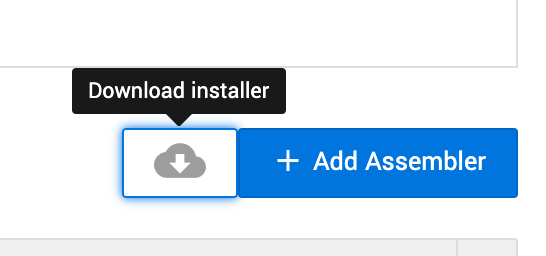
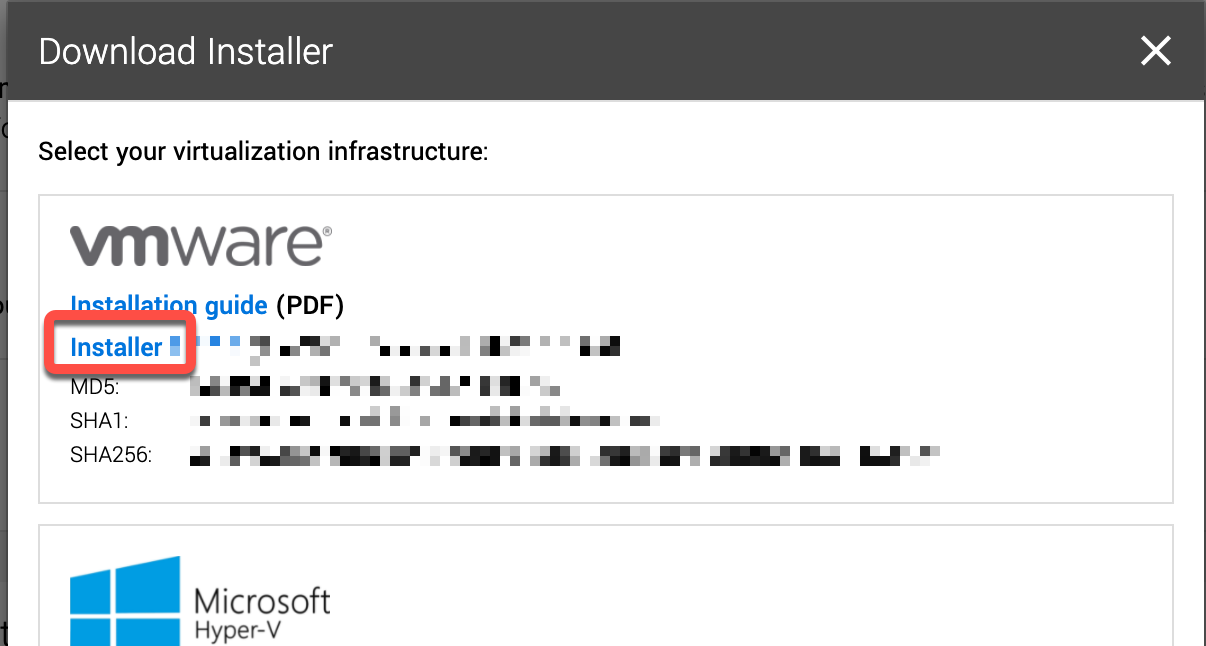
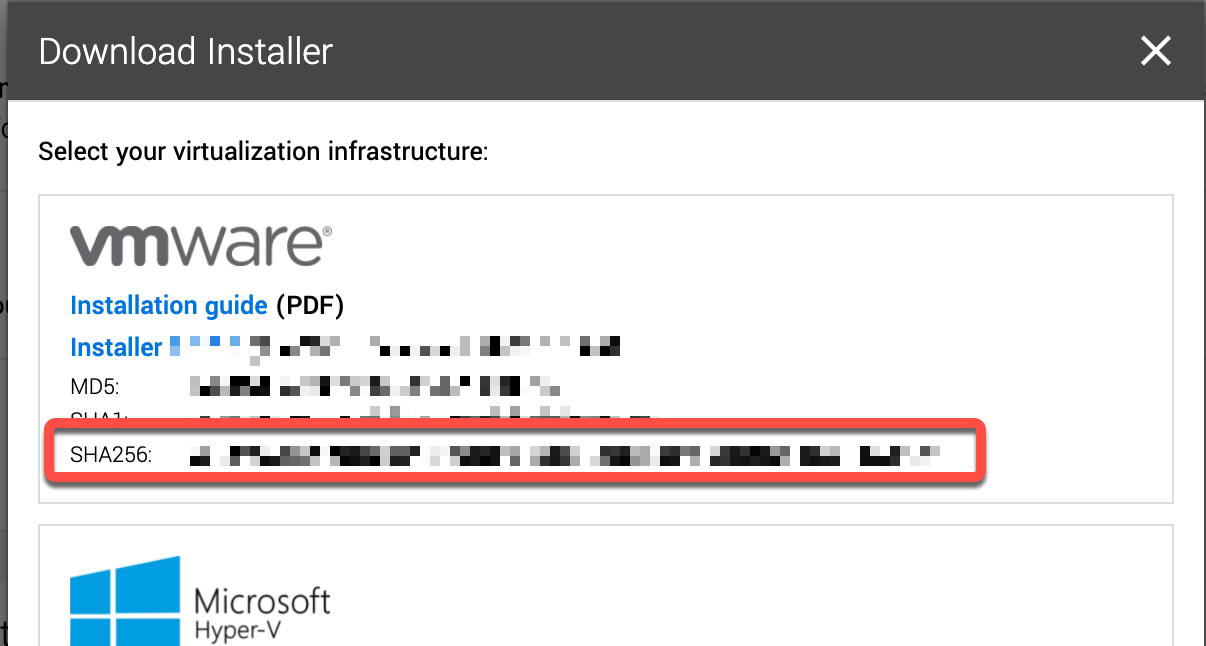
| {"title": "How to provision Expel Assembler", "url": "https://support.expel.io/hc/en-us/articles/1500002718861-How-to-provision-Expel-Assembler", "date": "2021-02-17T20:44:46Z", "contents": "The Expel Assembler enables you to create a secure VPN connection so that we\ncan access your security devices. We’ve packaged it as a virtual machine. If\nyou install virtual machine images regularly, this should be pretty\nstraightforward.\n\n#### In this article\n\n * Do you need an Assembler?\n\n * Download the Assembler image\n\n * Register the Assembler in the Expel Workbench\n\n * Deploy the Assembler virtual machine in your network\n\n * Activate the Assembler through the virtual machine console\n\n * Authorize the Assembler in the Expel Portal\n\n## Do you need an Assembler?\n\nThe Expel Assembler is only needed if a security device you want to connect to\nWorkbench is on an internal network to your company. If Workbench can connect\ndirectly to the security device, you don’t need an Assembler at all! Just go\nright to adding the security device in Workbench.\n\n## Before you start\n\nBefore you get started, you need 2 things.\n\n 1. A place to run the Expel Assembler virtual machine. We work with VMWare or Hyper V for on-prem environments and AWS or Microsoft Azure for cloud environments. The Assembler needs the following resources available:\n\n * 4 virtual CPUs\n\n * 8 GB RAM\n\n * 100 GB disk space\n\n 2. Connect the Assembler virtual machine to the following network resources:\n\n * Our VPN servers:\n\n**Host**\n\n|\n\n**Ports** \n \n---|--- \n \nprovisionvpn.opsv2.expel.io\n\n|\n\nTCP 443 or TCP 8099 \n \nservicevpn.opsv2.expel.io \n \n * The security devices you want to connect to the Expel Assembler. Search this knowledge base for documentation on each security device.\n\n * Your DHCP server, unless you decide to assign a static IP to the Assembler.\n\n * Your DNS server.\n\nIf your network is segmented, you may need to deploy multiple Assemblers. If\nyou have any questions about how many Assemblers to install, let us know and\nwe’ll recommend the best approach for your environment.\n\n## Download the Assembler image\n\n### Note\n\nIf you are deploying the assembler image in Amazon Web Services (AWS), then\nskip this section and go to Register the Assembler in the Expel Workbench.\n\n 1. In Expel Workbench, click Settings in the top navigation bar.\n\n 2. Click Assemblers in the left navigation panel.\n\n 3. Click Download installer.\n\n \n--- \n \n 4. Click the installer link for your virtualization technology.\n\n \n--- \n \n 5. Note the hash of the file downloaded for error checking in Step 7.\n\n \n--- \n \n 6. Now’s a good time to grab a cup of coffee because it’ll take a few minutes to download.\n\n * If the hash matches, continue to Register the Assembler in Expel Workbench.\n\n * If the hash doesn't match, download it again and re-check the hash.\n\n * If the hash still doesn’t match after the second time, something’s not right. In that case, contact your engagement manager or customer success engineer in Slack or by email, or you can email devicehealth@expel.io.\n\n 7. After the download completes, verify that a hash of the file downloaded matches the data shown in Expel Workbench. The table below shows how you can do this for the 3 main operating systems.\n\n### Caution\n\nThis is an important step because it confirms that your download is complete\nand that no one tampered with the image.\n\n**Operating system**\n\n|\n\n**Hash to verify**\n\n|\n\n**Command** \n \n---|---|--- \n \nWindows\n\n|\n\nSHA256\n\n|\n\nSearch for cmd, and select cmd.exe or “Command Prompt” from the results. Run\nthese commands in the window that opens:\n\n \n \n cd <your download folder>\n \n certutil -hashfile expel-assembler-vmware- <version>.ova sha256 \n \nMac OS\n\n|\n\nSHA256\n\n|\n\nIn Spotlight Search, search for the Terminal program and run it. In the\nterminal window, run this command:\n\n \n \n shasum -a 256 ~/Downloads/expel-assembler-vmware- <version>.ova \n \nLinux\n\n|\n\nSHA256\n\n|\n\nIn a terminal program, run:\n\n \n \n sha256sum ~/Downloads/expel-assembler-vmware- <version>.ova \n \n## Register the Assembler in the Expel Workbench\n\n 1. In Workbench, click Settings in the top navigation bar, then Assemblers on the left navigation panel. You see a box with the Assembler Name and Location fields. If not, click the Add Assembler button.\n\n 2. Type the Assembler Name and Location for the Assembler. It’s best to select names that are meaningful to both you and to Expel so you can easily identify the Assembler in the user interface. For example: ACME HQ.\n\n 3. Click Save.\n\n 4. Note the Install Code for the newly registered Assembler. You need this later to activate the Assembler.\n\n 5. To add another Assembler, click the Add Assembler button and repeat these steps.\n\n#### Deploy the Assembler virtual machine in your network\n\nClick a link for instructions on deploying the Assembler virtual machine in\nyour network:\n\n * Deploying the Expel Assembler in AWS.\n\n * Deploying the Expel Assembler On VMWare.\n\n * Deploying the Expel Assembler on Hyper-V.\n\n * Deploying the Expel Assembler on Microsoft Azure.\n\n## Activate the Assembler through the virtual machine console\n\n 1. Select the newly deployed Virtual Machine for the Assembler.\n\n 2. Open the console of the Assembler.\n\n 3. Log in with username expel and password expel.\n\n 4. Set a unique and secure password for the expel account. First type the existing password (expel), then type the new password 2 more times. Securely store the new password per your organization's policies. You need it to log in to the Assembler again.\n\nNote: Your password must be at least 8 characters and not a word found in the\ndictionary.\n\n \n You are required to change your password immediately (root enforced)\n Changing password for expel.\n (current) UNIX password: expel\n New password: <enter new password>\n Retype new password: <enter new password again> \n \n--- \n \n 5. Azure users only: delete the users you created during VM creation by running:\n \n sudo userdel temp\n \n\n 6. Determine the network interface to use by running:\n \n sudo expelmanage --list-interfaces\n \n\n 7. The Assembler uses DHCP by default. To use DHCP, skip to the next step. To use a static network configuration, run:\n \n sudo expelmanage --net --interface <interface name> --type static --ip <IP address> --netmask <subnet mask> --gateway <gateway IP> --dns <nameserver IP>\n\n<interface name> is determined in the previous step. \n \n--- \n \n### Note\n\nGet the IP address, subnet mask, gateway IP, and nameserver IP to input the\nabove command from your virtualization administrator. \n \n 8. Activate the Assembler by supplying the 8-character install code created in Register the Assembler:\n \n sudo expelmanage --activate <eight-character install code>\n\nYou see output like this:\n\n \n [expel@hostname ~]$ sudo expelmanage --activate abcd1234\n Activation code set\n Regenerating SSH keys\n Activated\n [expel@hostname ~]$ \n \n--- \n \n 9. Run exit to log out of the console.\n\n## Authorize the Assembler in the Expel Portal\n\nWithin 30 seconds of activating the Assembler with a matching install code,\nthe Assembler you registered at https://workbench.expel.io/settings/assemblers\nchanges status from Not Yet Connected to Connected, and an Authorize button\nappears for the Assembler. Click the Authorize button.\n\nWorkbench now automatically configures the Assembler. This process takes about\n10 minutes but can take longer if you have a slow network connection. After\ncomplete, the status changes to Active.\n\nIf any errors occur along the way, leave everything as it is and file a\nsupport case. We can often fix any issues without any further involvement from\nyou after it's connected to our VPN.\n\nYou can now begin to turn on your security devices. Follow the instructions in\nthe Getting connected to Expel Workbench.\n\n"} |