AWS Trainium & Inferentia documentation
Generate images with Stable Diffusion models on AWS Inferentia
Generate images with Stable Diffusion models on AWS Inferentia
Stable Diffusion
There is a notebook version of that tutorial here.
🤗 Optimum extends Diffusers to support inference on the second generation of Neuron devices(powering Trainium and Inferentia 2). It aims at inheriting the ease of Diffusers on Neuron.
To get started, make sure you have configured your inf2 / trn1 instance, and installed optimum:
pip install "optimum[neuronx, diffusers]"Compile Stable Diffusion
To deploy models, you will need to compile them to TorchScript optimized for AWS Neuron. In the case of Stable Diffusion, there are four components which need to be exported to the .neuron format to boost the performance:
- Text encoder
- U-Net
- VAE encoder
- VAE decoder
You can either compile and export a Stable Diffusion Checkpoint via CLI or NeuronStableDiffusionPipeline class.
Export via CLI
Here is an example of exporting stable diffusion components with Optimum CLI:
optimum-cli export neuron --model stabilityai/stable-diffusion-2-1-base \
  --task stable-diffusion \
  --batch_size 1 \
  --height 512 `# height in pixels of generated image, eg. 512, 768` \
  --width 512 `# width in pixels of generated image, eg. 512, 768` \
  --num_images_per_prompt 4 `# number of images to generate per prompt, defaults to 1` \
  --auto_cast matmul `# cast only matrix multiplication operations` \
  --auto_cast_type bf16 `# cast operations from FP32 to BF16` \
  sd_neuron/
We recommend using a inf2.8xlarge or a larger instance for the model compilation. You will also be able to compile the model with the Optimum CLI on a CPU-only instance (needs ~35 GB memory), and then run the pre-compiled model on inf2.xlarge to reduce the expenses. In this case, don’t forget to disable validation of inference by adding the --disable-validation argument.
Export via Python API
Here is an example of exporting stable diffusion components with NeuronStableDiffusionPipeline:
To apply optimized compute of Unet’s attention score, please configure your environment variable with export NEURON_FUSE_SOFTMAX=1.
Besides, don’t hesitate to tweak the compilation configuration to find the best tradeoff between performance v.s accuracy in your use case. By default, we suggest casting FP32 matrix multiplication operations to BF16 which offers good performance with moderate sacrifice of the accuracy. Check out the guide from AWS Neuron documentation to better understand the options for your compilation.
>>> from optimum.neuron import NeuronStableDiffusionPipeline

>>> model_id = "runwayml/stable-diffusion-v1-5"
>>> compiler_args = {"auto_cast": "matmul", "auto_cast_type": "bf16"}
>>> input_shapes = {"batch_size": 1, "height": 512, "width": 512}

>>> stable_diffusion = NeuronStableDiffusionPipeline.from_pretrained(model_id, export=True, **compiler_args, **input_shapes)

# Save locally or upload to the HuggingFace Hub
>>> save_directory = "sd_neuron/"
>>> stable_diffusion.save_pretrained(save_directory)
>>> stable_diffusion.push_to_hub(
...     save_directory, repository_id="my-neuron-repo", use_auth_token=True
... )
Text-to-Image
NeuronStableDiffusionPipeline class allows you to generate images from a text prompt on neuron devices similar to the experience with Diffusers.
With pre-compiled Stable Diffusion models, now generate an image with a prompt on Neuron:
>>> from optimum.neuron import NeuronStableDiffusionPipeline

>>> stable_diffusion = NeuronStableDiffusionPipeline.from_pretrained("sd_neuron/")
>>> prompt = "a photo of an astronaut riding a horse on mars"
>>> image = stable_diffusion(prompt).images[0]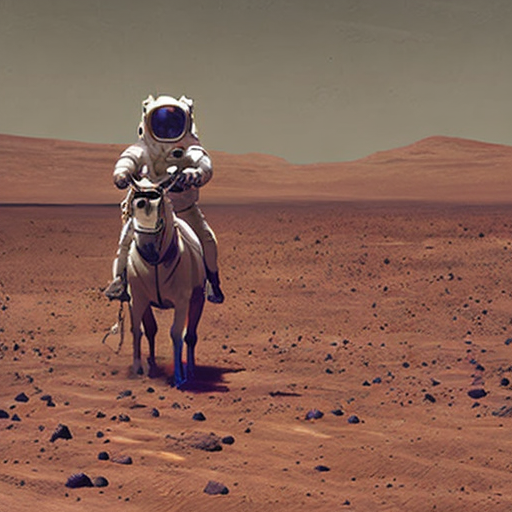
Image-to-Image
With the NeuronStableDiffusionImg2ImgPipeline class, you can generate a new image conditioned on a text prompt and an initial image.
import requests
from PIL import Image
from io import BytesIO
from optimum.neuron import NeuronStableDiffusionImg2ImgPipeline

# compile & save
model_id = "nitrosocke/Ghibli-Diffusion"
input_shapes = {"batch_size": 1, "height": 512, "width": 512}
pipeline = NeuronStableDiffusionImg2ImgPipeline.from_pretrained(model_id, export=True, **input_shapes)
pipeline.save_pretrained("sd_img2img/")

url = "https://raw.githubusercontent.com/CompVis/stable-diffusion/main/assets/stable-samples/img2img/sketch-mountains-input.jpg"

response = requests.get(url)
init_image = Image.open(BytesIO(response.content)).convert("RGB")
init_image = init_image.resize((512, 512))

prompt = "ghibli style, a fantasy landscape with snowcapped mountains, trees, lake with detailed reflection. sunlight and cloud in the sky, warm colors, 8K"

image = pipeline(prompt=prompt, image=init_image, strength=0.75, guidance_scale=7.5).images[0]
image.save("fantasy_landscape.png")
image | prompt | output | |
|---|---|---|---|
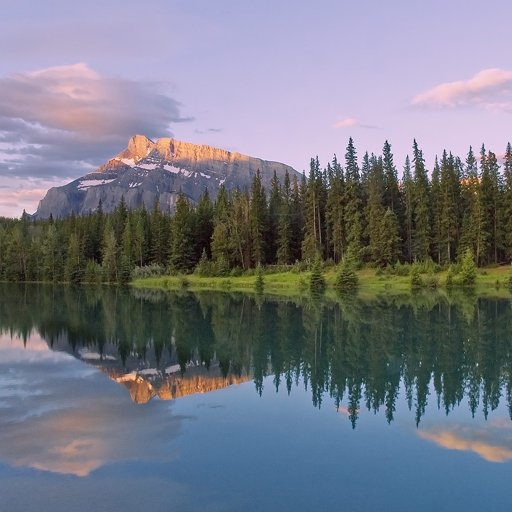 | ghibli style, a fantasy landscape with snowcapped mountains, trees, lake with detailed reflection. warm colors, 8K | 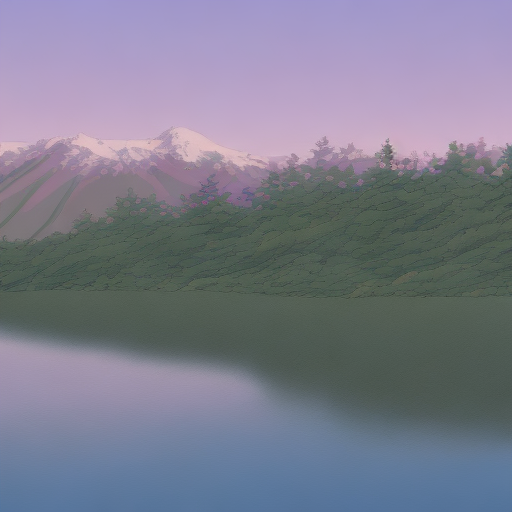 |
Inpaint
With the NeuronStableDiffusionInpaintPipeline class, you can edit specific parts of an image by providing a mask and a text prompt.
import requests
from PIL import Image
from io import BytesIO
from optimum.neuron import NeuronStableDiffusionInpaintPipeline

model_id = "runwayml/stable-diffusion-inpainting"
input_shapes = {"batch_size": 1, "height": 512, "width": 512}
pipeline = NeuronStableDiffusionInpaintPipeline.from_pretrained(model_id, export=True, **input_shapes)
pipeline.save_pretrained("sd_inpaint/")

def download_image(url):
    response = requests.get(url)
    return Image.open(BytesIO(response.content)).convert("RGB")

img_url = "https://raw.githubusercontent.com/CompVis/latent-diffusion/main/data/inpainting_examples/overture-creations-5sI6fQgYIuo.png"
mask_url = "https://raw.githubusercontent.com/CompVis/latent-diffusion/main/data/inpainting_examples/overture-creations-5sI6fQgYIuo_mask.png"

init_image = download_image(img_url).resize((512, 512))
mask_image = download_image(mask_url).resize((512, 512))

prompt = "Face of a yellow cat, high resolution, sitting on a park bench"
image = pipeline(prompt=prompt, image=init_image, mask_image=mask_image).images[0]
image.save("cat_on_bench.png")
image | mask_image | prompt | output |
|---|---|---|---|
 | 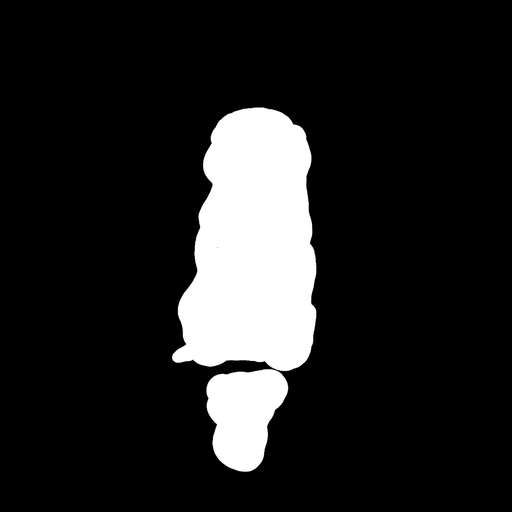 | Face of a yellow cat, high resolution, sitting on a park bench | 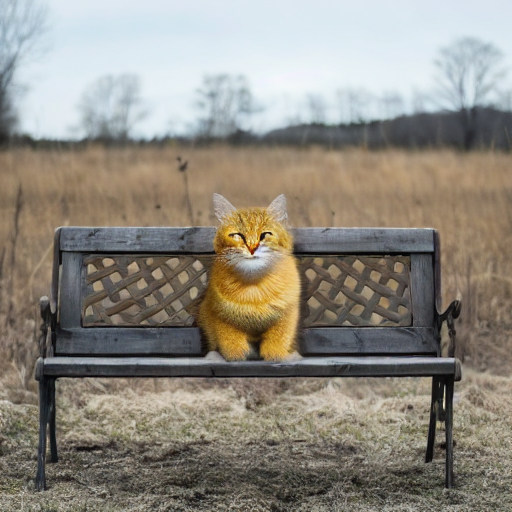 |
InstructPix2Pix
With the NeuronStableDiffusionInstructPix2PixPipeline class, you can apply instruction-based image editing using both text guidance and image guidance.
import requests
import PIL
from io import BytesIO
from optimum.neuron import NeuronStableDiffusionInstructPix2PixPipeline

def download_image(url):
    response = requests.get(url)
    return PIL.Image.open(BytesIO(response.content)).convert("RGB")

model_id = "timbrooks/instruct-pix2pix"
input_shapes = {"batch_size": 1, "height": 512, "width": 512}

pipe = NeuronStableDiffusionInstructPix2PixPipeline.from_pretrained(
  model_id, export=True, dynamic_batch_size=True, **input_shapes,
)
pipe.save_pretrained("sd_ip2p/")

img_url = "https://huggingface.co/datasets/diffusers/diffusers-images-docs/resolve/main/mountain.png"
init_image = download_image(img_url).resize((512, 512))

prompt = "Add a beautiful sunset"
image = pipe(prompt=prompt, image=init_image).images[0]
image.save("sunset_mountain.png")
image | prompt | output |
|---|---|---|
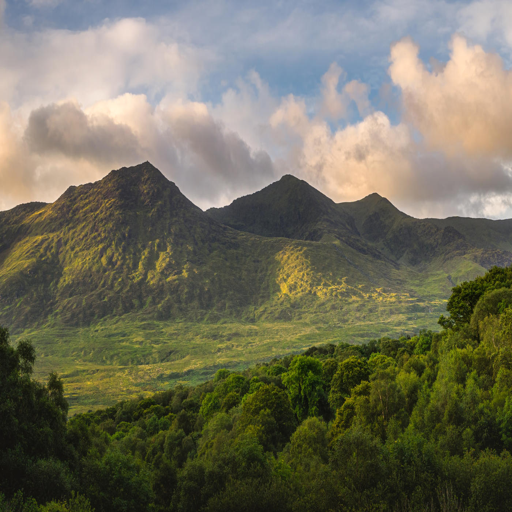 | Add a beautiful sunset |  |
Stable Diffusion XL
There is a notebook version of that tutorial here.
Stable Diffusion XL (SDXL) is a latent diffusion model for text-to-image. Compared to the previous versions of Stable Diffusion models, it improves the quality of generated images with a times larger UNet.
Compile Stable Diffusion XL
To deploy SDXL models, we will also start by compiling the models. We support the export of following components in the pipeline to boost the speed:
- Text encoder
- Second text encoder
- U-Net (a three times larger UNet than the one in Stable Diffusion pipeline)
- VAE encoder
- VAE decoder
Export via CLI
Here is an example of exporting SDXL components with Optimum CLI:
optimum-cli export neuron --model stabilityai/stable-diffusion-xl-base-1.0 \
  --task stable-diffusion-xl \
  --batch_size 1 \
  --height 1024 `# height in pixels of generated image, eg. 768, 1024` \
  --width 1024 `# width in pixels of generated image, eg. 768, 1024` \
  --num_images_per_prompt 4 `# number of images to generate per prompt, defaults to 1` \
  --auto_cast matmul `# cast only matrix multiplication operations` \
  --auto_cast_type bf16 `# cast operations from FP32 to BF16` \
  sd_neuron_xl/
We recommend using a inf2.8xlarge or a larger instance for the model compilation. You will also be able to compile the model with Optimum CLI on a CPU-only instance (needs ~92 GB memory), and then run the pre-compiled models on inf2.xlarge to reduce the expenses. In this case, don’t forget to disable validation of inference by adding the --disable-validation argument.
Export via Python API
Here is an example of exporting stable diffusion components with NeuronStableDiffusionXLPipeline:
>>> from optimum.neuron import NeuronStableDiffusionXLPipeline

>>> model_id = "stabilityai/stable-diffusion-xl-base-1.0"
>>> compiler_args = {"auto_cast": "matmul", "auto_cast_type": "bf16"}
>>> input_shapes = {"batch_size": 1, "height": 1024, "width": 1024}

>>> stable_diffusion_xl = NeuronStableDiffusionXLPipeline.from_pretrained(model_id, export=True, **compiler_args, **input_shapes)

# Save locally or upload to the HuggingFace Hub
>>> save_directory = "sd_neuron_xl/"
>>> stable_diffusion_xl.save_pretrained(save_directory)
>>> stable_diffusion_xl.push_to_hub(
...     save_directory, repository_id="my-neuron-repo", use_auth_token=True
... )
Text-to-Image
With pre-compiled SDXL models, now generate an image with a text prompt on Neuron:
>>> from optimum.neuron import NeuronStableDiffusionXLPipeline

>>> stable_diffusion_xl = NeuronStableDiffusionXLPipeline.from_pretrained("sd_neuron_xl/")
>>> prompt = "Astronaut in a jungle, cold color palette, muted colors, detailed, 8k"
>>> image = stable_diffusion_xl(prompt).images[0]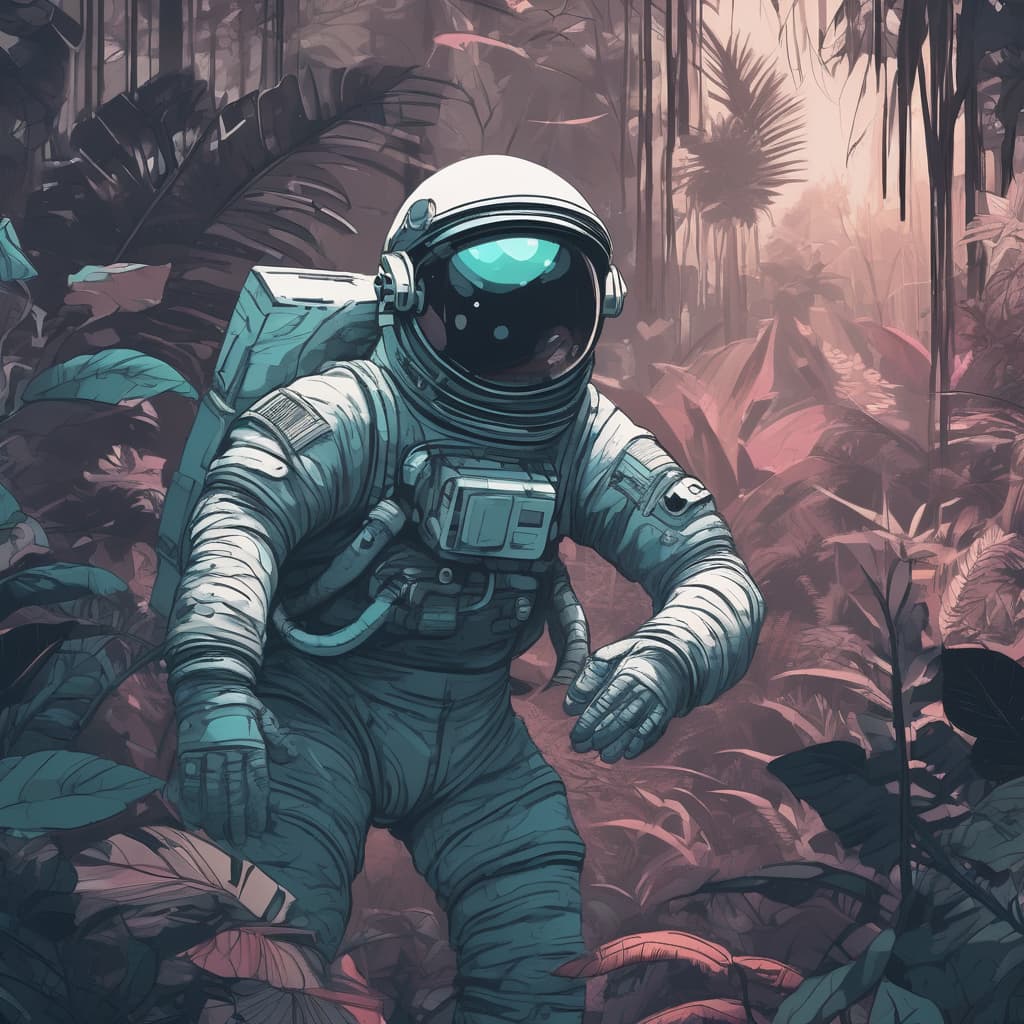
Image-to-Image
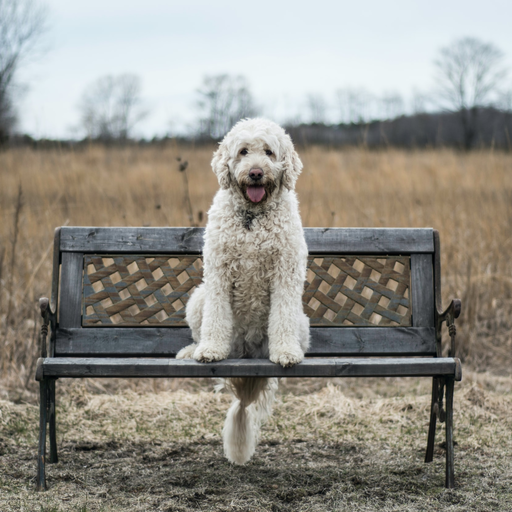
With NeuronStableDiffusionXLImg2ImgPipeline, you can pass an initial image, and a text prompt to condition generated images:
from optimum.neuron import NeuronStableDiffusionXLImg2ImgPipeline
from diffusers.utils import load_image

prompt = "a dog running, lake, moat"
url = "https://huggingface.co/datasets/optimum/documentation-images/resolve/main/intel/openvino/sd_xl/castle_friedrich.png"
init_image = load_image(url).convert("RGB")

pipe = NeuronStableDiffusionXLImg2ImgPipeline.from_pretrained("sd_neuron_xl/")
image = pipe(prompt=prompt, image=init_image).images[0]
image | prompt | output | |
|---|---|---|---|
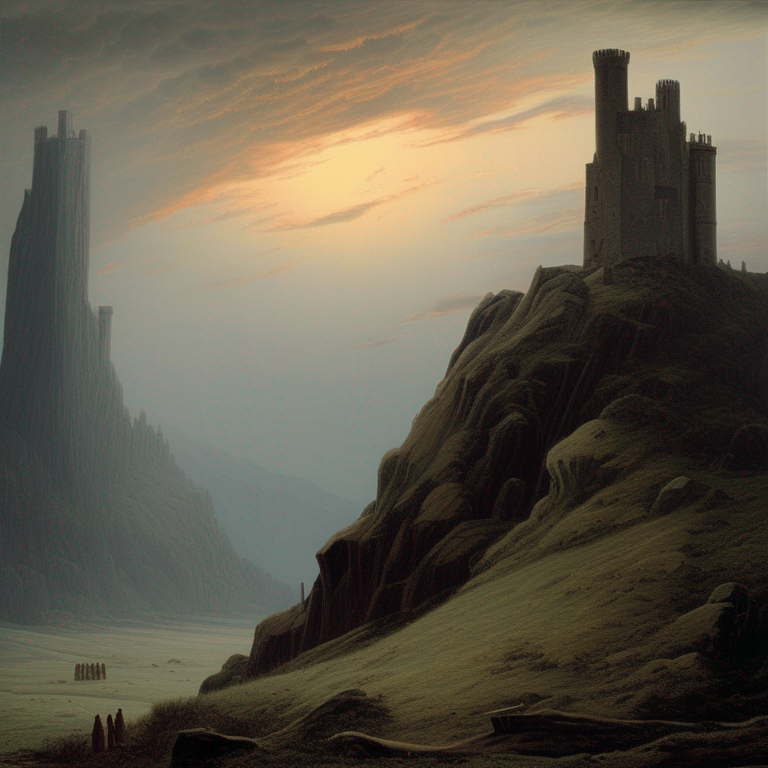 | a dog running, lake, moat |  |
Inpaint
With NeuronStableDiffusionXLInpaintPipeline, pass the original image and a mask of what you want to replace in the original image. Then replace the masked area with content described in a prompt.
from optimum.neuron import NeuronStableDiffusionXLInpaintPipeline
from diffusers.utils import load_image

img_url = "https://huggingface.co/datasets/huggingface/documentation-images/resolve/main/diffusers/sdxl-text2img.png"
mask_url = (
    "https://huggingface.co/datasets/huggingface/documentation-images/resolve/main/diffusers/sdxl-inpaint-mask.png"
)

init_image = load_image(img_url).convert("RGB")
mask_image = load_image(mask_url).convert("RGB")
prompt = "A deep sea diver floating"

pipe = NeuronStableDiffusionXLInpaintPipeline.from_pretrained("sd_neuron_xl/")
image = pipe(prompt=prompt, image=init_image, mask_image=mask_image, strength=0.85, guidance_scale=12.5).images[0]
image | mask_image | prompt | output |
|---|---|---|---|
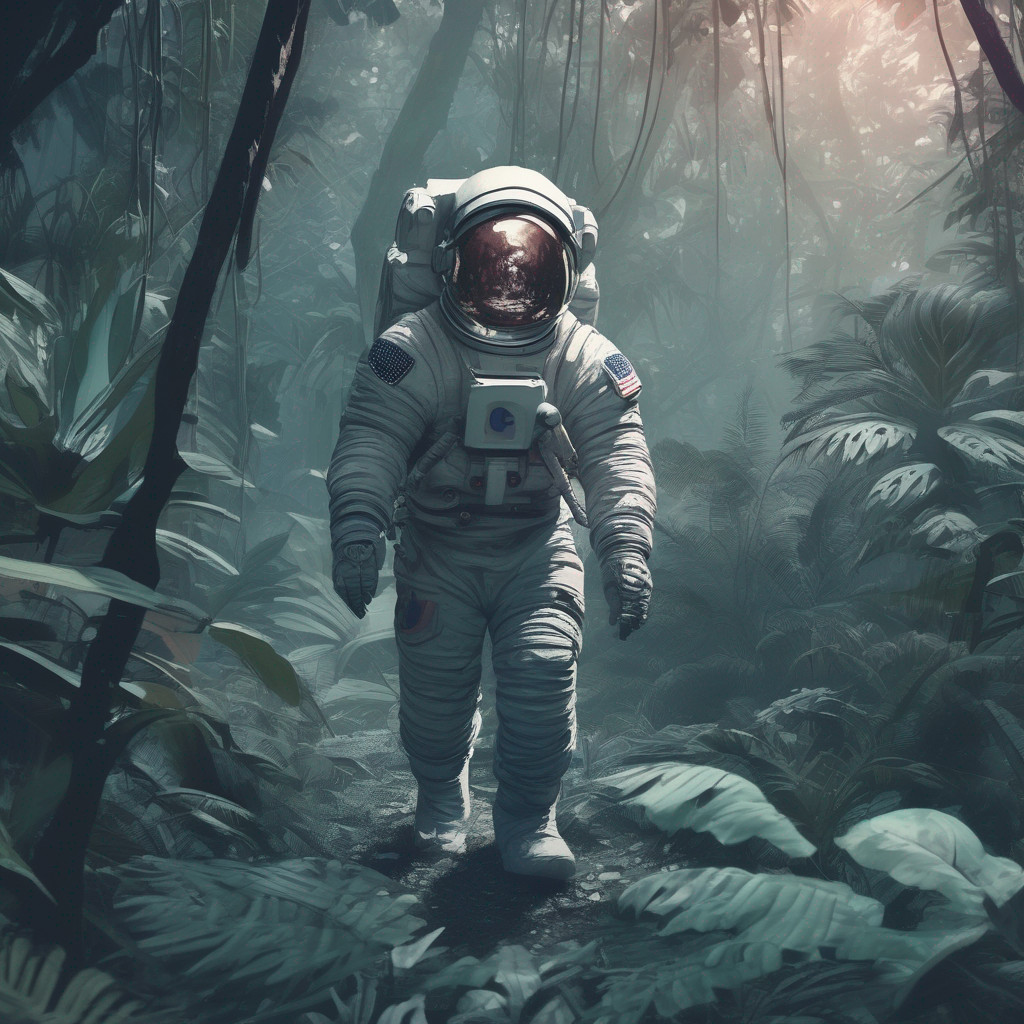 | 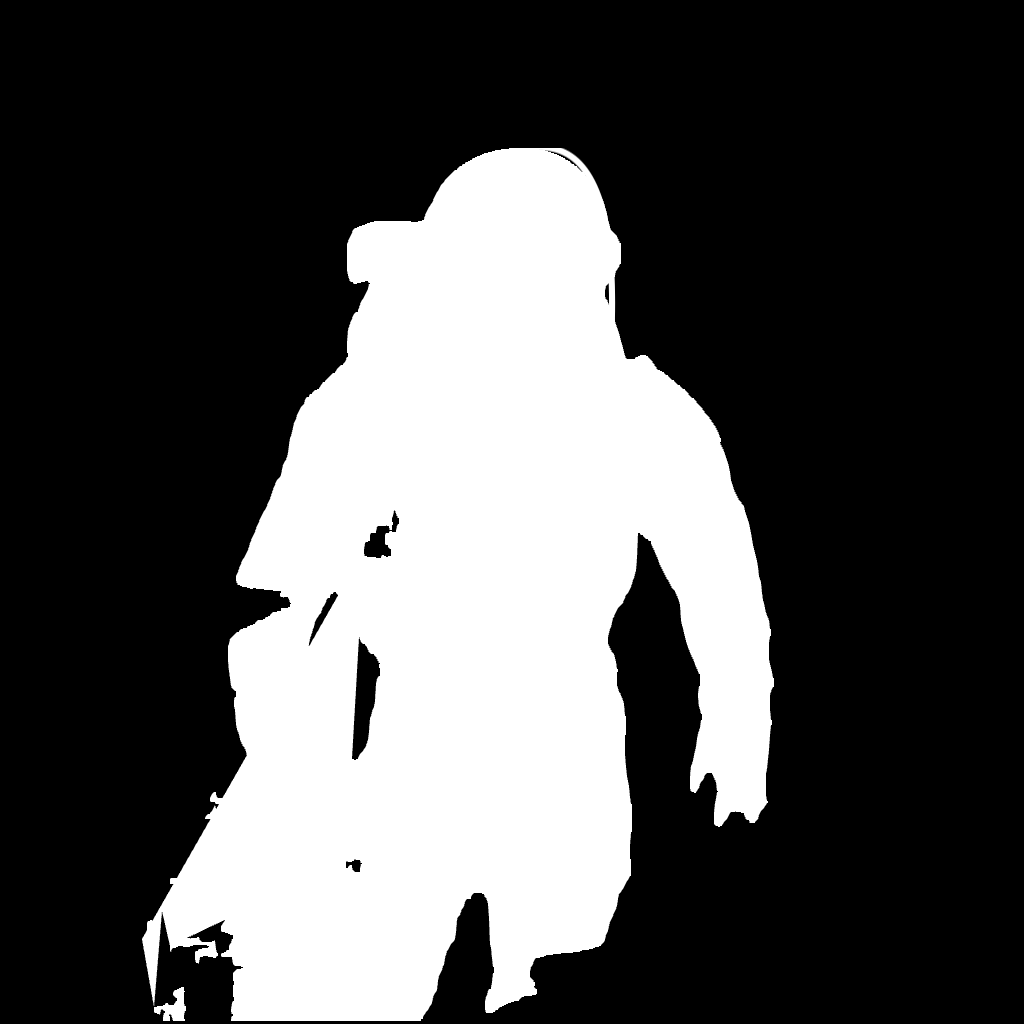 | A deep sea diver floating | 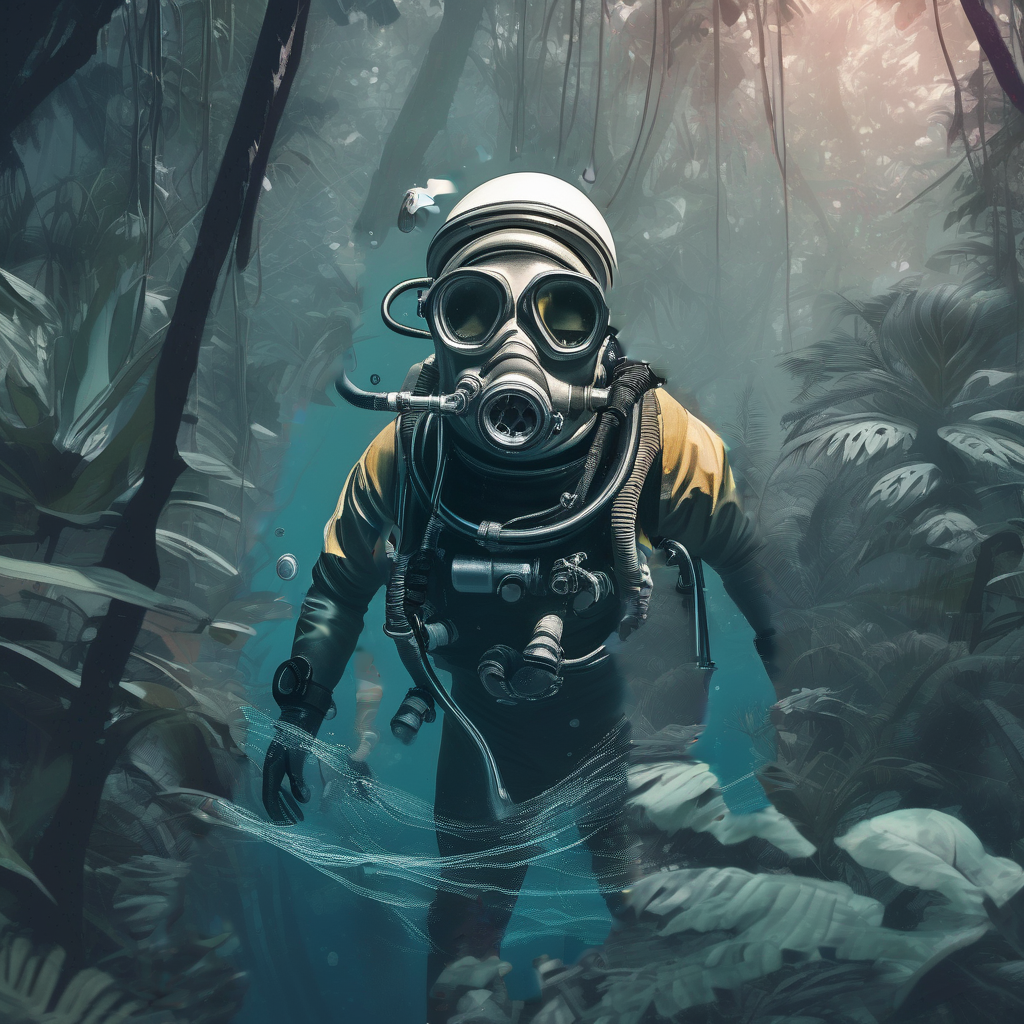 |
Refine Image Quality
SDXL includes a refiner model to denoise low-noise stage images generated from the base model. There are two ways to use the refiner:
- use the base and refiner model together to produce a refined image.
- use the base model to produce an image, and subsequently use the refiner model to add more details to the image.
Base + refiner model
from optimum.neuron import NeuronStableDiffusionXLPipeline, NeuronStableDiffusionXLImg2ImgPipeline

prompt = "A majestic lion jumping from a big stone at night"
base = NeuronStableDiffusionXLPipeline.from_pretrained("sd_neuron_xl/")
image = base(
    prompt=prompt,
    num_images_per_prompt=num_images_per_prompt,
    num_inference_steps=40,
    denoising_end=0.8,
    output_type="latent",
).images[0]
del base  # To avoid neuron device OOM

refiner = NeuronStableDiffusionXLImg2ImgPipeline.from_pretrained("sd_neuron_xl_refiner/")
image = refiner(
    prompt=prompt,
    num_inference_steps=40,
    denoising_start=0.8,
    image=image,
).images[0]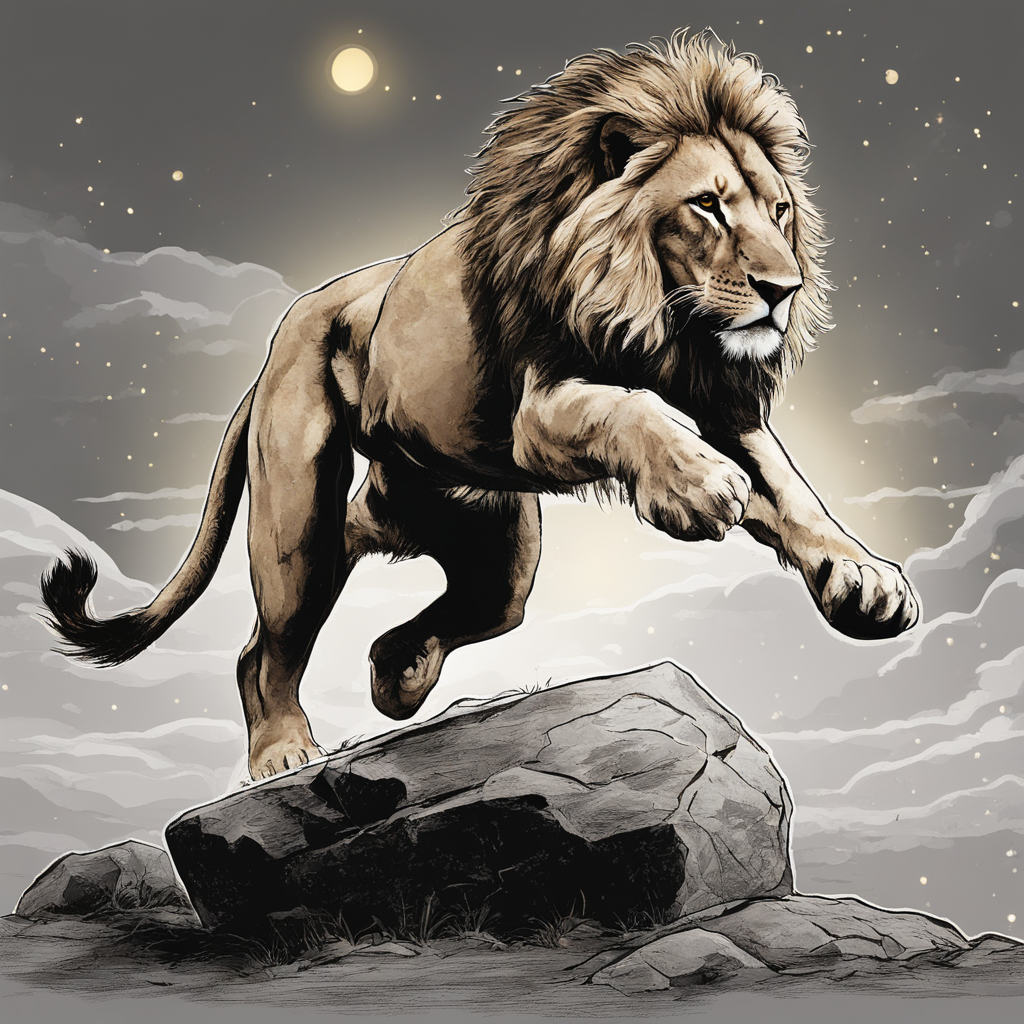
Base to refiner model
from optimum.neuron import NeuronStableDiffusionXLPipeline, NeuronStableDiffusionXLImg2ImgPipeline

prompt = "A majestic lion jumping from a big stone at night"
base = NeuronStableDiffusionXLPipeline.from_pretrained("sd_neuron_xl/")
image = base(prompt=prompt, output_type="latent").images[0]
del base  # To avoid neuron device OOM

refiner = NeuronStableDiffusionXLImg2ImgPipeline.from_pretrained("sd_neuron_xl_refiner/")
image = refiner(prompt=prompt, image=image[None, :]).images[0]
Base Image | Refined Image |
|---|---|
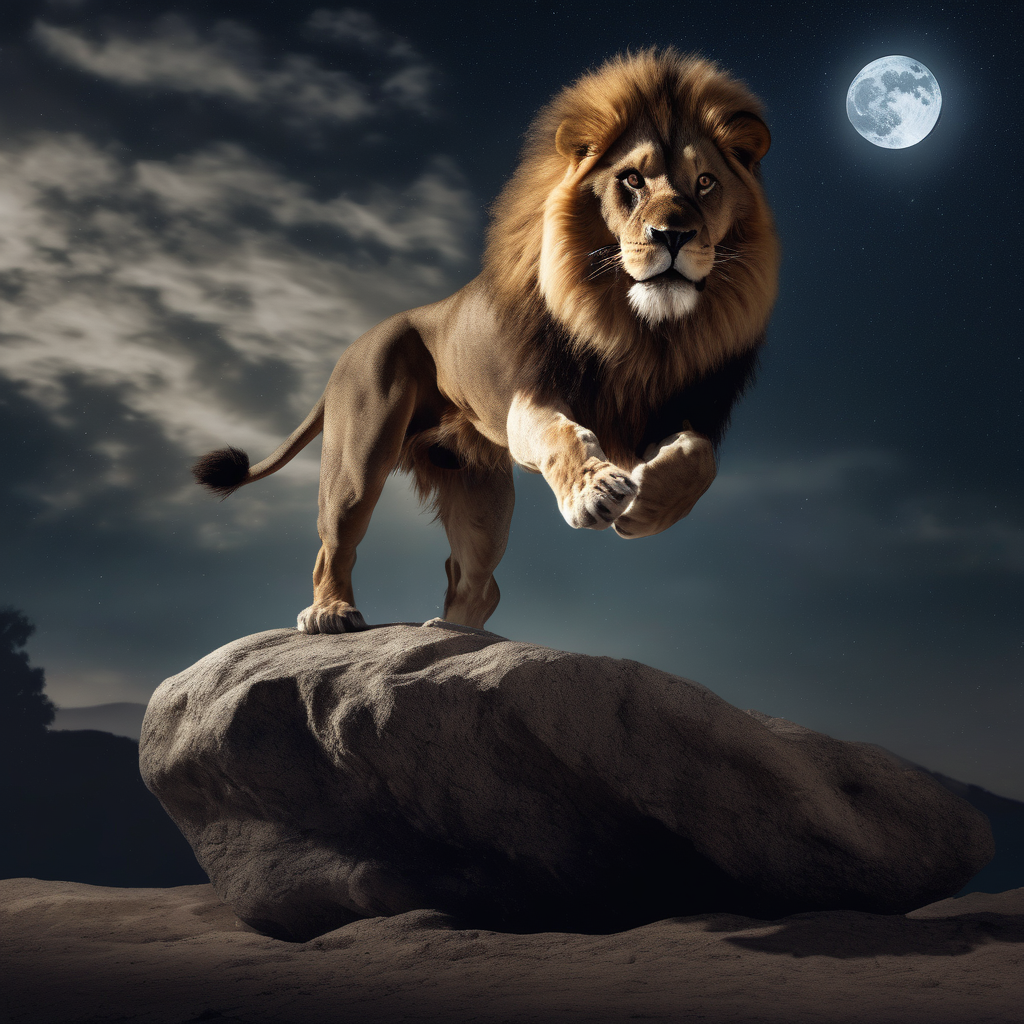 | 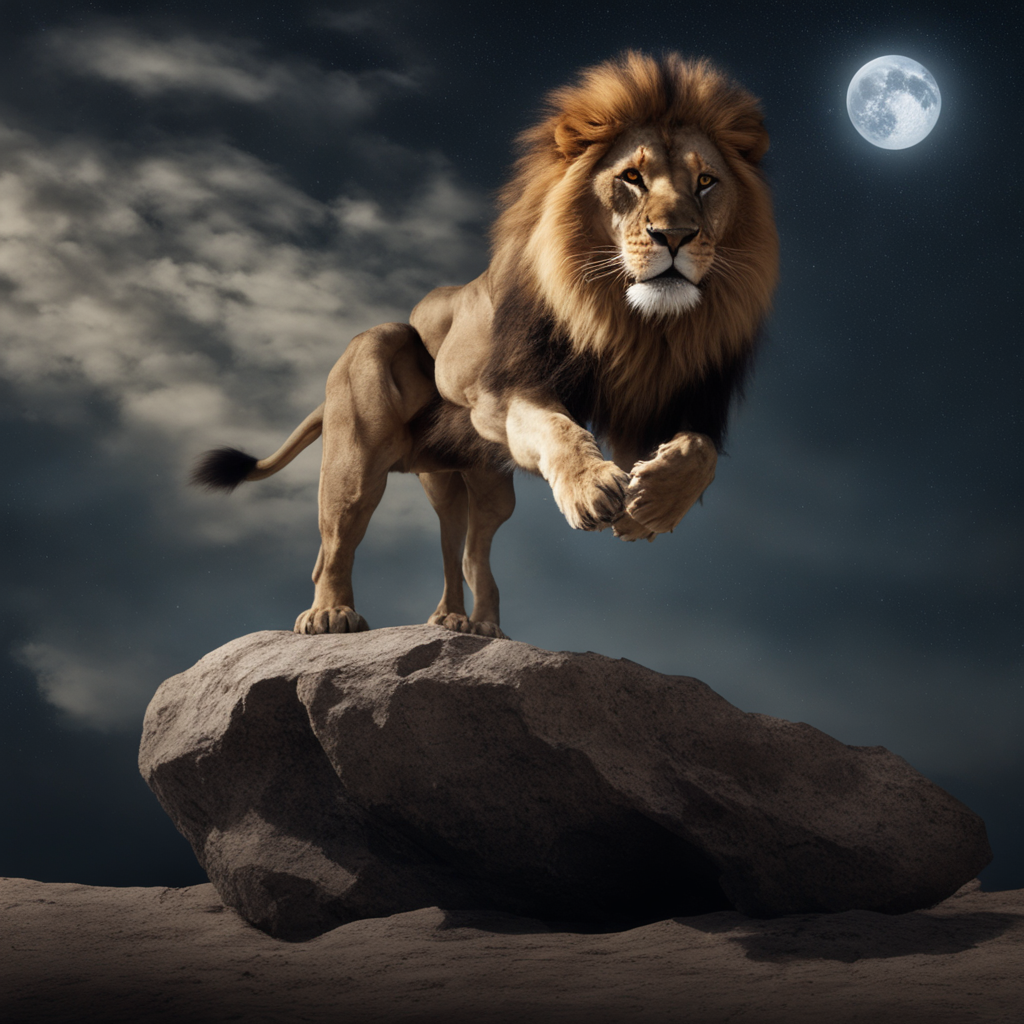 |
To avoid Neuron device out of memory, it’s suggested to finish all base inference and release the device memory before running the refiner.
Latent Consistency Models
Latent Consistency Models (LCMs) were proposed in Latent Consistency Models: Synthesizing High-Resolution Images with Few-Step Inference by Simian Luo, Yiqin Tan, Longbo Huang, Jian Li, and Hang Zhao. LCMs enable inference with fewer steps on any pre-trained LDMs, including Stable Diffusion and SDXL.
In optimum-neuron, you can:
- Use the class
NeuronLatentConsistencyModelPipelineto compile and run inference of LCMs distilled from Stable Diffusion (SD) models. - And continue to use the class
NeuronStableDiffusionXLPipelinefor LCMs distilled from SDXL models.
Here are examples to compile the LCMs of Stable Diffusion ( SimianLuo/LCM_Dreamshaper_v7 ) and Stable Diffusion XL( latent-consistency/lcm-sdxl ), and then run inference on AWS Inferentia 2 :
Compile LCM
LCM of Stable Diffusion
from optimum.neuron import NeuronLatentConsistencyModelPipeline

model_id = "SimianLuo/LCM_Dreamshaper_v7"
num_images_per_prompt = 1
input_shapes = {"batch_size": 1, "height": 768, "width": 768, "num_images_per_prompt": num_images_per_prompt}
compiler_args = {"auto_cast": "matmul", "auto_cast_type": "bf16"}

stable_diffusion = NeuronLatentConsistencyModelPipeline.from_pretrained(
    model_id, export=True, **compiler_args, **input_shapes
)
save_directory = "lcm_sd_neuron/"
stable_diffusion.save_pretrained(save_directory)

# Push to hub
stable_diffusion.push_to_hub(save_directory, repository_id="my-neuron-repo", use_auth_token=True)  # Replace with your repo id, eg. "Jingya/LCM_Dreamshaper_v7_neuronx"
LCM of Stable Diffusion XL
from optimum.neuron import NeuronStableDiffusionXLPipeline

model_id = "stabilityai/stable-diffusion-xl-base-1.0"
unet_id = "latent-consistency/lcm-sdxl"
num_images_per_prompt = 1
input_shapes = {"batch_size": 1, "height": 1024, "width": 1024, "num_images_per_prompt": num_images_per_prompt}
compiler_args = {"auto_cast": "matmul", "auto_cast_type": "bf16"}

stable_diffusion = NeuronStableDiffusionXLPipeline.from_pretrained(
    model_id, unet_id=unet_id, export=True, **compiler_args, **input_shapes
)
save_directory = "lcm_sdxl_neuron/"
stable_diffusion.save_pretrained(save_directory)

# Push to hub
stable_diffusion.push_to_hub(save_directory, repository_id="my-neuron-repo", use_auth_token=True)   # Replace with your repo id, eg. "Jingya/lcm-sdxl-neuronx"
Text-to-Image
Now we can generate images from text prompts on Inf2 using the pre-compiled model:
LCM of Stable Diffusion
from optimum.neuron import NeuronLatentConsistencyModelPipeline

pipe = NeuronLatentConsistencyModelPipeline.from_pretrained("Jingya/LCM_Dreamshaper_v7_neuronx")
prompts = ["Self-portrait oil painting, a beautiful cyborg with golden hair, 8k"] * 2

images = pipe(prompt=prompts, num_inference_steps=4, guidance_scale=8.0).images
LCM of Stable Diffusion XL
from optimum.neuron import NeuronStableDiffusionXLPipeline

pipe = NeuronStableDiffusionXLPipeline.from_pretrained("Jingya/lcm-sdxl-neuronx")
prompts = ["a close-up picture of an old man standing in the rain"] * 2

images = pipe(prompt=prompts, num_inference_steps=4, guidance_scale=8.0).images
Stable Diffusion XL Turbo
SDXL Turbo is an adversarial time-distilled Stable Diffusion XL (SDXL) model capable of running inference in as little as 1 step (check 🤗diffusers for more details).
In optimum-neuron, you can:
- Use the class
NeuronStableDiffusionXLPipelineto compile and run inference.
Here we will compile the stabilityai/sdxl-turbo model with Optimum CLI.
Compile SDXL Turbo
optimum-cli export neuron --model stabilityai/sdxl-turbo --task stable-diffusion-xl --batch_size 1 --height 512 --width 512 --auto_cast matmul --auto_cast_type bf16 sdxl_turbo_neuron/Text-to-Image
Now we can generate images from text prompts on Inf2 using the pre-compiled model:
from optimum.neuron import NeuronStableDiffusionXLPipeline

pipe = NeuronStableDiffusionXLPipeline.from_pretrained("sdxl_turbo_neuron/", data_parallel_mode="all")
prompt = ["Self-portrait oil painting, a beautiful cyborg with golden hair, 8k"] * 2

images = pipe(prompt=prompt, guidance_scale=0.0, num_inference_steps=1).images
Inf2 instances contain one or more Neuron devices, and each Neuron device includes 2 NeuronCore-v2. By default, we load the whole pipeline of LCM to both Neuron cores. It means that when the batch size is divisible by 2, you can fully leverage the compute power of both cores.
Load adapters
LoRA
Low-Rank Adaptation is fast way to Stable Diffusion to adapt styles of generated images. In Optimum Neuron, we support using one or multiple LoRA adapters by fusing their parameters into the original parameters of the text encoder(s) and the unet during the compilation. Here below is an example of compiling stable diffusion models with LoRA adapters of your choice and using the compiled artifacts to generate styled images:
from diffusers import LCMScheduler
from optimum.neuron import NeuronStableDiffusionPipeline


model_id = "Lykon/dreamshaper-7"
adapter_id = "latent-consistency/lcm-lora-sdv1-5"
input_shapes = {"batch_size": 1, "height": 512, "width": 512, "num_images_per_prompt": 1}
compiler_args = {"auto_cast": "matmul", "auto_cast_type": "bf16"}

# Compile
pipe = NeuronStableDiffusionPipeline.from_pretrained(
    model_id,
    export=True,
    inline_weights_to_neff=True,  # caveat: performance drop if neff/weights separated, will be improved by a future Neuron sdk release.
    lora_model_ids=adapter_id,
    lora_weight_names="pytorch_lora_weights.safetensors",
    lora_adapter_names="lcm",
    **input_shapes,
    **compiler_args,
)
pipe.scheduler = LCMScheduler.from_config(pipe.scheduler.config)

# Save locally or upload to the HuggingFace Hub
pipe.save_pretrained("dreamshaper_7_lcm_lora_neuron/")


# Inference
prompt = "Self-portrait oil painting, a beautiful cyborg with golden hair, 8k"
image = pipe(prompt, num_inference_steps=4, guidance_scale=0).images[0]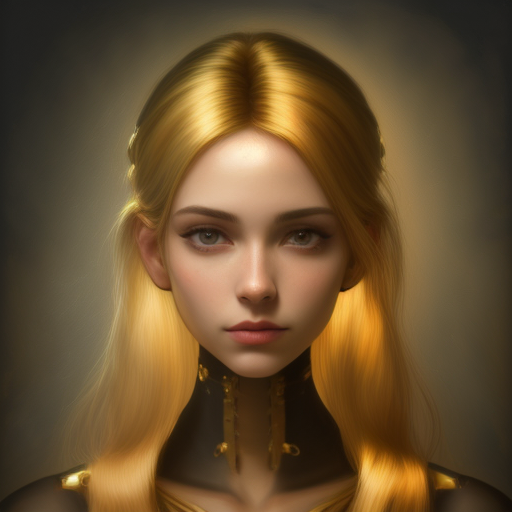
ControlNet
ControlNet conditions the stable diffusion model with an additional input image. In Optimum Neuron, we support the compilation of one or multiple ControlNet(s) along with the stable diffusion checkpoint. The you can use the compiled artifacts to generate styled images.
Compile ControlNet
We can either compile one or multiple ControlNet via the Optimum CLI or programatically via the NeuronStableDiffusionControlNetPipeline class by passing the controlnet_ids.
- Export via the Optimum CLI
optimum-cli export neuron -m runwayml/stable-diffusion-v1-5 --task stable-diffusion --batch_size 1 --height 512 --width 512 --controlnet_ids lllyasviel/sd-controlnet-canny --num_images_per_prompt 1 sd_neuron_controlnet/- Export via Python API
from optimum.neuron import NeuronStableDiffusionControlNetPipeline

model_id = "runwayml/stable-diffusion-v1-5"
controlnet_id = "lllyasviel/sd-controlnet-canny"

# [Neuron] pipeline
input_shapes = {"batch_size": 1, "height": 512, "width": 512, "num_images_per_prompt": 1}
compiler_args = {"auto_cast": "matmul", "auto_cast_type": "bf16"}
pipe = NeuronStableDiffusionControlNetPipeline.from_pretrained(
    model_id,
    controlnet_ids=controlnet_id,
    export=True,
    **input_shapes,
    **compiler_args,
)
pipe.save_pretrained("sd_neuron_controlnet")
Text-to-Image
For text-to-image, we can specify an additional conditioning input.
Here is an example with a canny image, a white outline of an image on a black background. The ControlNet will use the canny image as a control to guide the model to generate an image with the same outline.
import cv2
import numpy as np
from diffusers import UniPCMultistepScheduler
from diffusers.utils import load_image, make_image_grid
from PIL import Image

from optimum.neuron import NeuronStableDiffusionControlNetPipeline


# prepare canny image
original_image = load_image(
    "https://hf.co/datasets/huggingface/documentation-images/resolve/main/diffusers/input_image_vermeer.png"
)

image = np.array(original_image)

low_threshold = 100
high_threshold = 200

image = cv2.Canny(image, low_threshold, high_threshold)
image = image[:, :, None]
image = np.concatenate([image, image, image], axis=2)
canny_image = Image.fromarray(image)

# load pre-compiled neuron model
pipe = NeuronStableDiffusionControlNetPipeline.from_pretrained("sd_neuron_controlnet")
pipe.scheduler = UniPCMultistepScheduler.from_config(pipe.scheduler.config)

# inference
output = pipe("the mona lisa", image=canny_image).images[0]
compare = make_image_grid([original_image, canny_image, output], rows=1, cols=3)
compare.save("compare.png")
Are there any other stable diffusion features that you want us to support in 🤗Optimum-neuron? Please file an issue to Optimum-neuron Github repo or discuss with us on HuggingFace’s community forum, cheers 🤗 !