Getting Started with Repositories
This beginner-friendly guide will help you get the basic skills you need to create and manage your repository on the Hub. Each section builds on the previous one, so feel free to choose where to start!
Requirements
This document shows how to handle repositories through the web interface as well as through the terminal. There are no requirements if working with the UI. If you want to work with the terminal, please follow these installation instructions.
If you do not have git available as a CLI command yet, you will need to install Git for your platform. You will also need to install Git LFS, which will be used to handle large files such as images and model weights.
To be able to push your code to the Hub, you’ll need to authenticate somehow. The easiest way to do this is by installing the huggingface_hub CLI and running the login command:
python -m pip install huggingface_hub
huggingface-cli login
The content in the Getting Started section of this document is also available as a video!
Creating a repository
Using the Hub’s web interface you can easily create repositories, add files (even large ones!), explore models, visualize diffs, and much more. There are three kinds of repositories on the Hub, and in this guide you’ll be creating a model repository for demonstration purposes. For information on creating and managing models, datasets, and Spaces, refer to their respective documentation.
- To create a new repository, visit huggingface.co/new:

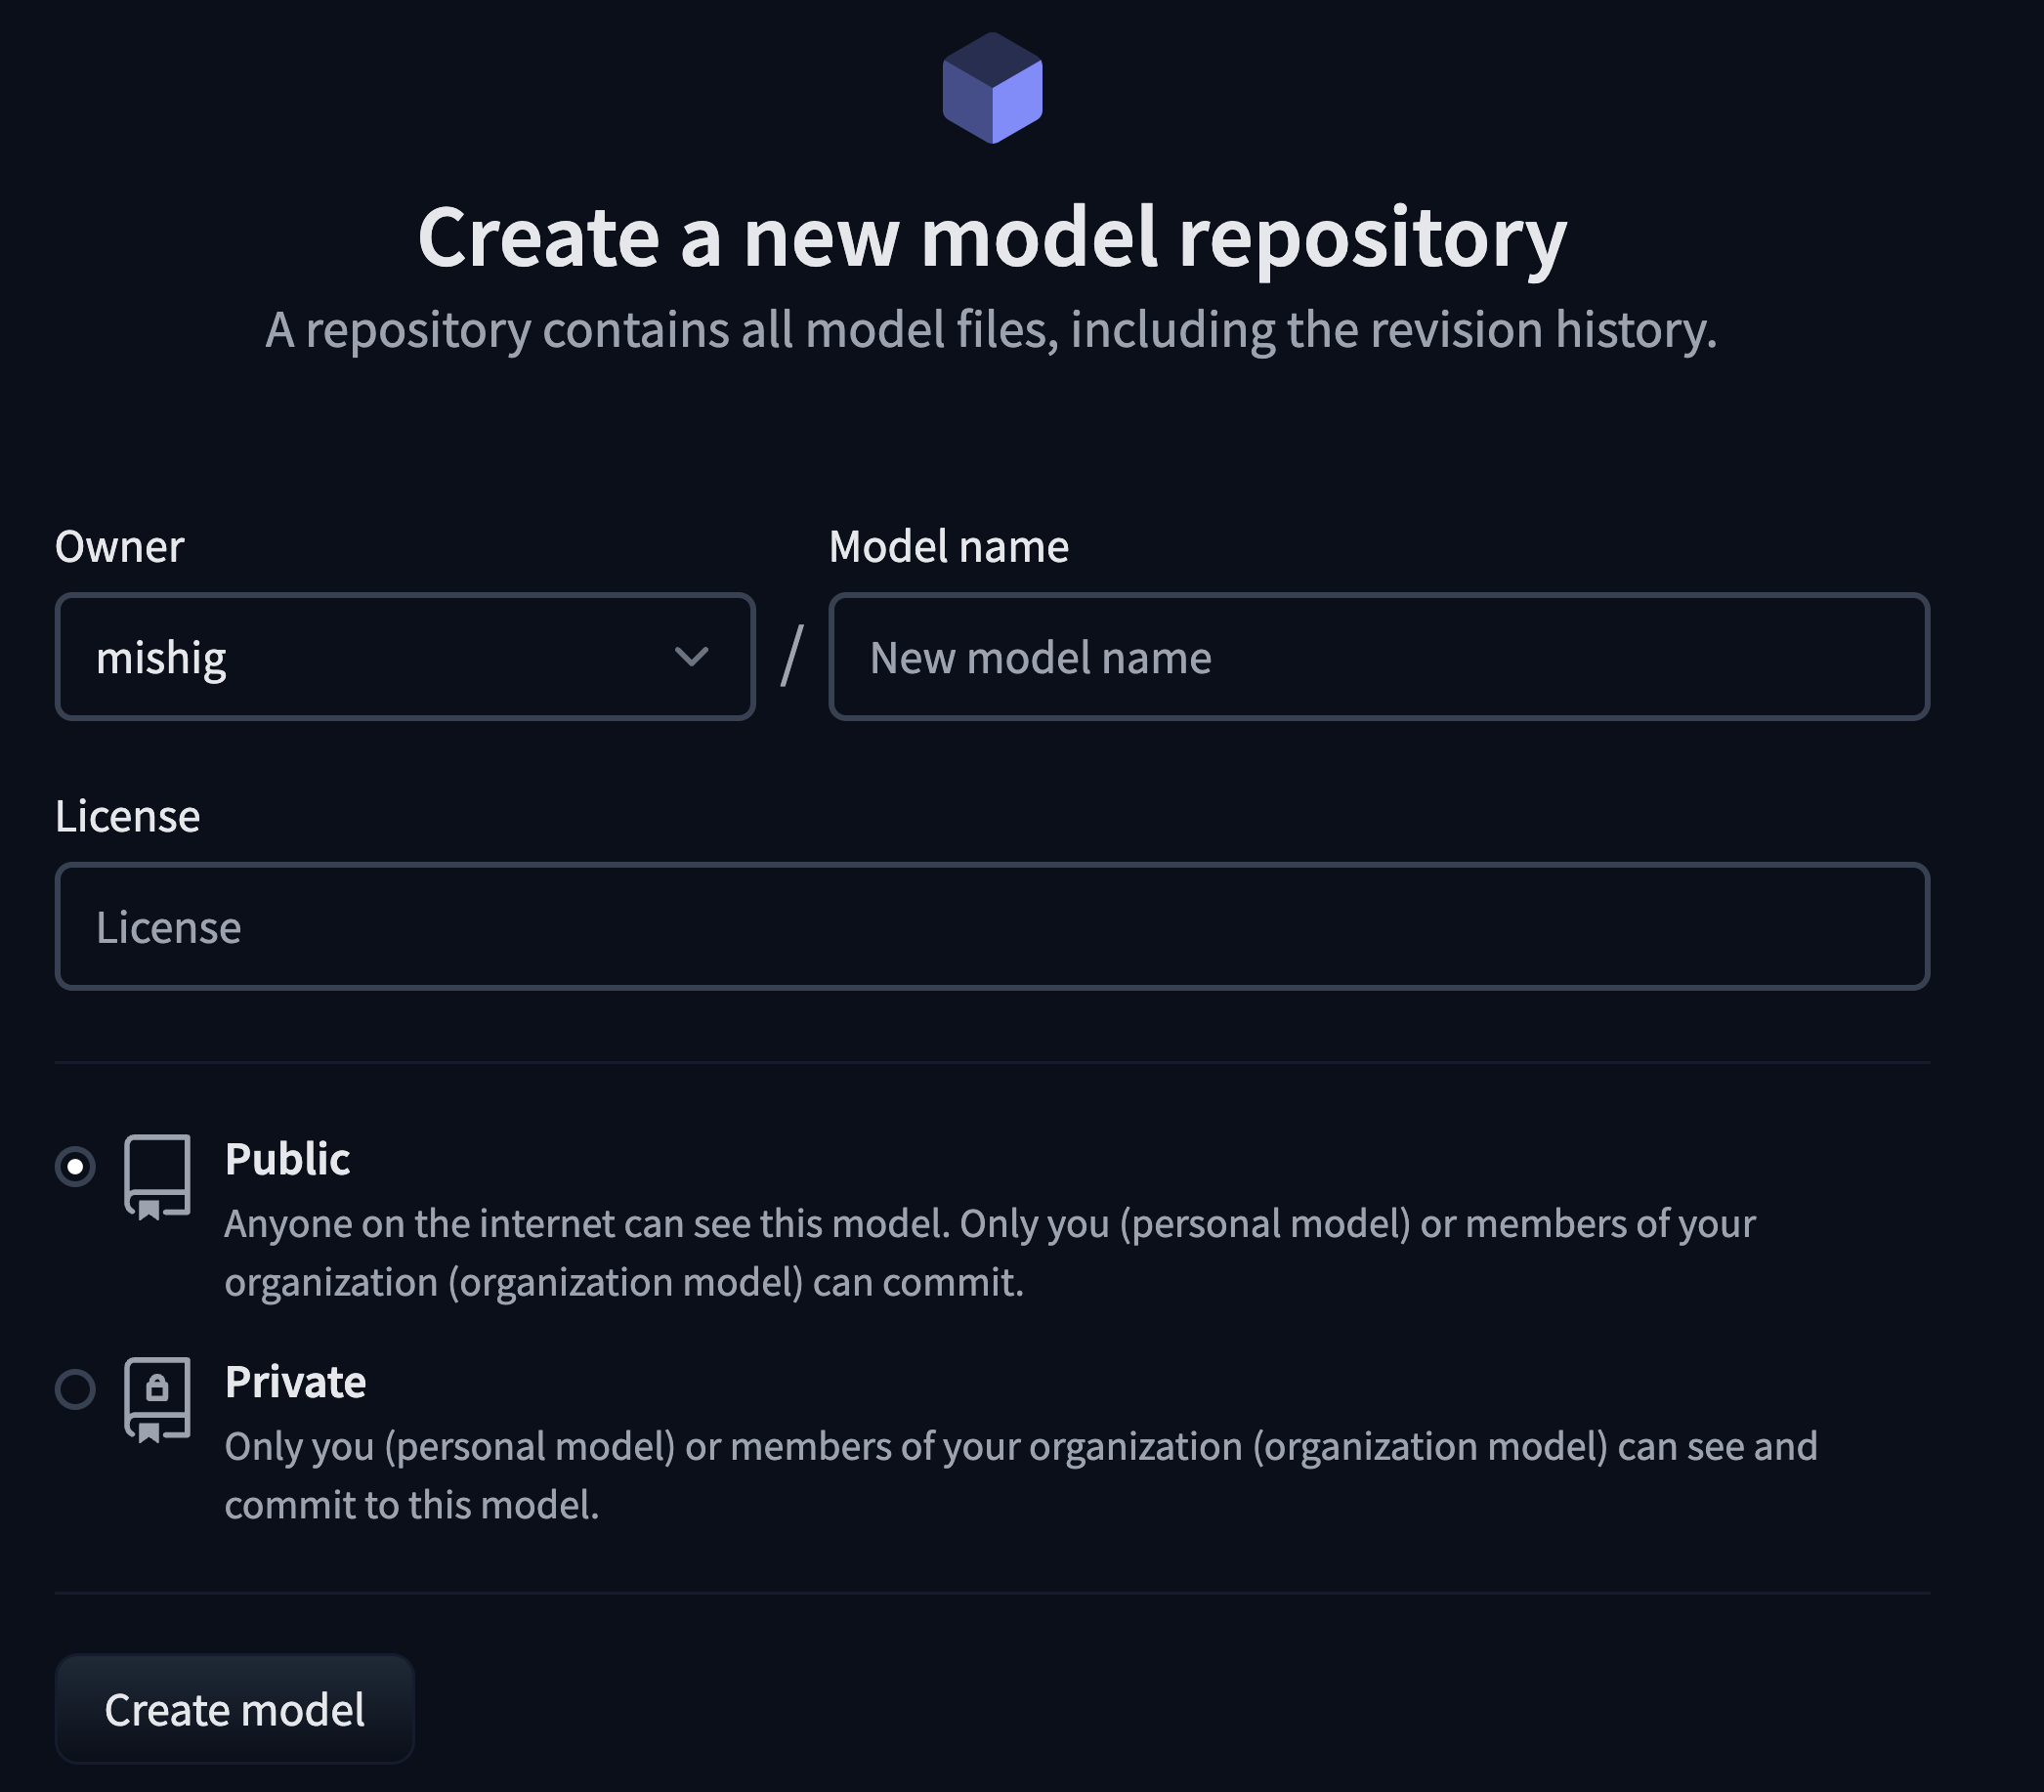
Specify the owner of the repository: this can be either you or any of the organizations you’re affiliated with.
Enter your model’s name. This will also be the name of the repository.
Specify whether you want your model to be public or private.
Specify the license. You can leave the License field blank for now. To learn about licenses, visit the Licenses documentation.
After creating your model repository, you should see a page like this:
Note that the Hub prompts you to create a Model Card, which you can learn about in the Model Cards documentation. Including a Model Card in your model repo is best practice, but since we’re only making a test repo at the moment we can skip this.
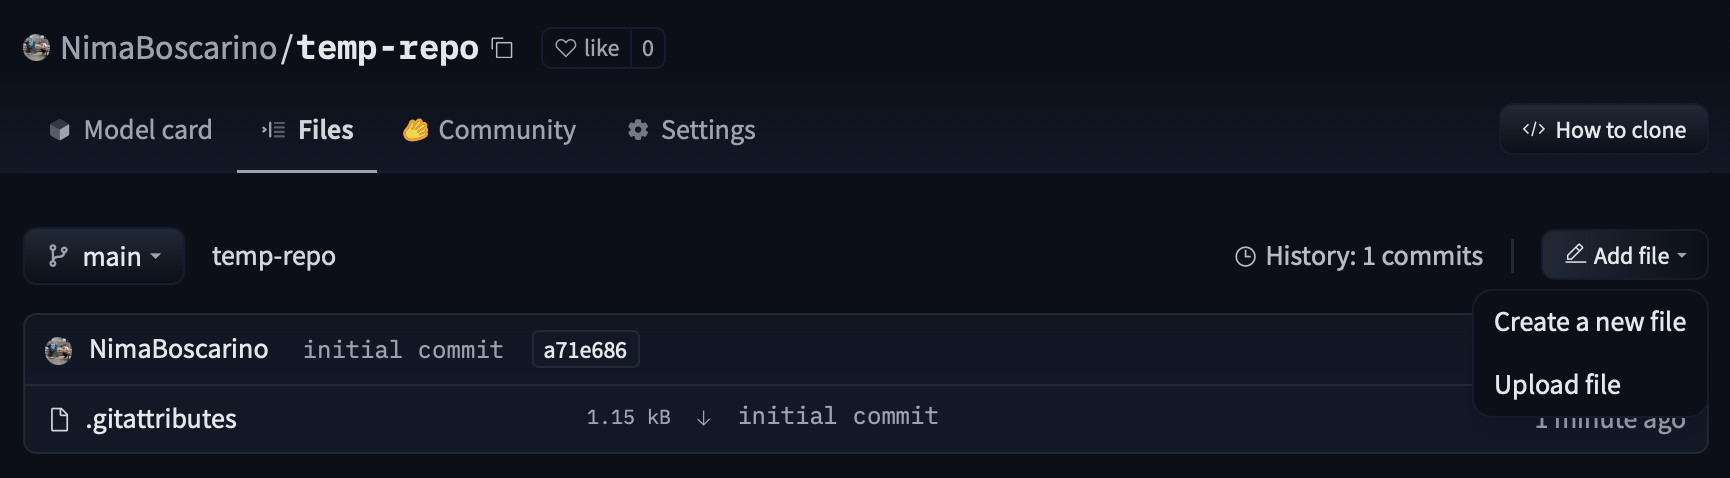
Adding files to a repository (Web UI)
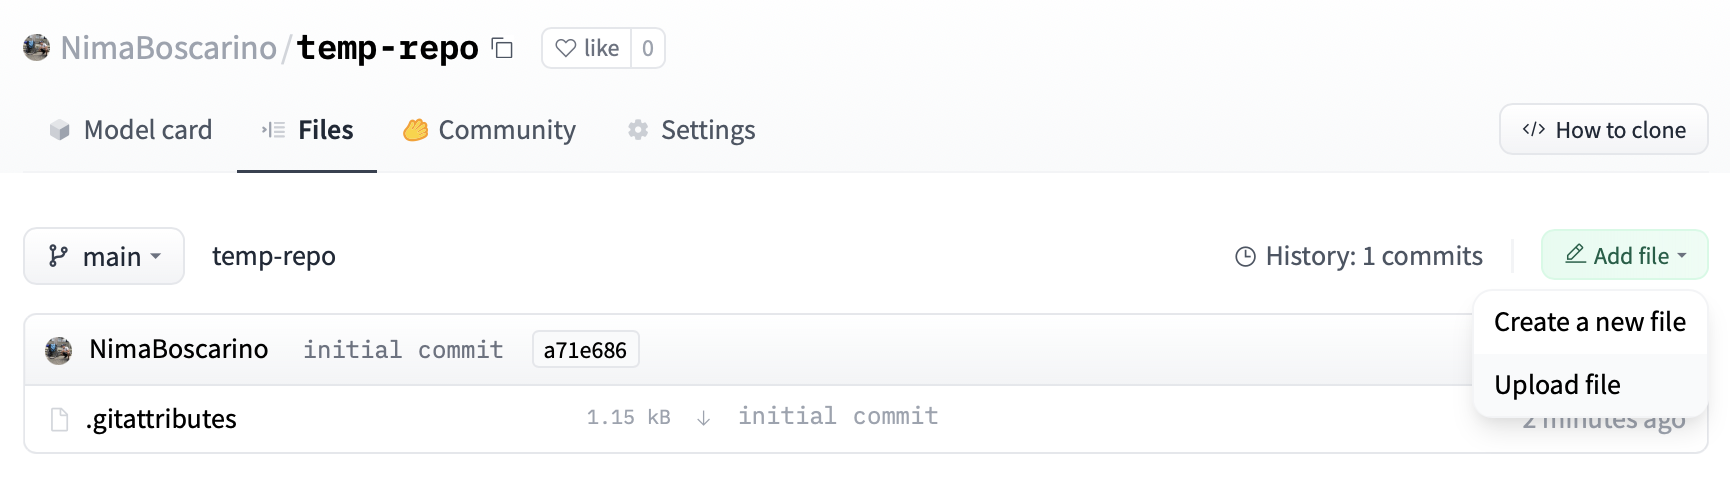
To add files to your repository via the web UI, start by selecting the Files tab, navigating to the desired directory, and then clicking Add file. You’ll be given the option to create a new file or upload a file directly from your computer.
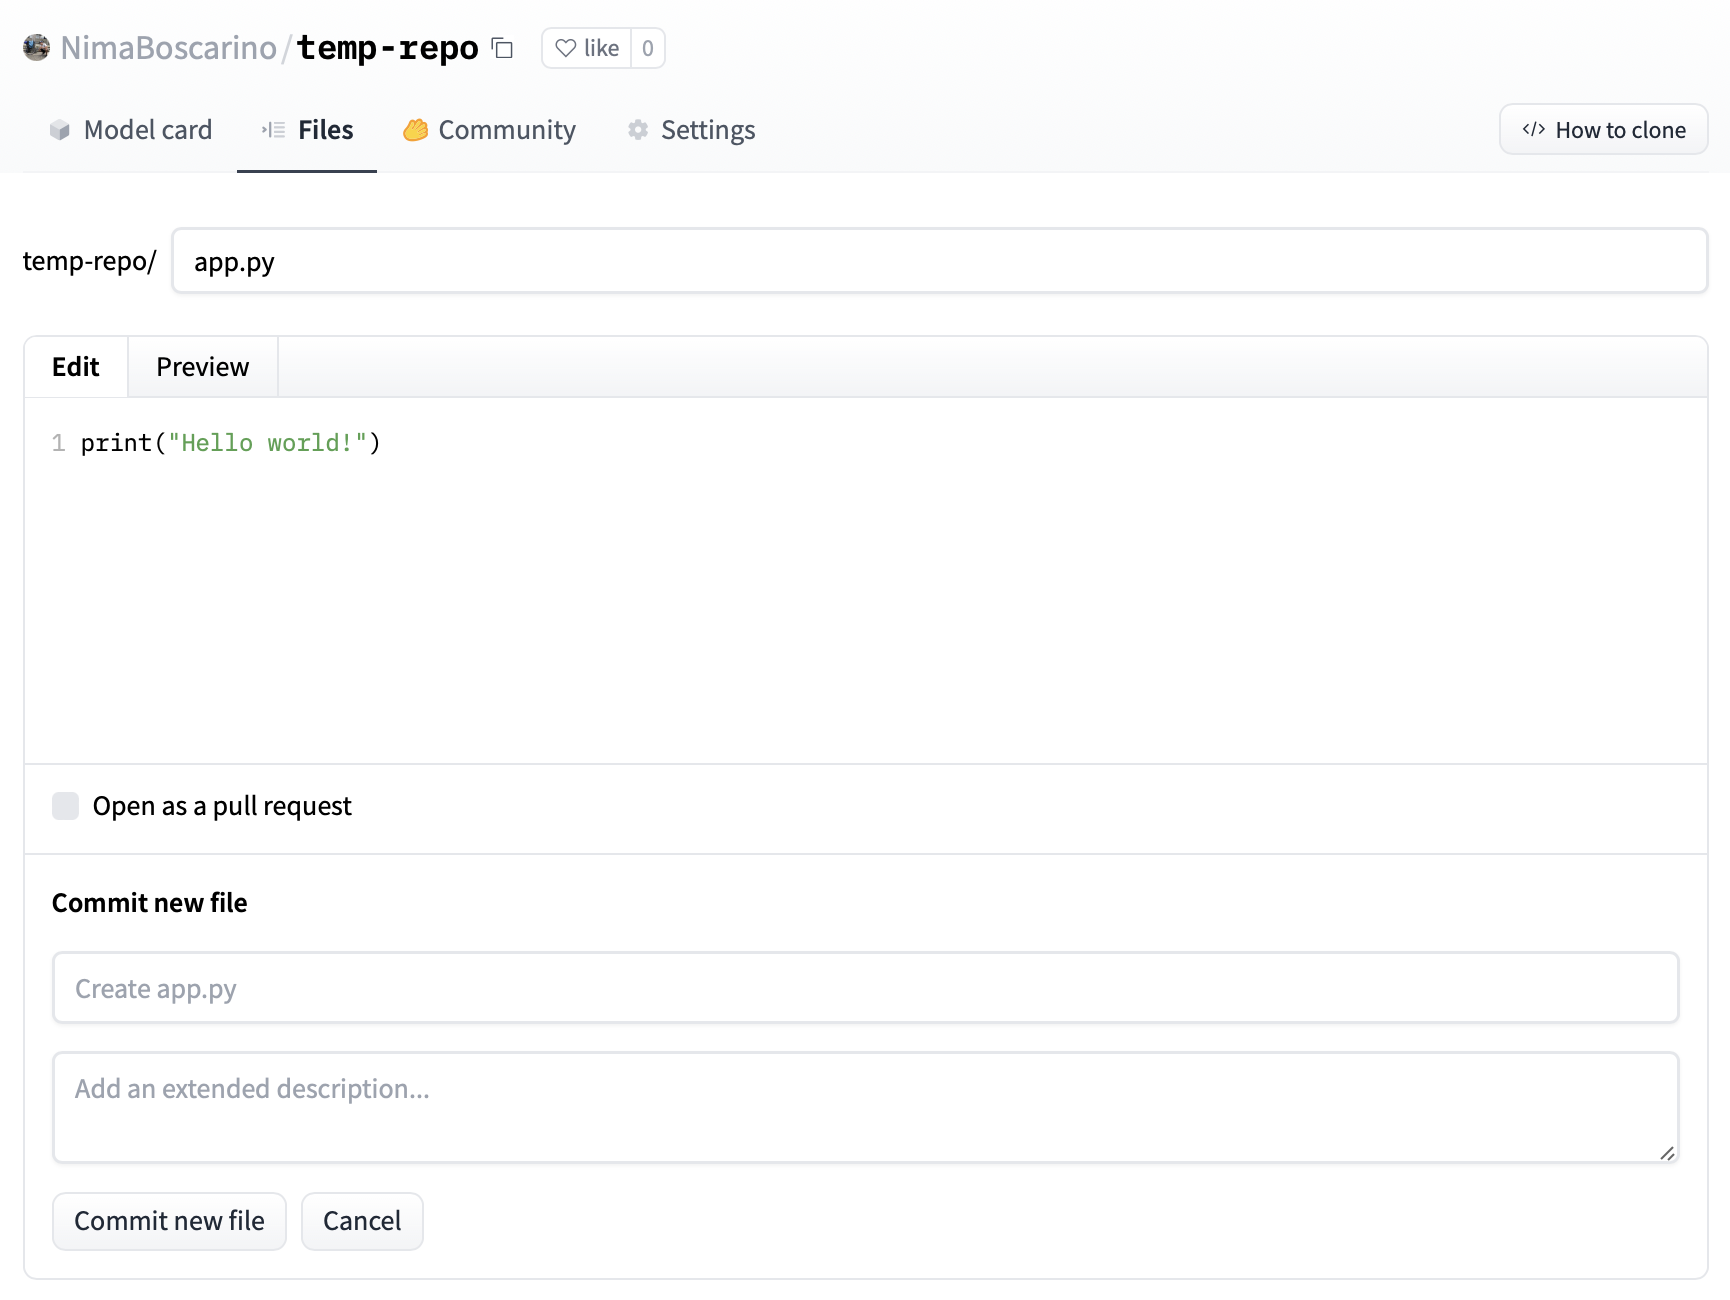
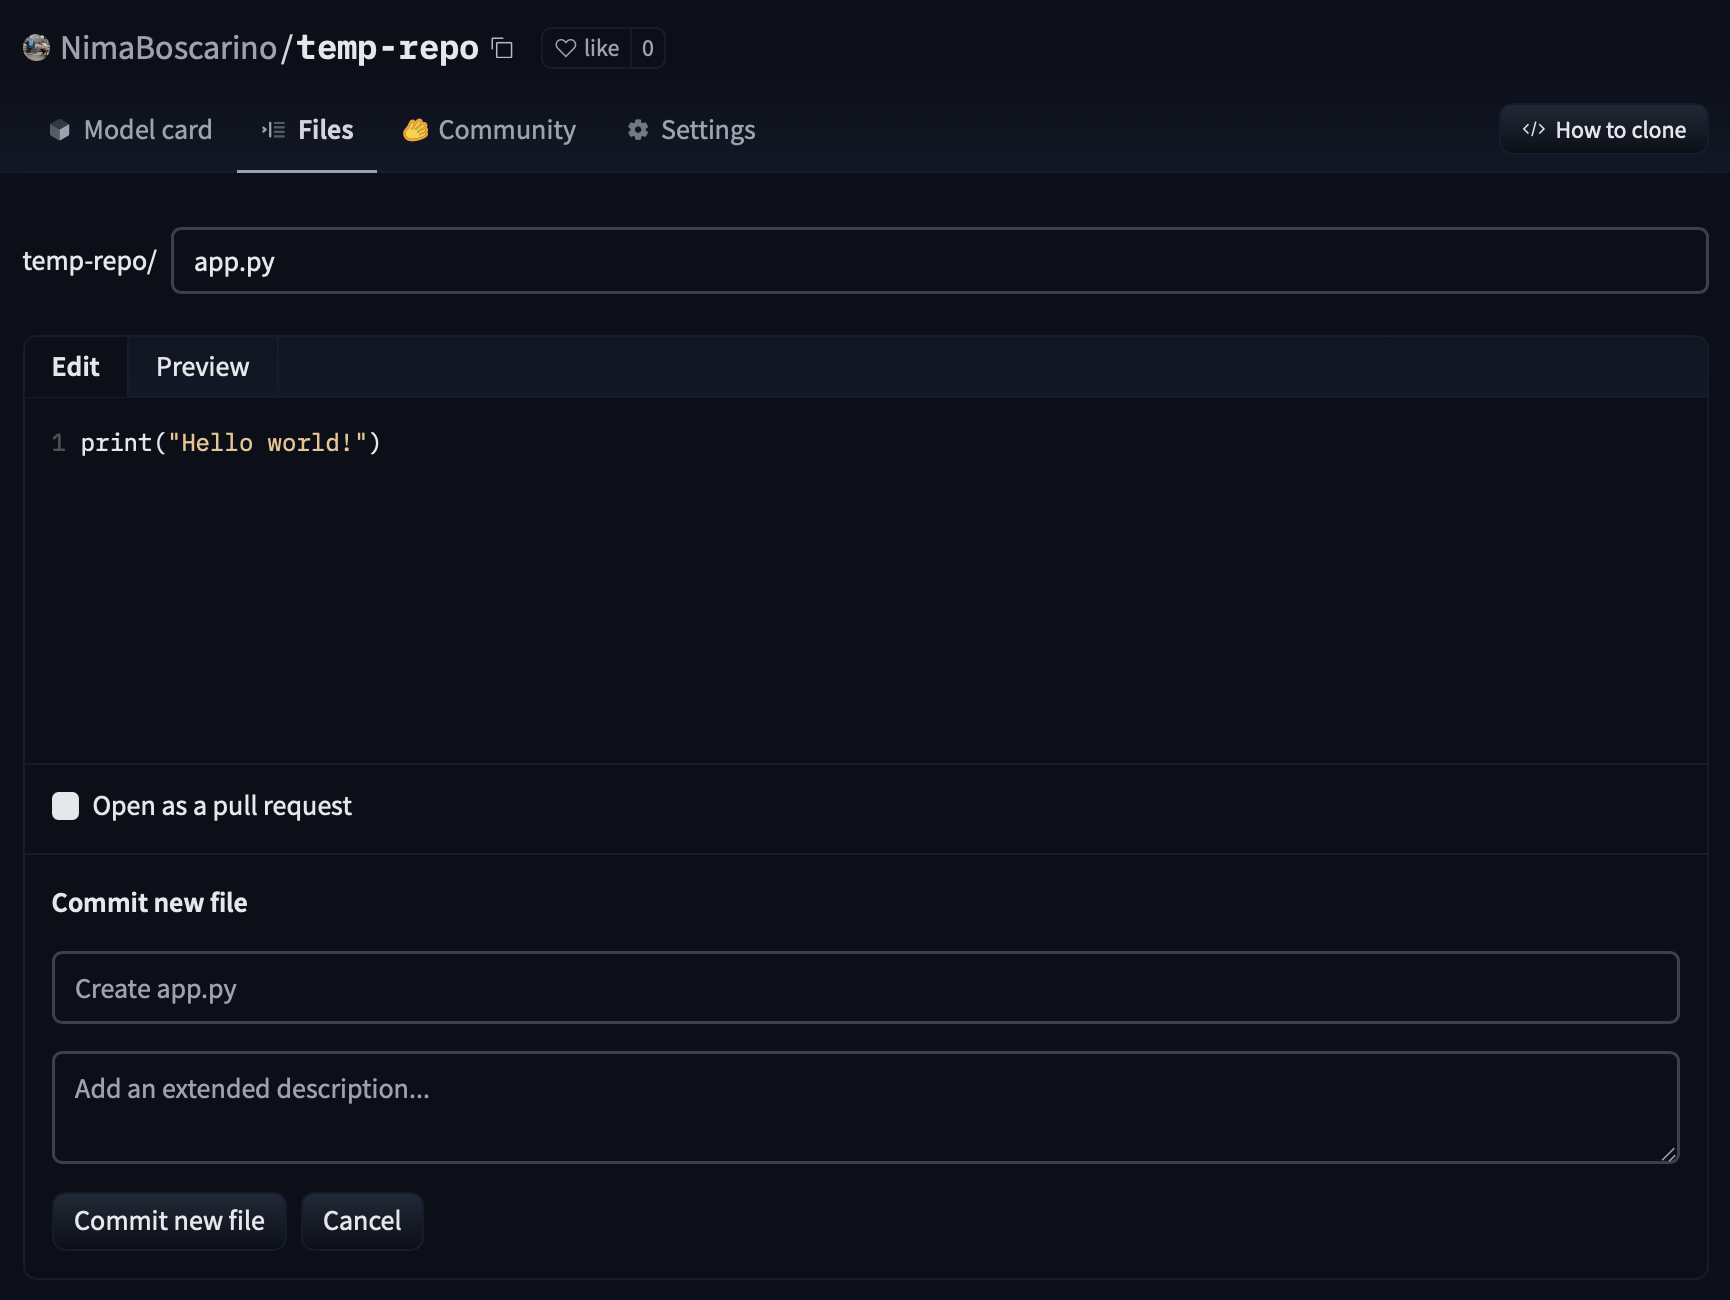
Creating a new file
Choosing to create a new file will take you to the following editor screen, where you can choose a name for your file, add content, and save your file with a message that summarizes your changes. Instead of directly committing the new file to your repo’s main branch, you can select Open as a pull request to create a Pull Request.
Uploading a file
If you choose Upload file you’ll be able to choose a local file to upload, along with a message summarizing your changes to the repo.
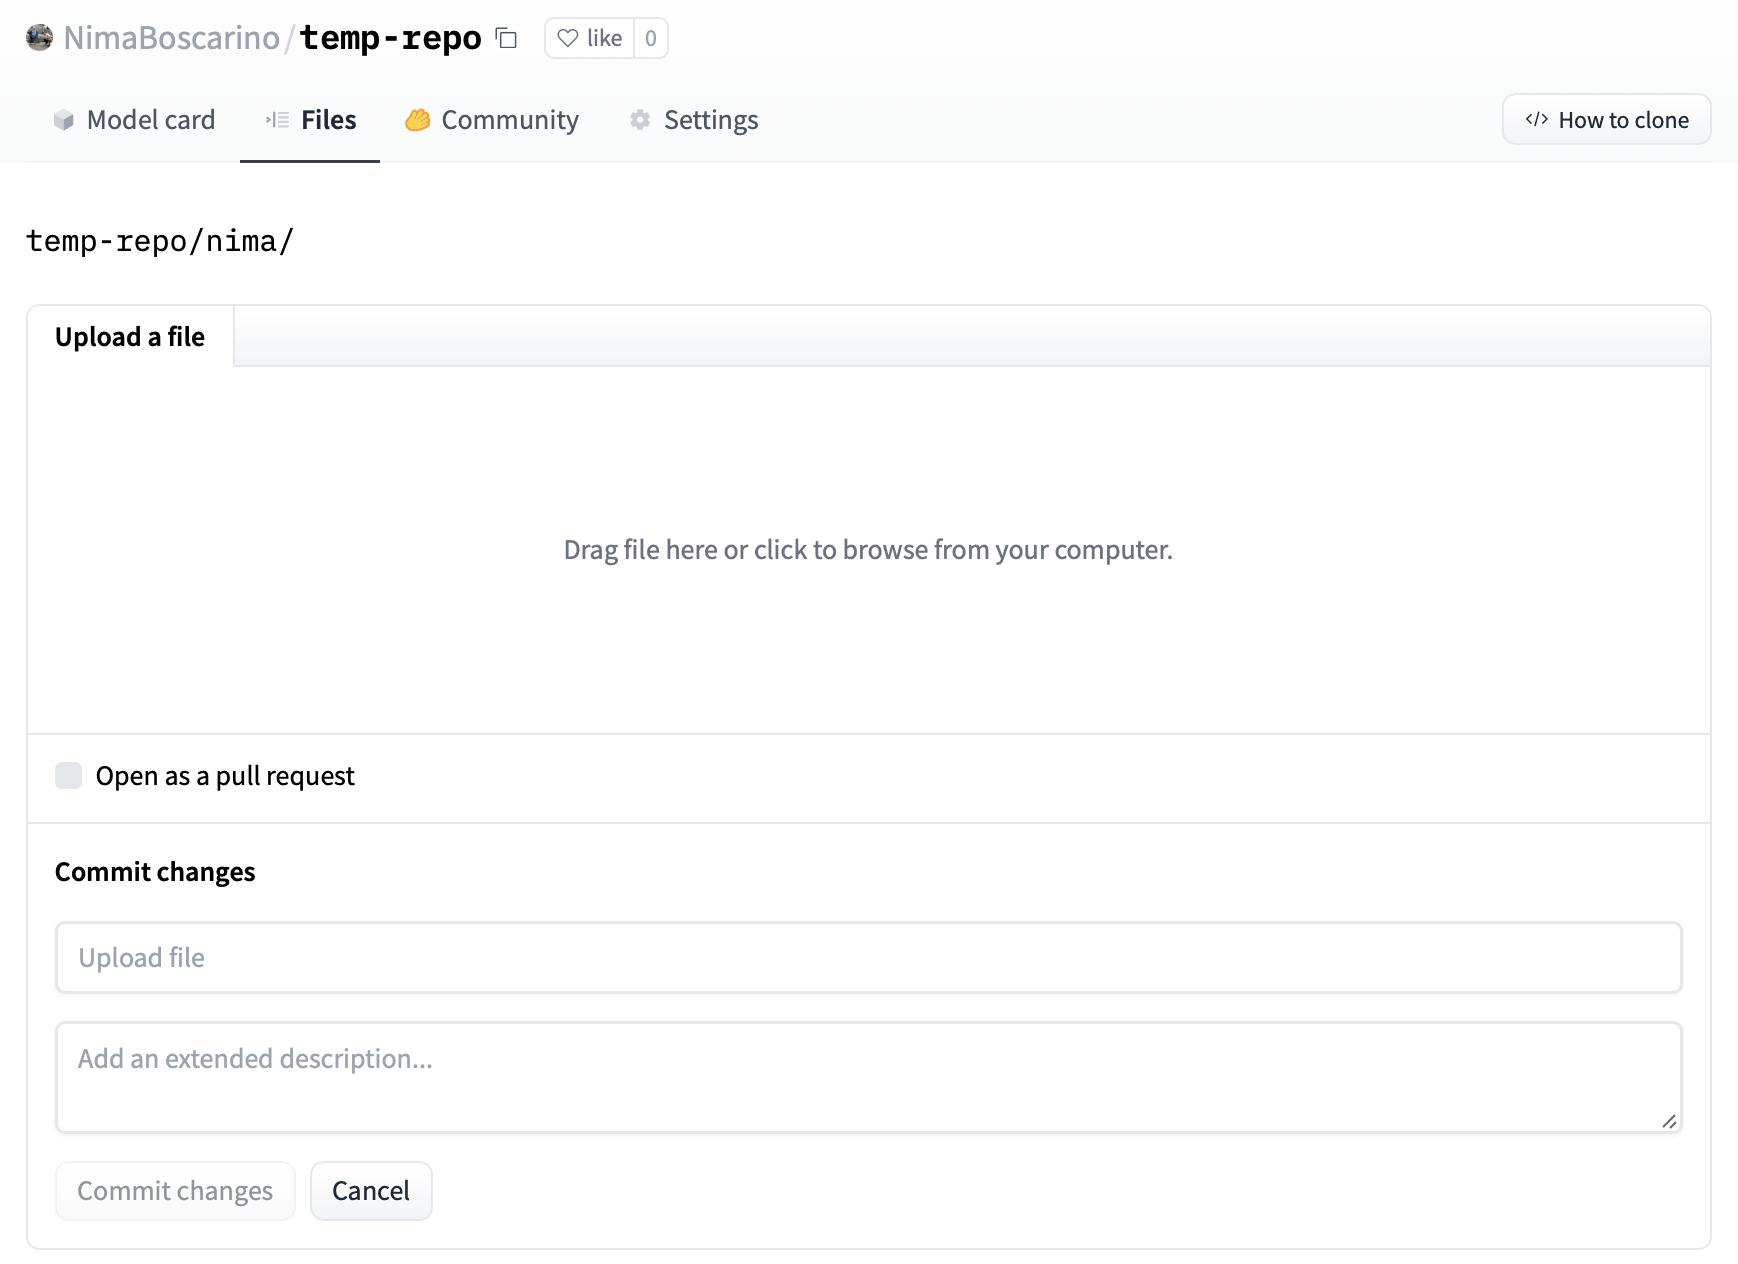
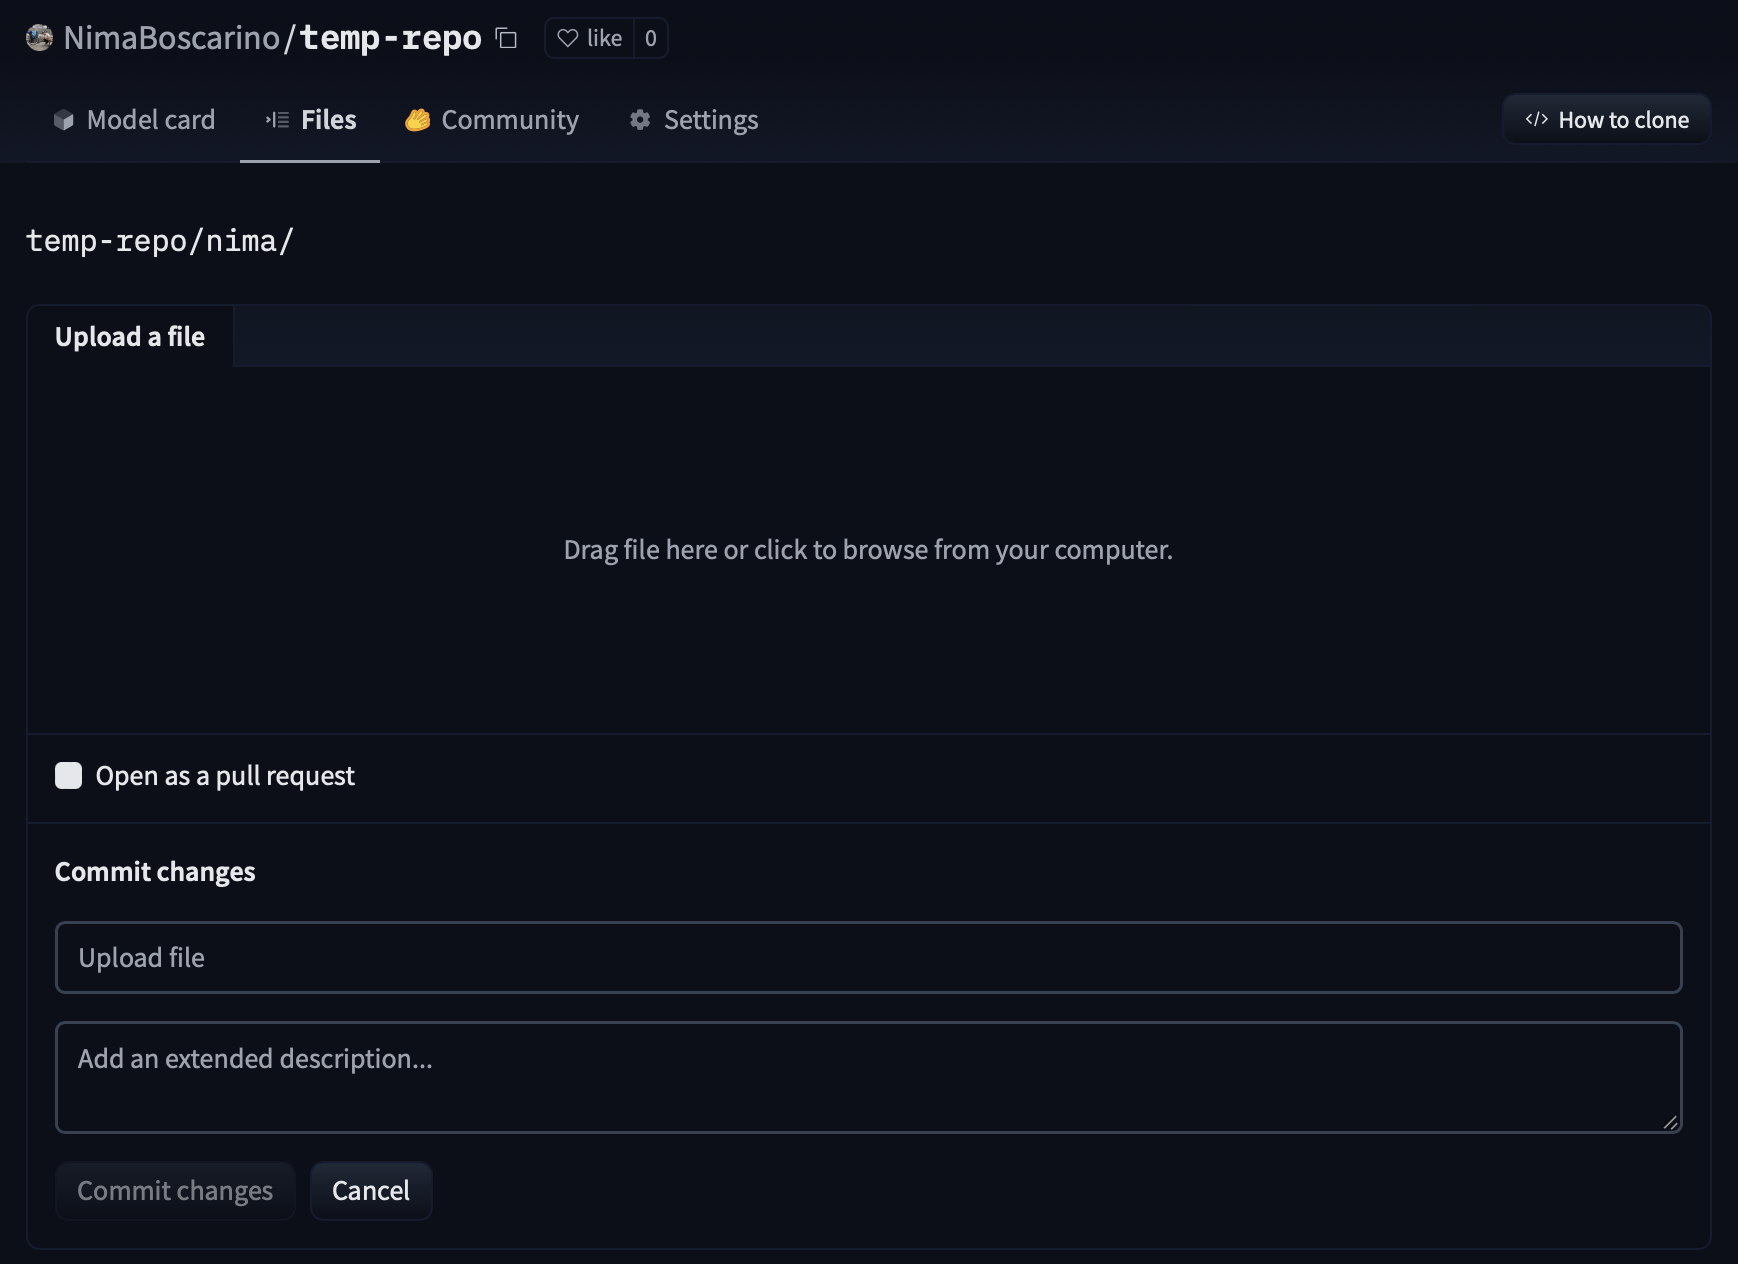
As with creating new files, you can select Open as a pull request to create a Pull Request instead of adding your changes directly to the main branch of your repo.
Adding files to a repository (terminal)
Cloning repositories
Downloading repositories to your local machine is called cloning. You can use the following commands to load your repo and navigate to it:
git clone https://huggingface.co/<your-username>/<your-model-name>
cd <your-model-name>
You can clone over SSH with the following command:
git clone git@hf.co:<your-username>/<your-model-name>
cd <your-model-name>
You’ll need to add your SSH public key to your user settings to push changes or access private repositories.
Set up
Now’s the time, you can add any files you want to the repository! 🔥
Do you have files larger than 10MB? Those files should be tracked with git-lfs, which you can initialize with:
git lfs install
Note that if your files are larger than 5GB you’ll also need to run:
huggingface-cli lfs-enable-largefiles .
When you use Hugging Face to create a repository, Hugging Face automatically provides a list of common file extensions for common Machine Learning large files in the .gitattributes file, which git-lfs uses to efficiently track changes to your large files. However, you might need to add new extensions if your file types are not already handled. You can do so with git lfs track "*.your_extension".
Pushing files
You can use Git to save new files and any changes to already existing files as a bundle of changes called a commit, which can be thought of as a “revision” to your project. To create a commit, you have to add the files to let Git know that we’re planning on saving the changes and then commit those changes. In order to sync the new commit with the Hugging Face Hub, you then push the commit to the Hub.
# Create any files you like! Then...
git add .
git commit -m "First model version" # You can choose any descriptive message
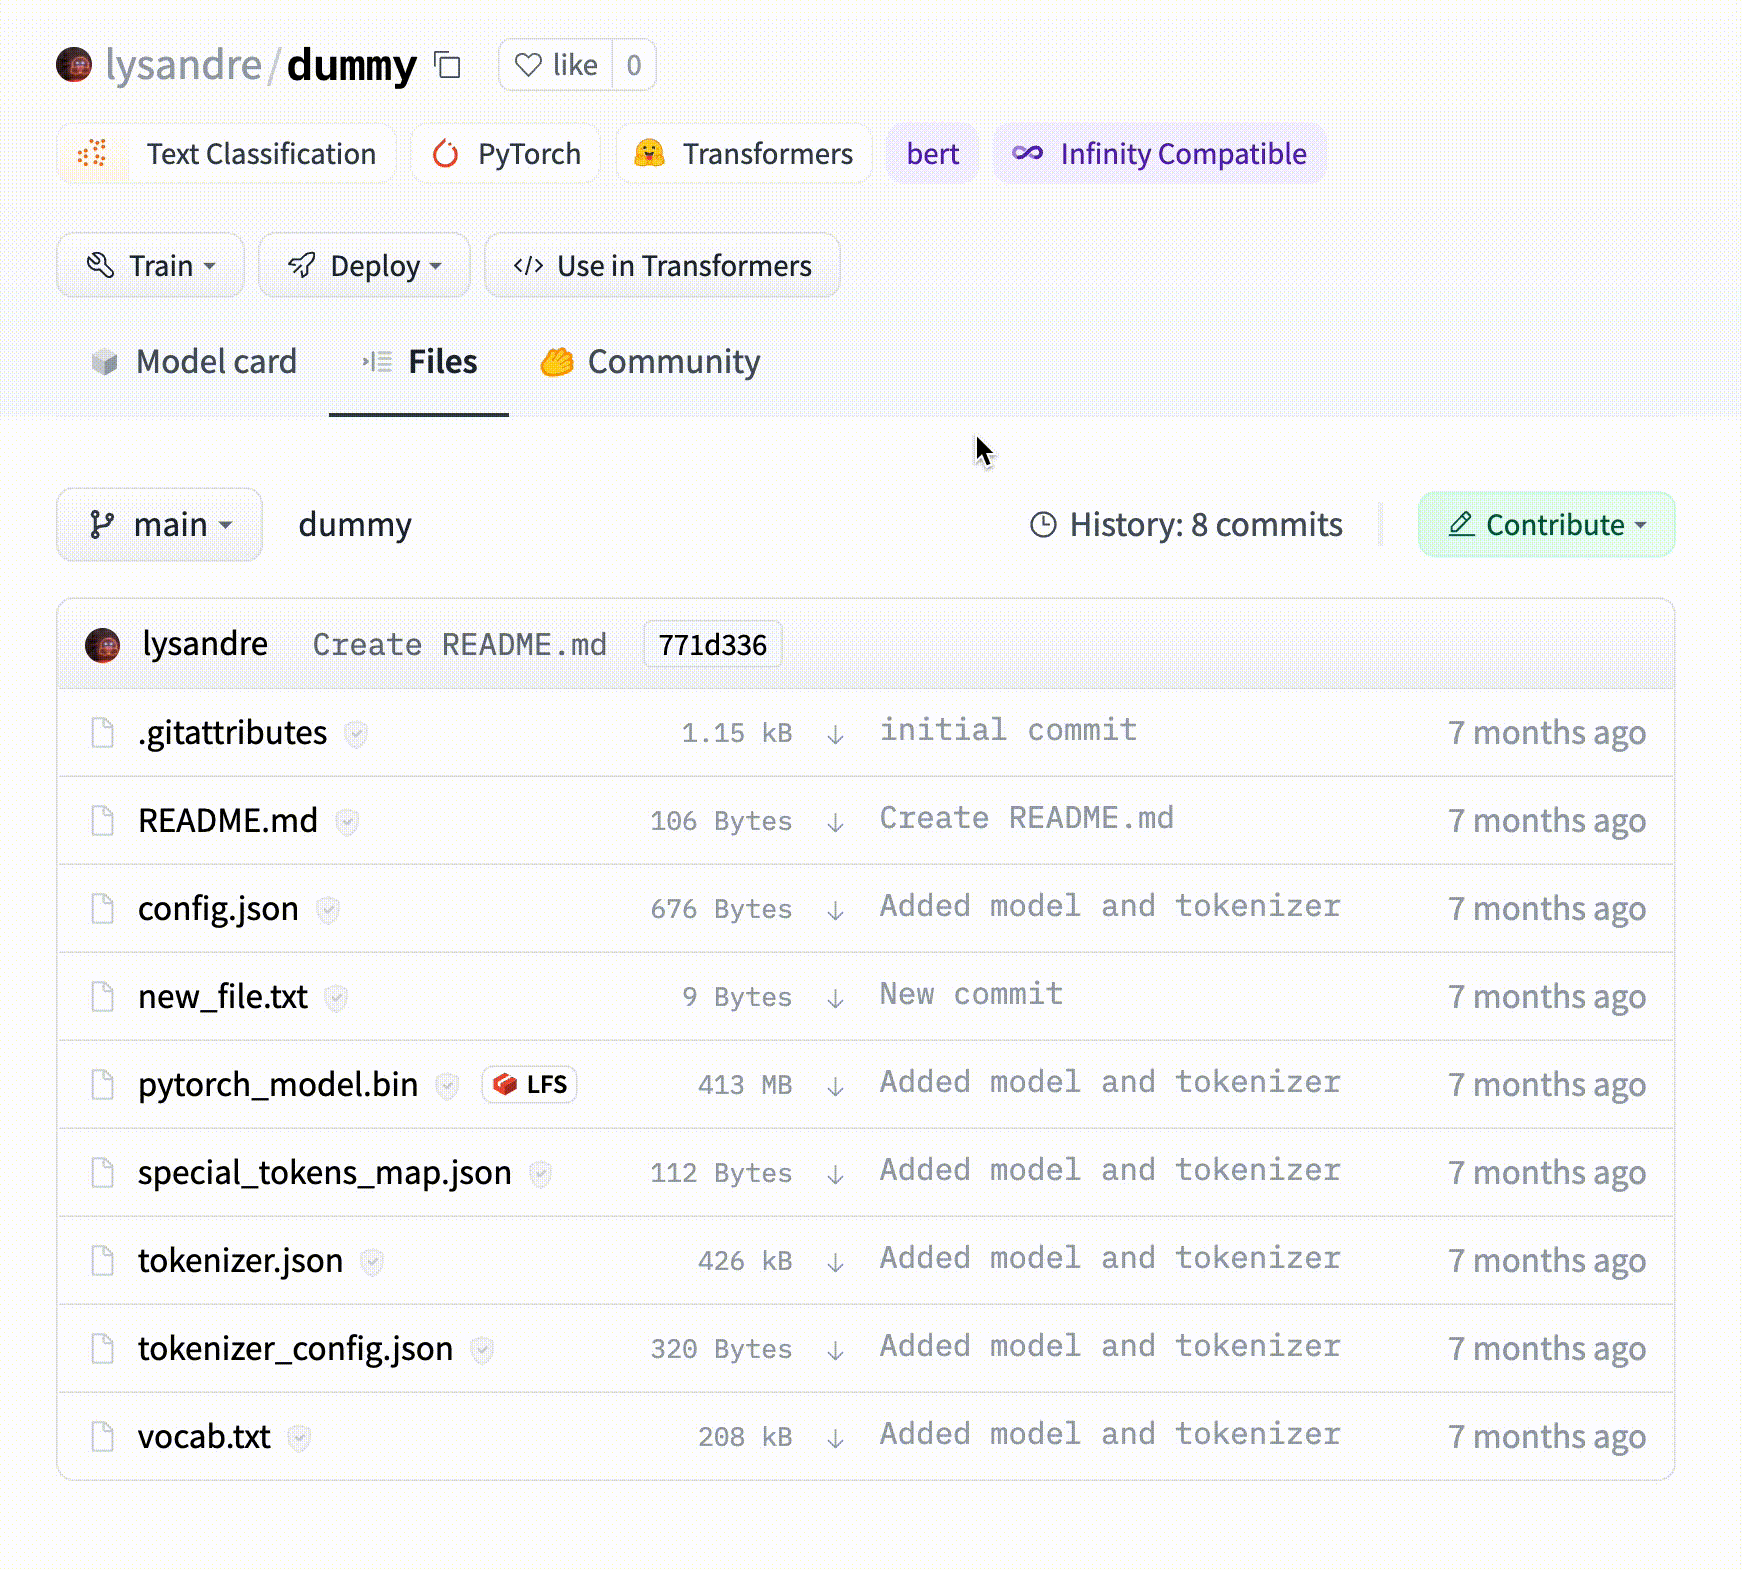
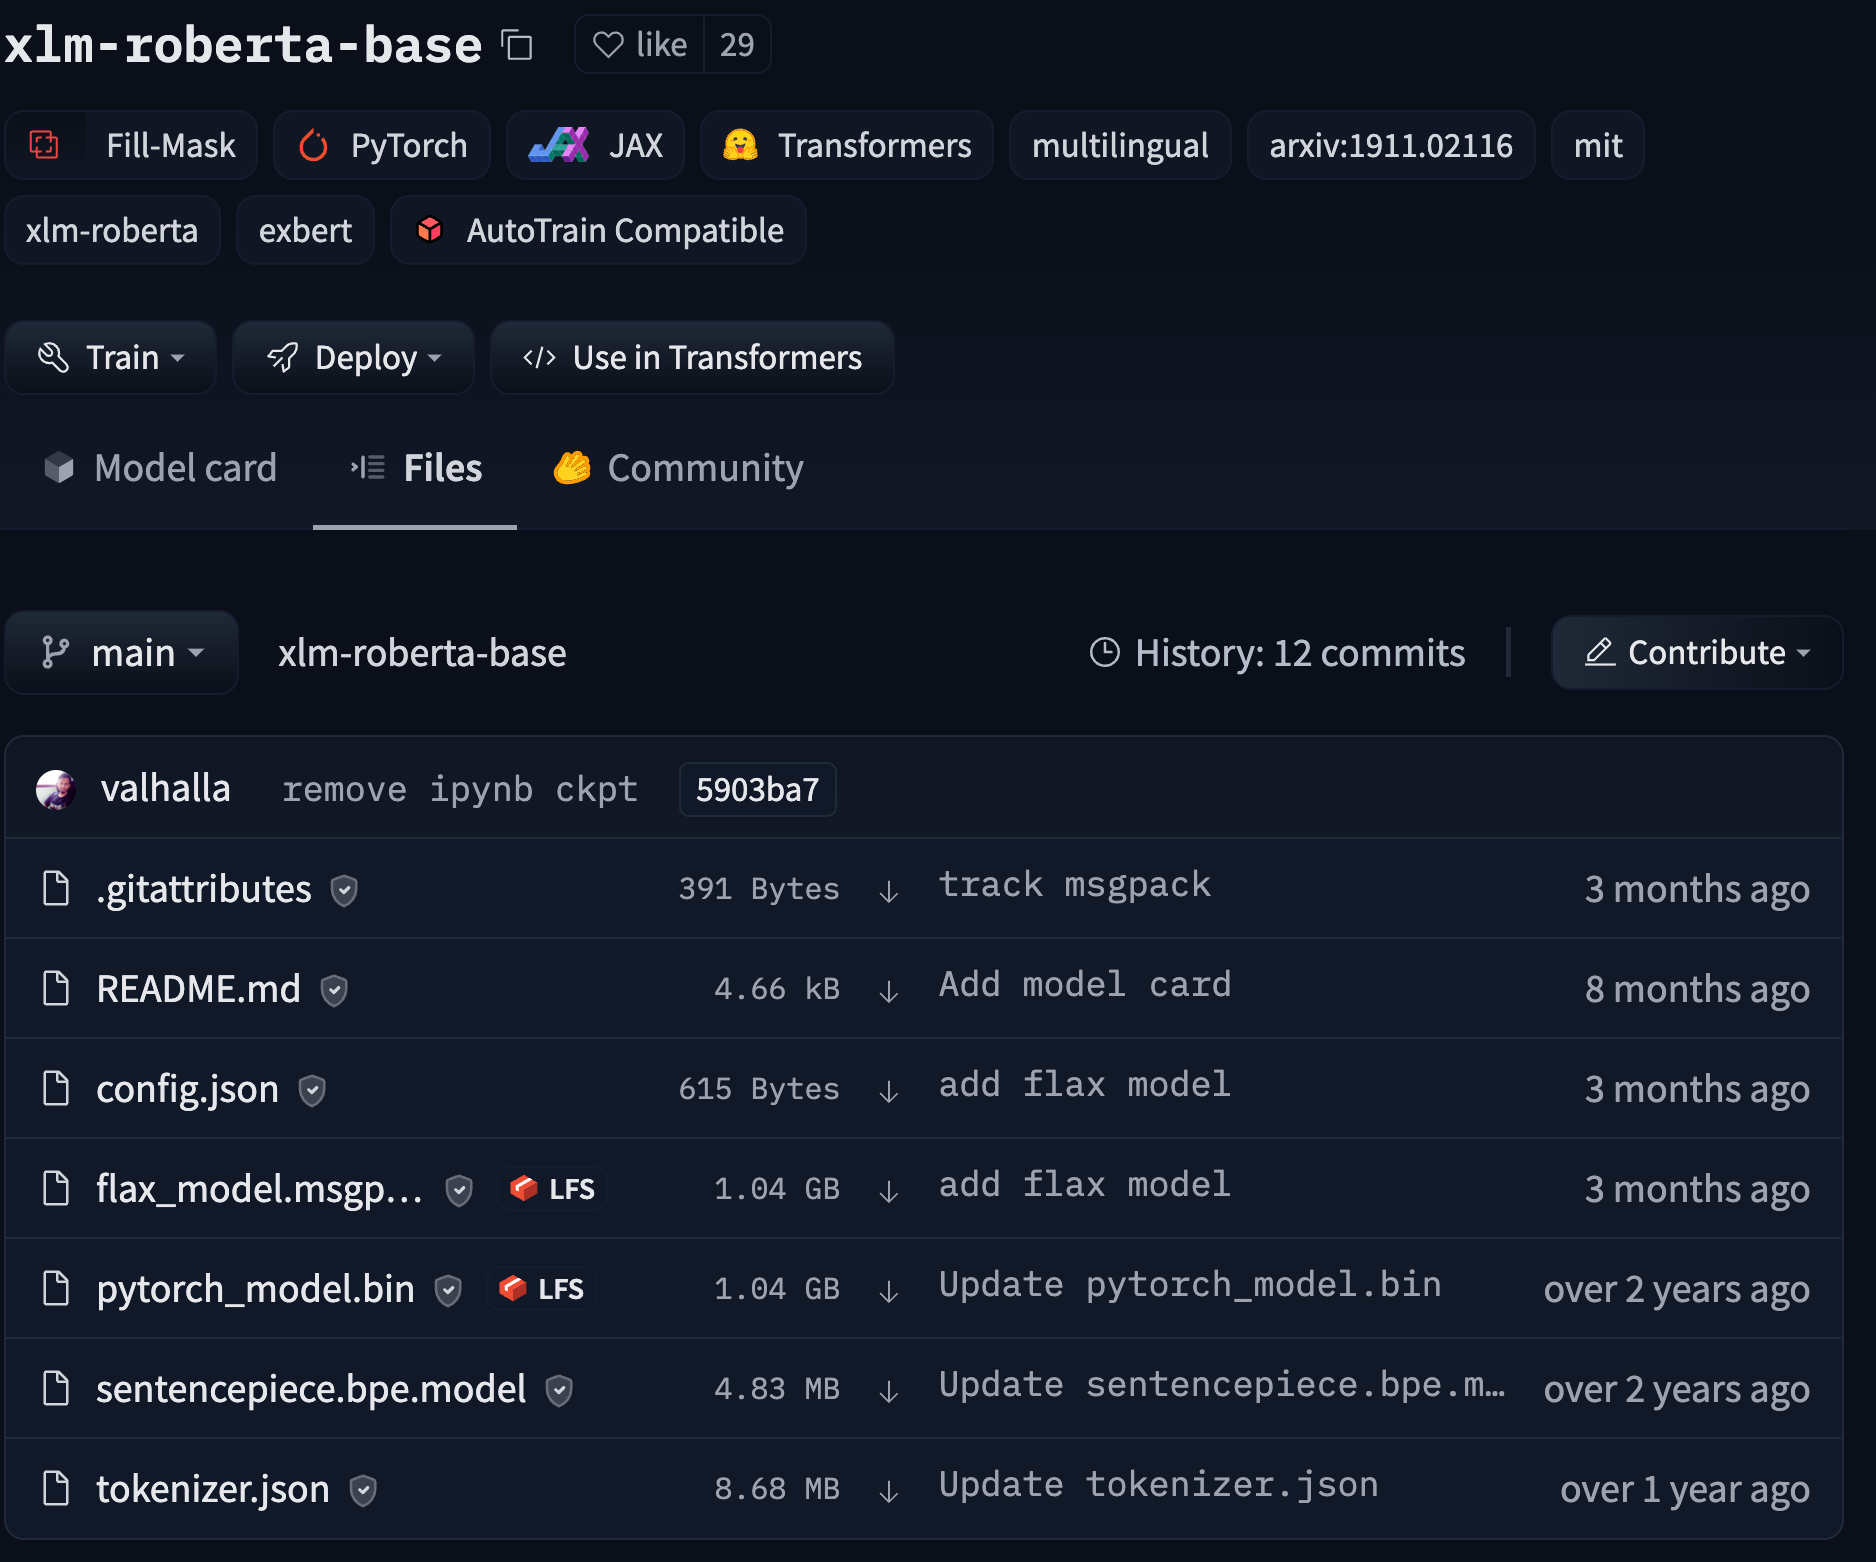
git pushAnd you’re done! You can check your repository on Hugging Face with all the recently added files. For example, in the screenshot below the user added a number of files. Note that some files in this example have a size of 1.04 GB, so the repo uses Git LFS to track it.

If you cloned the repository with HTTP, you might be asked to fill your username and password on every push operation. The simplest way to avoid repetition is to switch to SSH, instead of HTTP. Alternatively, if you have to use HTTP, you might find it helpful to setup a git credential helper to autofill your username and password.
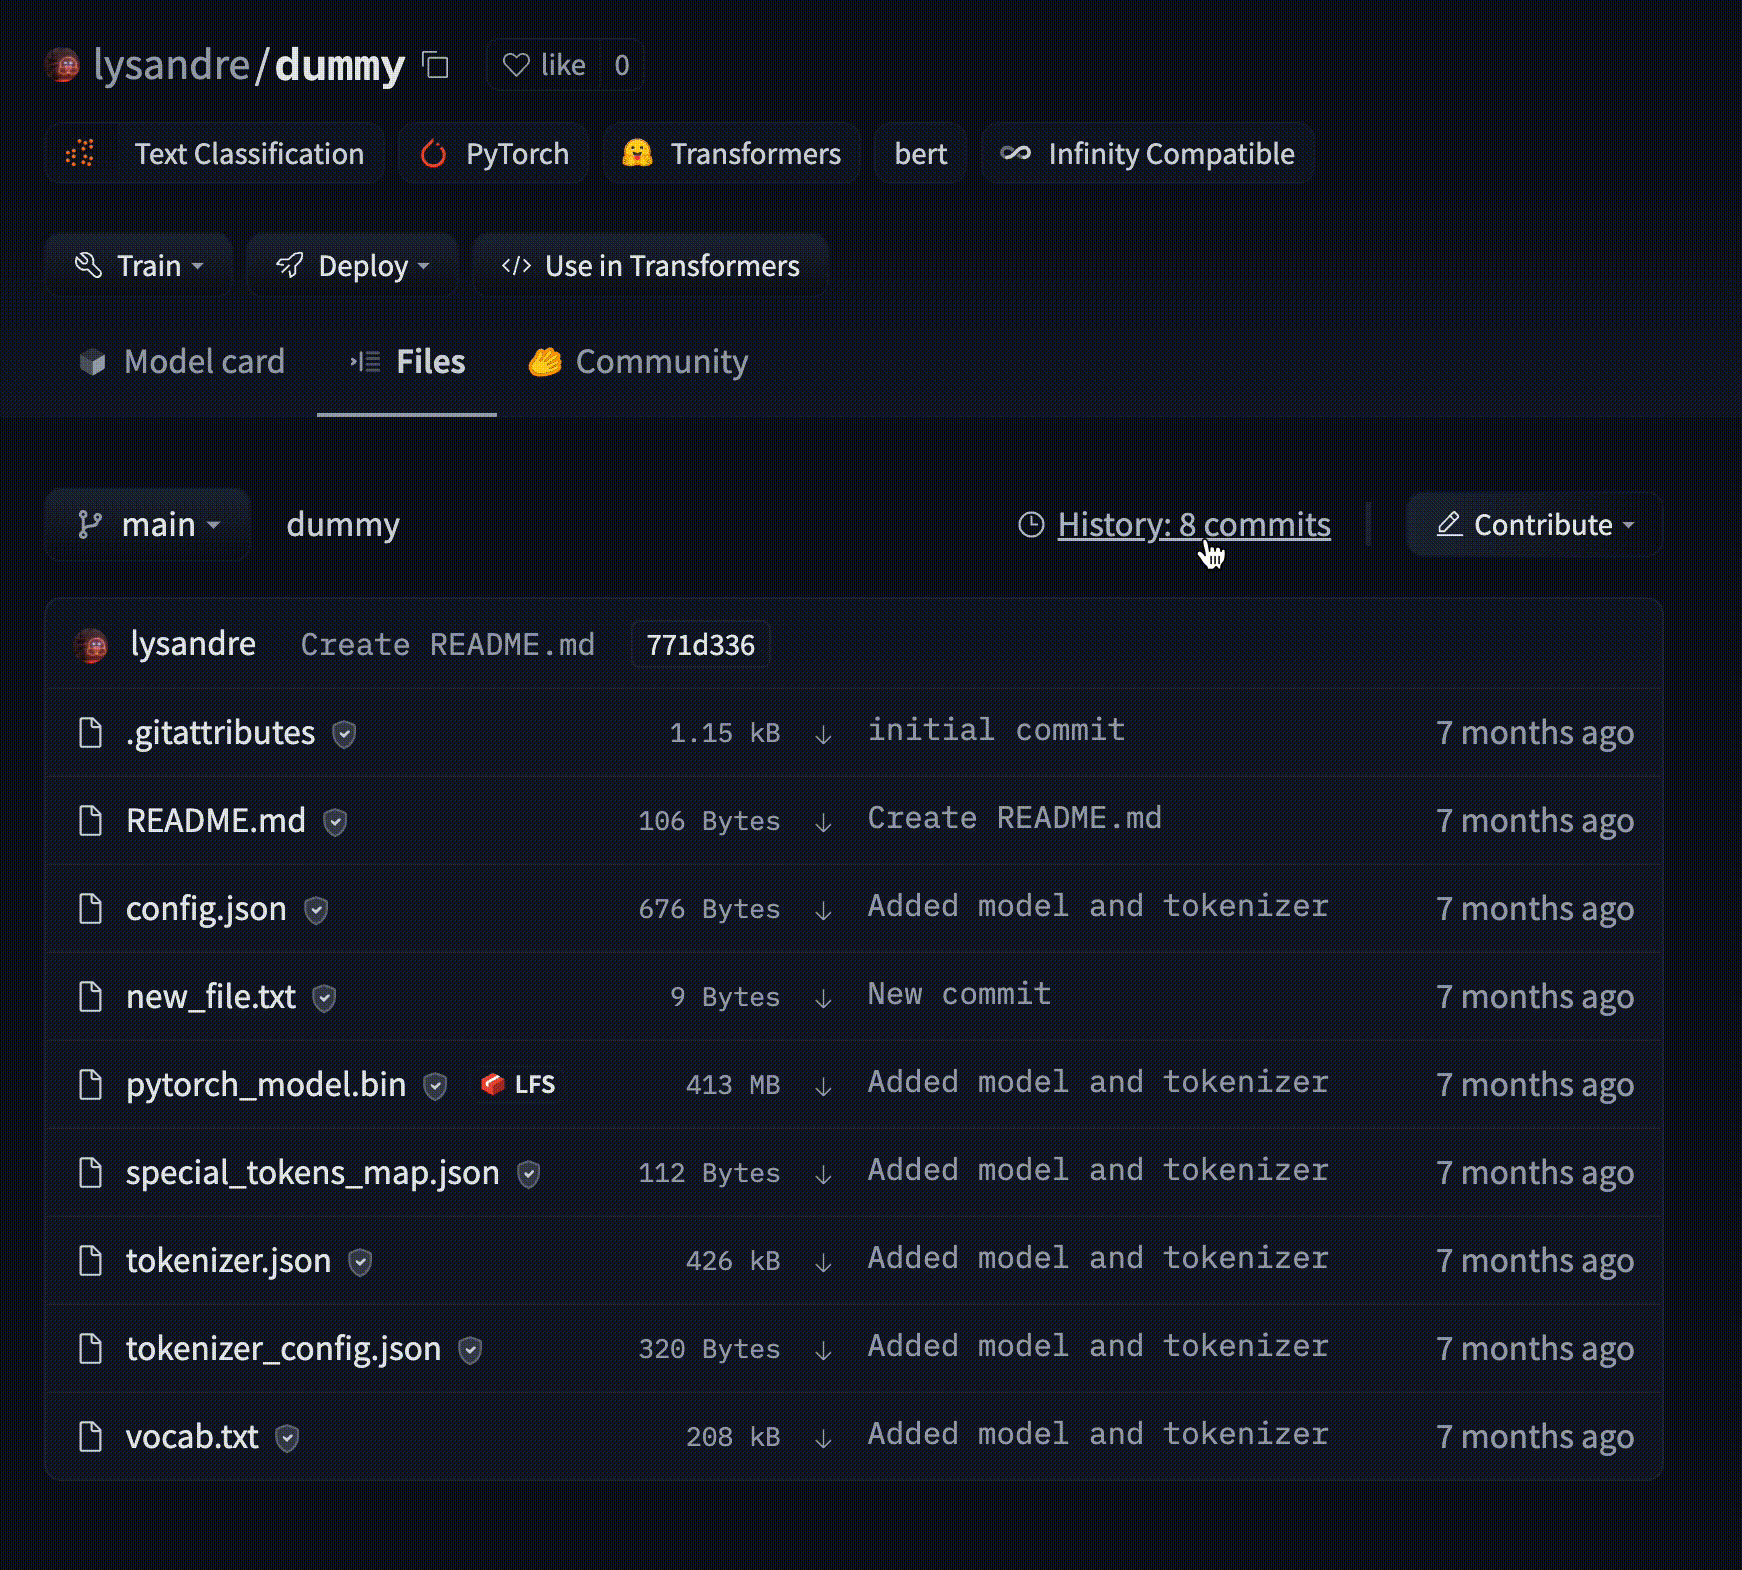
Viewing a repo’s history
Every time you go through the add-commit-push cycle, the repo will keep track of every change you’ve made to your files. The UI allows you to explore the model files and commits and to see the difference (also known as diff) introduced by each commit. To see the history, you can click on the History: X commits link.


You can click on an individual commit to see what changes that commit introduced: