> **참고**
>
> 이 README는 GPT 번역으로 생성되었습니다 (이 프로젝트의 플러그인에 의해 구현됨) . 100% 신뢰할 수 없으므로 번역 결과를 주의 깊게 검토하십시오.
>
> 2023.11.7: 종속성을 설치할 때, `requirements.txt`에 **지정된 버전**을 선택하십시오. 설치 명령어: `pip install -r requirements.txt`.
# 
GPT 학술 최적화 (GPT Academic)
기능 (⭐= 최근 추가 기능) | 설명
--- | ---
⭐[새 모델 추가](https://github.com/binary-husky/gpt_academic/wiki/%E5%A6%82%E4%BD%95%E5%88%87%E6%8D%A2%E6%A8%A1%E5%9E%8B)! | Baidu [Qianfan](https://cloud.baidu.com/doc/WENXINWORKSHOP/s/Nlks5zkzu)와 Wenxin Yiyan, [Tongyi Qianwen](https://modelscope.cn/models/qwen/Qwen-7B-Chat/summary), Shanghai AI-Lab [Shusheng](https://github.com/InternLM/InternLM), Xunfei [Star](https://xinghuo.xfyun.cn/), [LLaMa2](https://huggingface.co/meta-llama/Llama-2-7b-chat-hf), Zhipu API, DALLE3
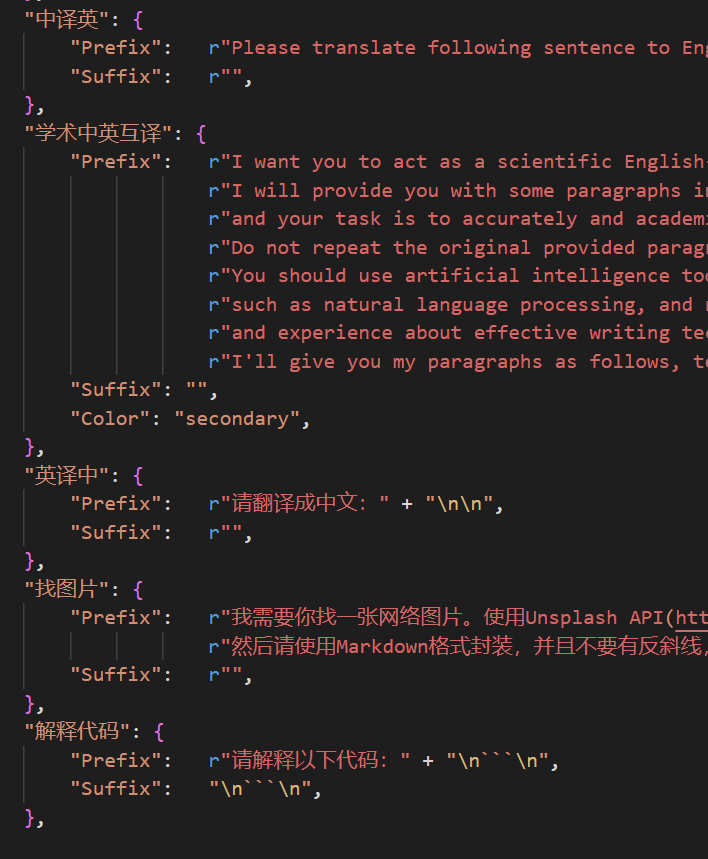
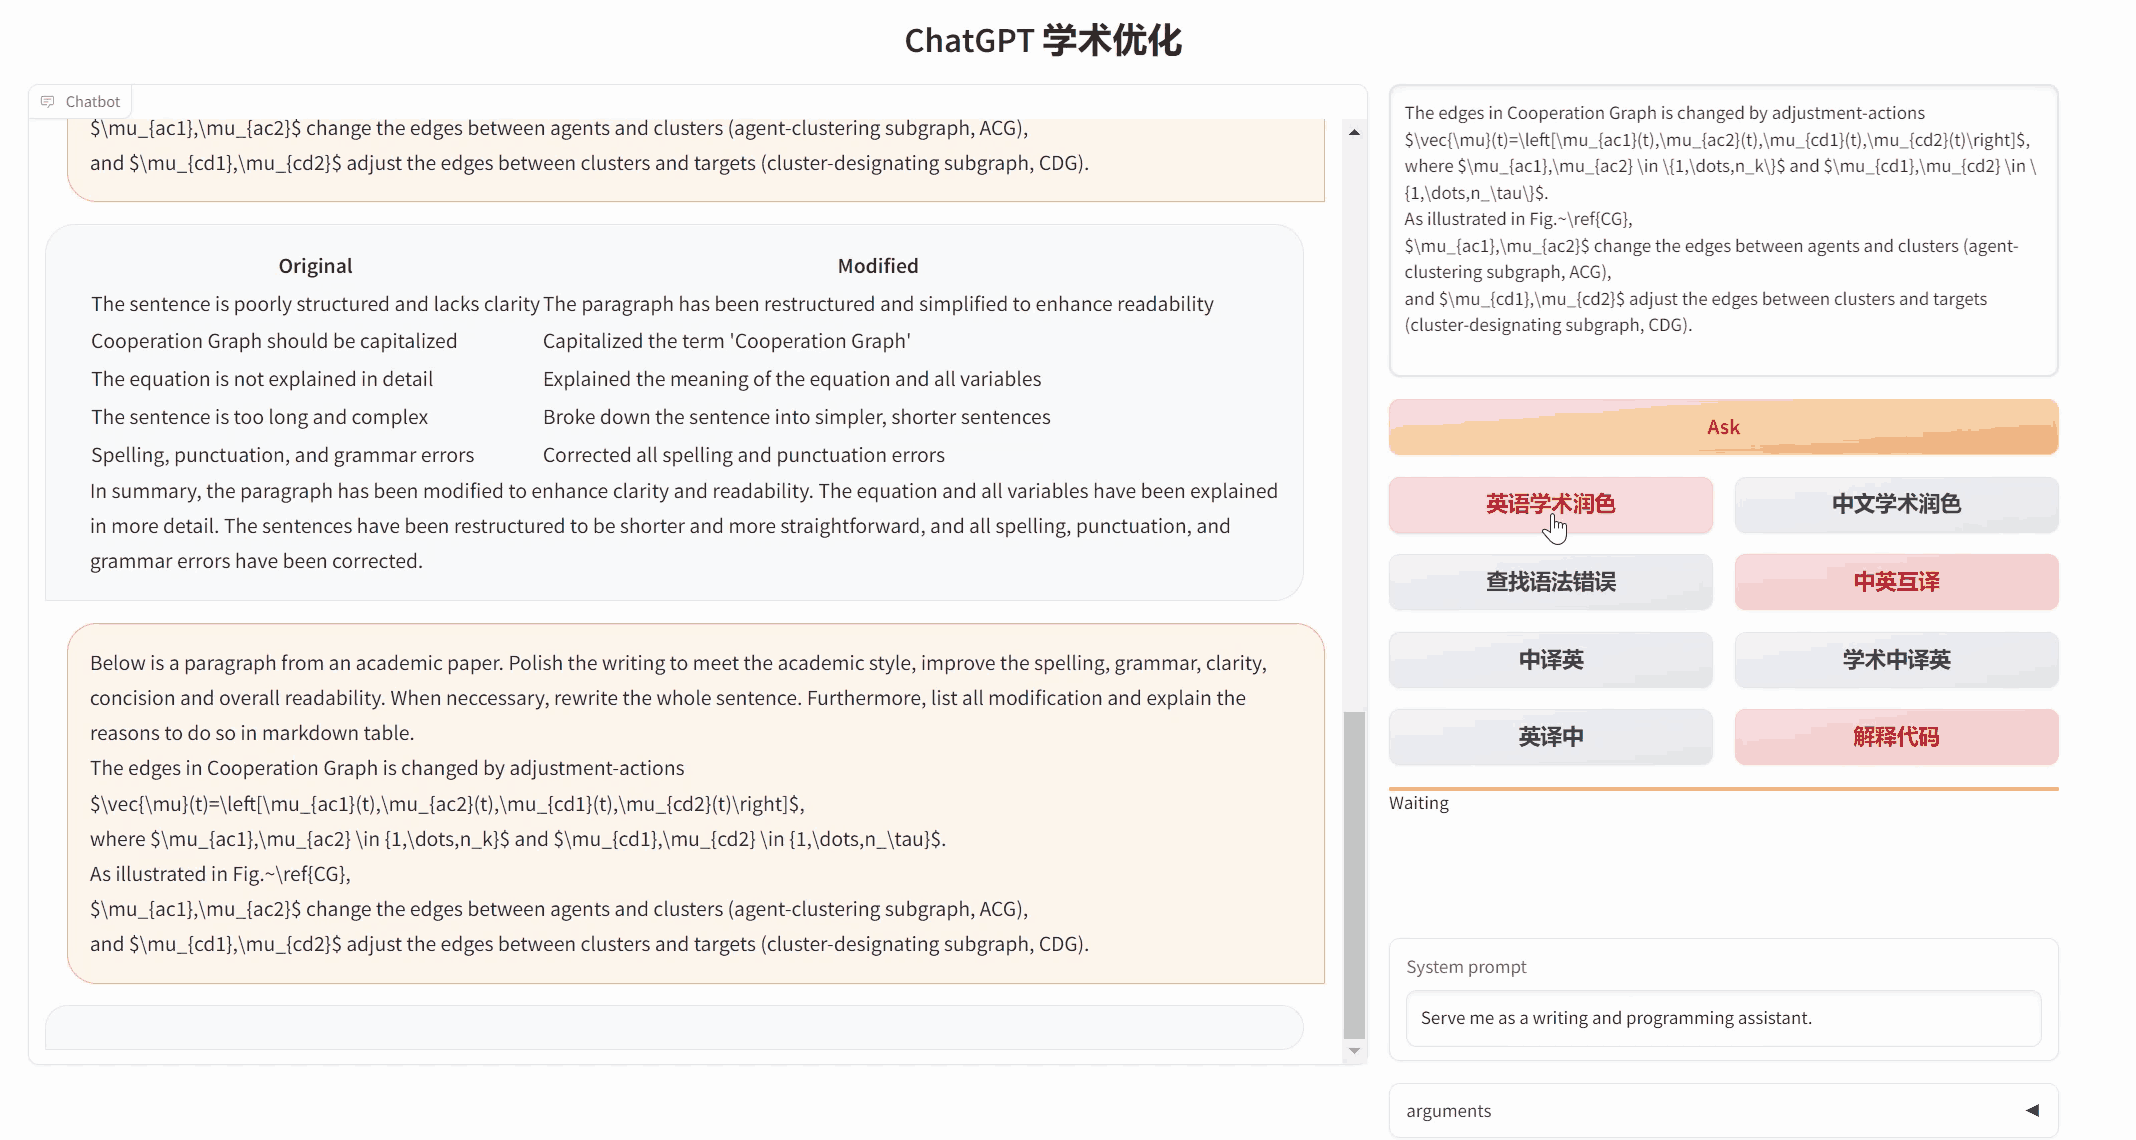
문체 개선, 번역, 코드 설명 | 일괄적인 문체 개선, 번역, 논문 문법 오류 탐색, 코드 설명
[사용자 정의 단축키](https://www.bilibili.com/video/BV14s4y1E7jN) | 사용자 정의 단축키 지원
모듈화 설계 | 사용자 정의 가능한 강력한 [플러그인](https://github.com/binary-husky/gpt_academic/tree/master/crazy_functions) 지원, 플러그인 지원 [핫 업데이트](https://github.com/binary-husky/gpt_academic/wiki/%E5%87%BD%E6%95%B0%E6%8F%92%E4%BB%B6%E6%8C%87%E5%8D%97)
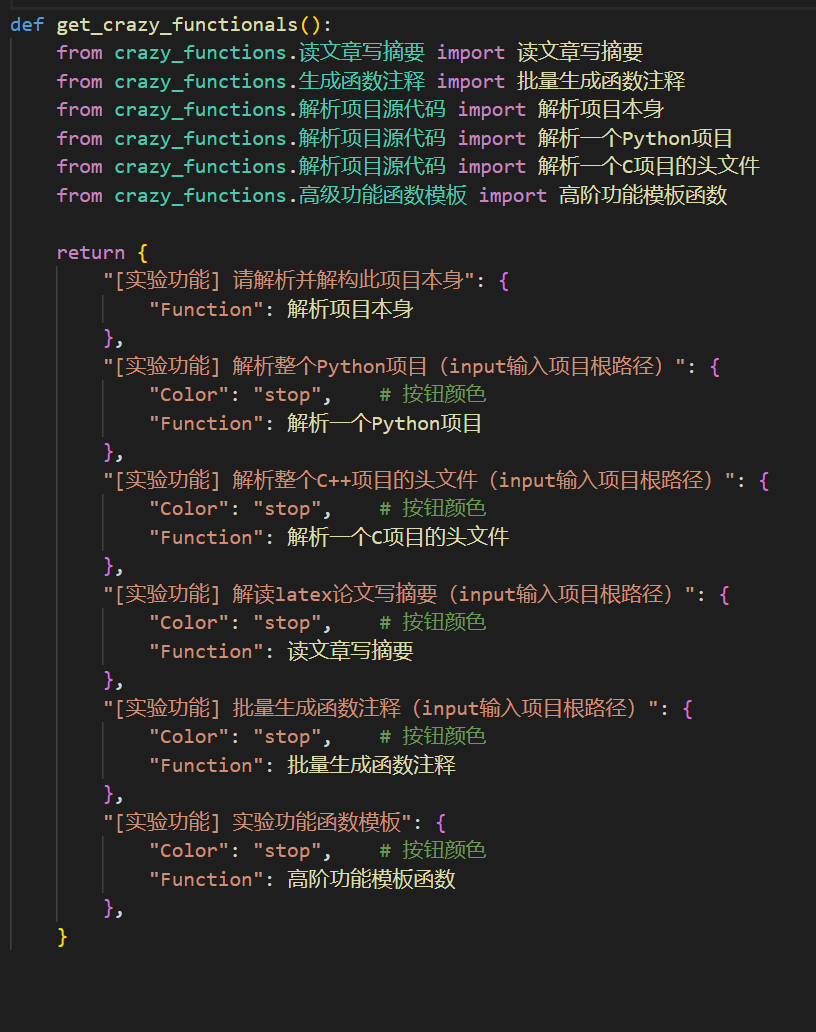
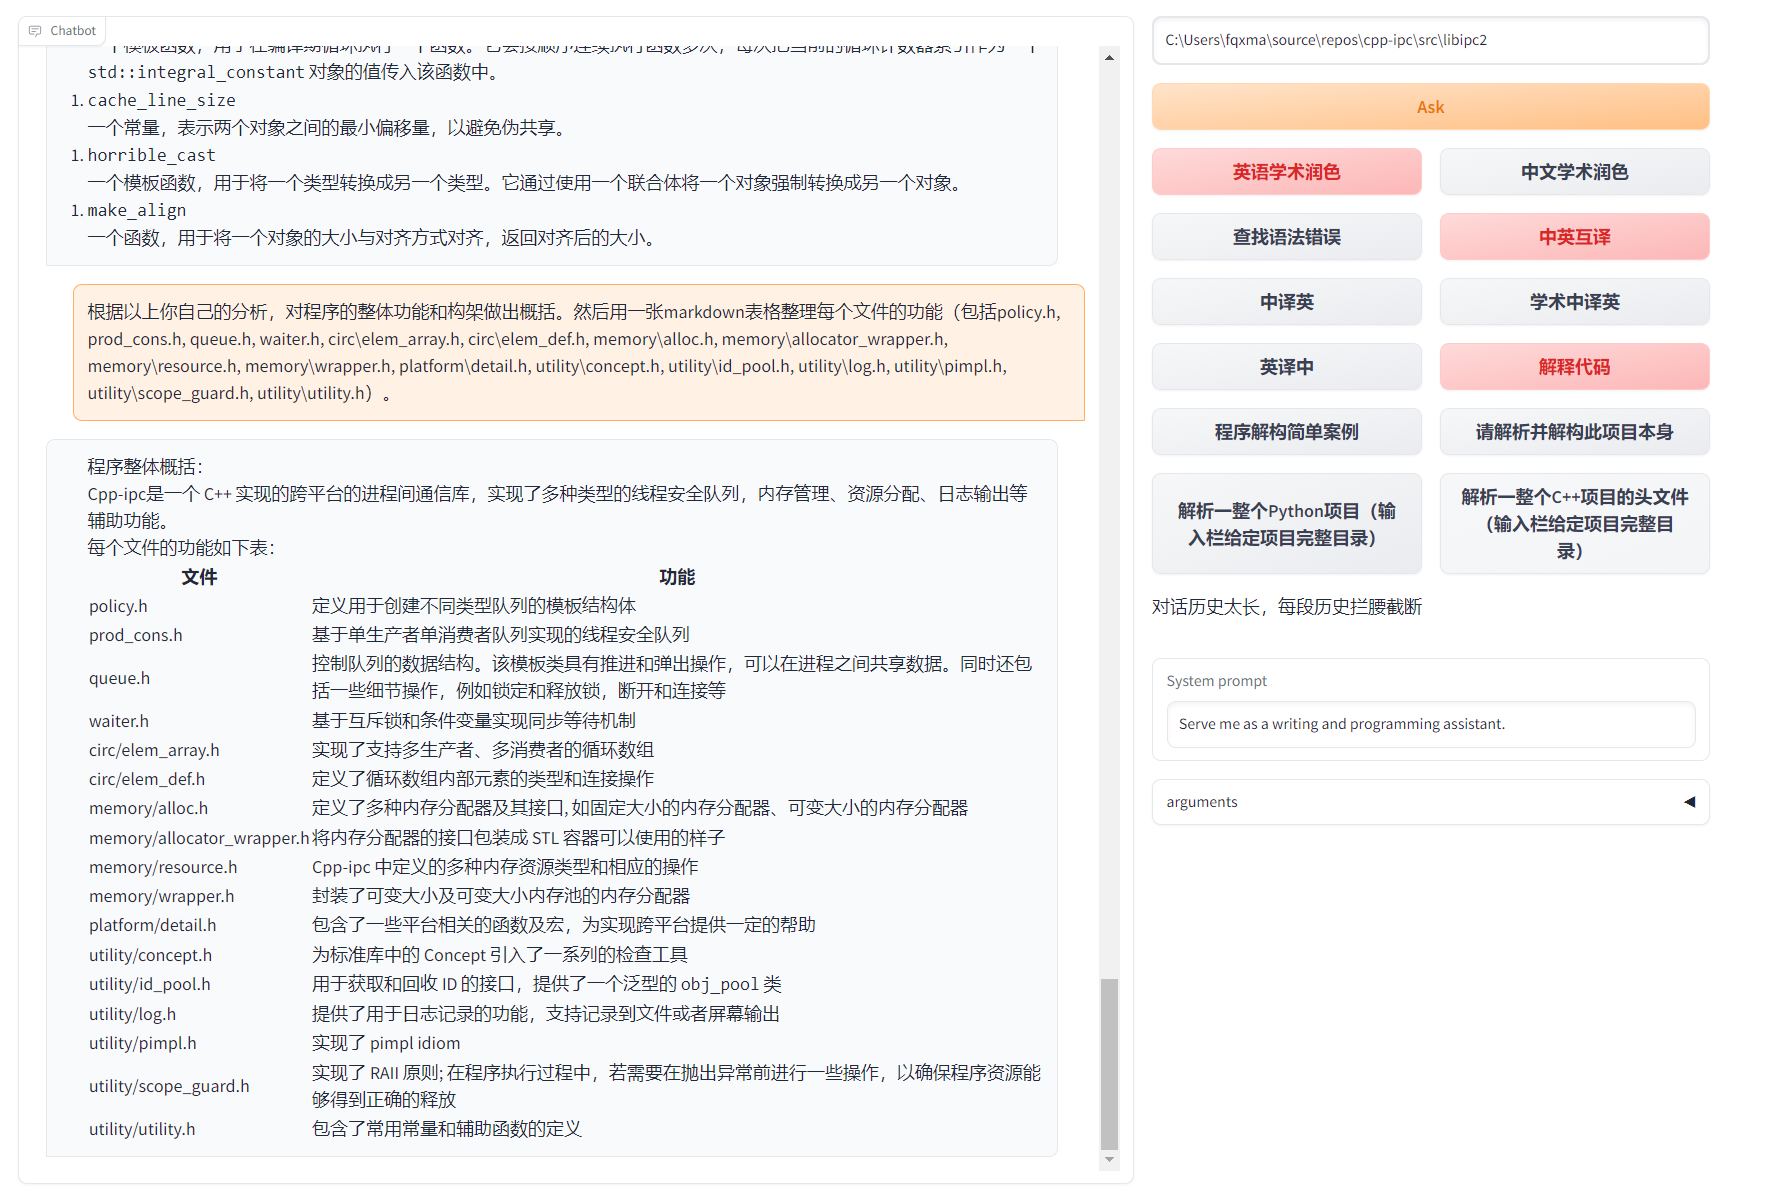
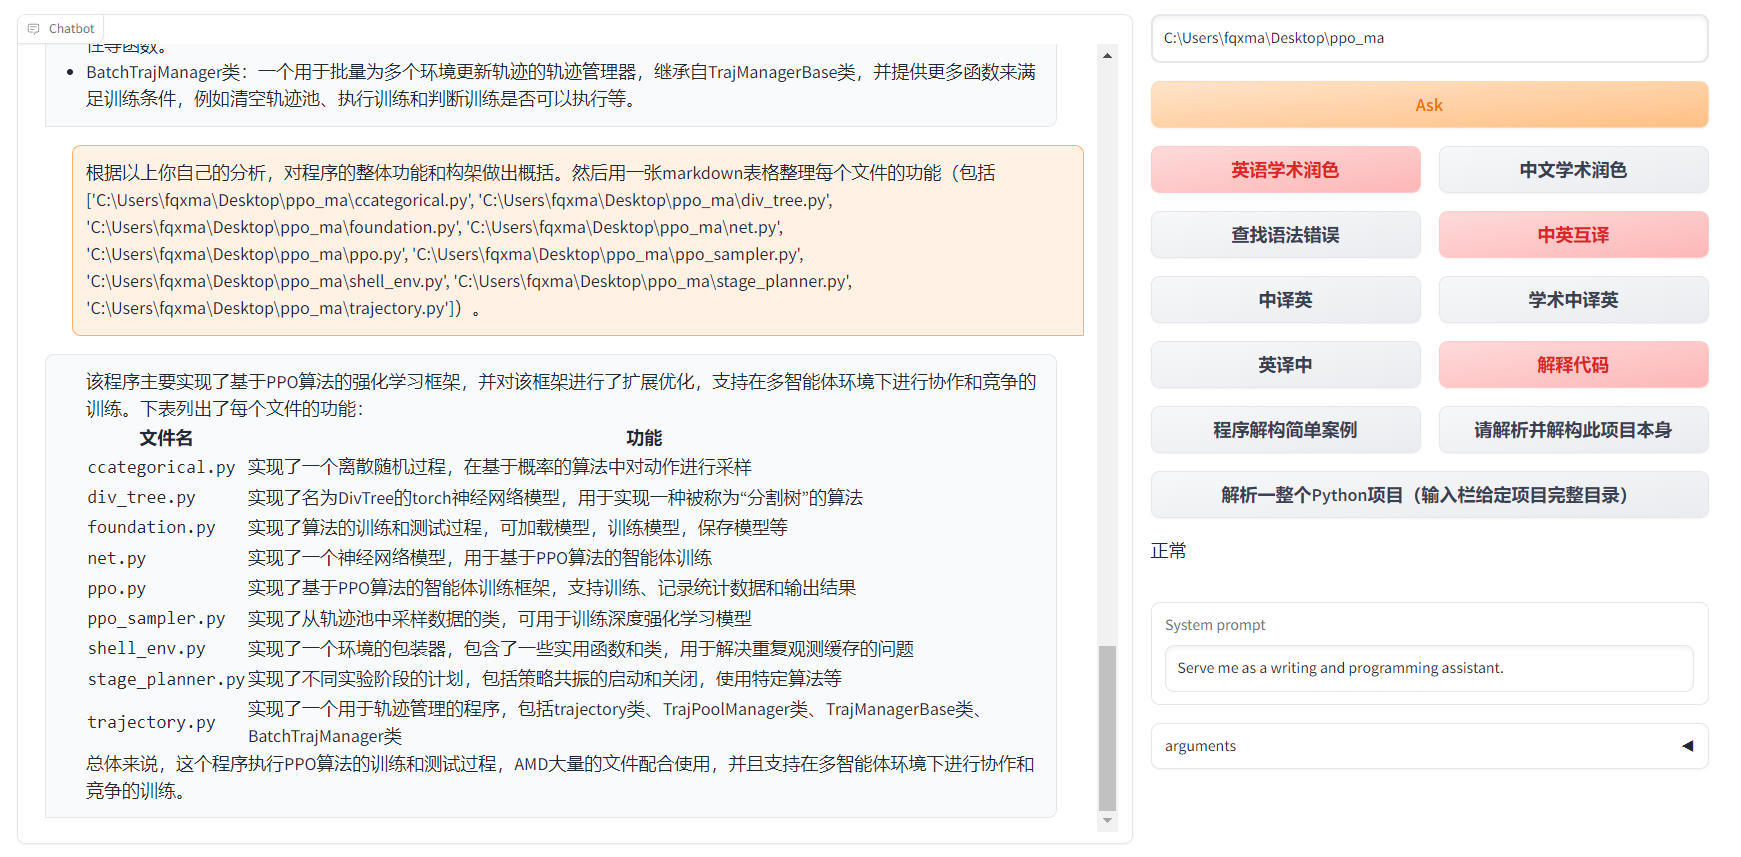
[프로그램 분석](https://www.bilibili.com/video/BV1cj411A7VW) | [플러그인] 한 번에 Python/C/C++/Java/Lua/... 프로젝트 트리를 분석하거나 [자체 분석](https://www.bilibili.com/video/BV1cj411A7VW)
논문 읽기, 논문 [번역](https://www.bilibili.com/video/BV1KT411x7Wn) | [플러그인] LaTeX/PDF 논문 전문을 읽고 요약 생성
LaTeX 전체 [번역](https://www.bilibili.com/video/BV1nk4y1Y7Js/), [개선](https://www.bilibili.com/video/BV1FT411H7c5/) | [플러그인] LaTeX 논문 번역 또는 개선
일괄 주석 생성 | [플러그인] 함수 주석 일괄 생성
Markdown [한 / 영 번역](https://www.bilibili.com/video/BV1yo4y157jV/) | 위의 5개 언어로 작성된 [README](https://github.com/binary-husky/gpt_academic/blob/master/docs/README_EN.md)를 살펴보셨나요?
채팅 분석 보고서 생성 | [플러그인] 실행 후 요약 보고서 자동 생성
[PDF 논문 전체 번역](https://www.bilibili.com/video/BV1KT411x7Wn) 기능 | [플러그인] PDF 논문 제목 및 요약 추출 + 전체 번역 (멀티 스레드)
[Arxiv 도우미](https://www.bilibili.com/video/BV1LM4y1279X) | [플러그인] arxiv 논문 url 입력시 요약 번역 + PDF 다운로드
LaTeX 논문 일괄 교정 | [플러그인] Grammarly를 모사하여 LaTeX 논문에 대한 문법 및 맞춤법 오류 교정 + 대조 PDF 출력
[Google 학술 통합 도우미](https://www.bilibili.com/video/BV19L411U7ia) | 임의의 Google 학술 검색 페이지 URL을 지정하여 gpt가 [related works를 작성](https://www.bilibili.com/video/BV1GP411U7Az/)하게 해주세요.
인터넷 정보 집계 + GPT | [플러그인] [인터넷에서 정보를 가져와서](https://www.bilibili.com/video/BV1om4y127ck) 질문에 대답하도록 GPT를 자동화하세요. 정보가 절대로 오래되지 않도록 해줍니다.
⭐Arxiv 논문 세심한 번역 ([Docker](https://github.com/binary-husky/gpt_academic/pkgs/container/gpt_academic_with_latex)) | [플러그인] [arxiv 논문을 고품질 번역으로](https://www.bilibili.com/video/BV1dz4y1v77A/) 번역하는 최고의 도구
⭐[실시간 음성 대화 입력](https://github.com/binary-husky/gpt_academic/blob/master/docs/use_audio.md) | [플러그인] 비동기적으로 [오디오를 모니터링](https://www.bilibili.com/video/BV1AV4y187Uy/)하여 문장을 자동으로 분절하고 대답 시기를 자동으로 찾습니다.
수식/이미지/표 표시 | [tex 형식 및 렌더링 형식](https://user-images.githubusercontent.com/96192199/230598842-1d7fcddd-815d-40ee-af60-baf488a199df.png)의 수식을 동시에 표시하며, 수식 및 코드 하이라이트 지원
⭐AutoGen multi-agent 플러그인 | [플러그인] Microsoft AutoGen을 활용하여 여러 개의 에이전트가 지능적으로 발생하는 가능성을 탐색하세요!
다크 모드 주제 지원 | 브라우저의 URL 뒤에 ```/?__theme=dark```를 추가하여 다크 모드로 전환하세요.
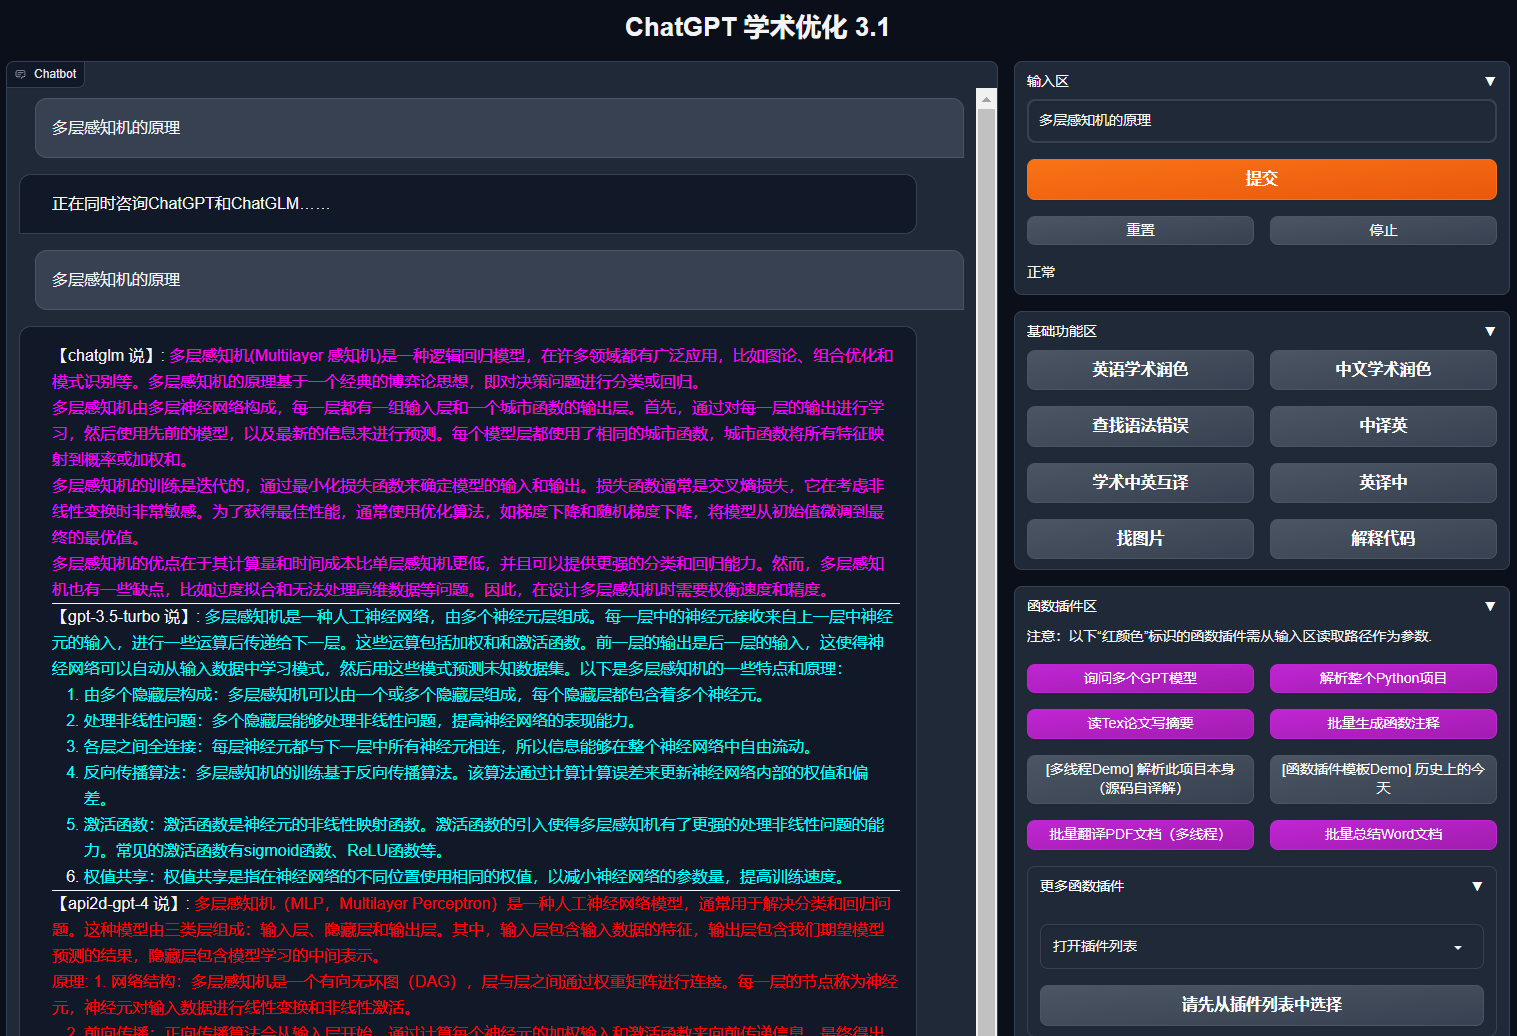
[다양한 LLM 모델](https://www.bilibili.com/video/BV1wT411p7yf) 지원 | GPT3.5, GPT4, [Tsinghua ChatGLM2](https://github.com/THUDM/ChatGLM2-6B), [Fudan MOSS](https://github.com/OpenLMLab/MOSS)을 함께 사용하는 느낌은 좋을 것입니다, 그렇지 않습니까?
⭐ChatGLM2 fine-tuned 모델 | ChatGLM2 fine-tuned 모델 로드를 지원하며, ChatGLM2 fine-tuned 보조 플러그인 제공
더 많은 LLM 모델 연결, [huggingface 배포](https://huggingface.co/spaces/qingxu98/gpt-academic) 지원 | Newbing 인터페이스(신 밍), Tsinghua [Jittorllms](https://github.com/Jittor/JittorLLMs) 도입, [LLaMA](https://github.com/facebookresearch/llama)와 [Pangu-alpha](https://openi.org.cn/pangu/)를 지원합니다.
⭐[void-terminal](https://github.com/binary-husky/void-terminal) 패키지 | GUI에서 독립, Python에서 이 프로젝트의 모든 함수 플러그인을 직접 호출 (개발 중)
⭐Void 터미널 플러그인 | [플러그인] 자연어로 이 프로젝트의 다른 플러그인을 직접 영속합니다.
기타 새로운 기능 소개 (이미지 생성 등) …… | 본 문서 맨 끝 참조 ……
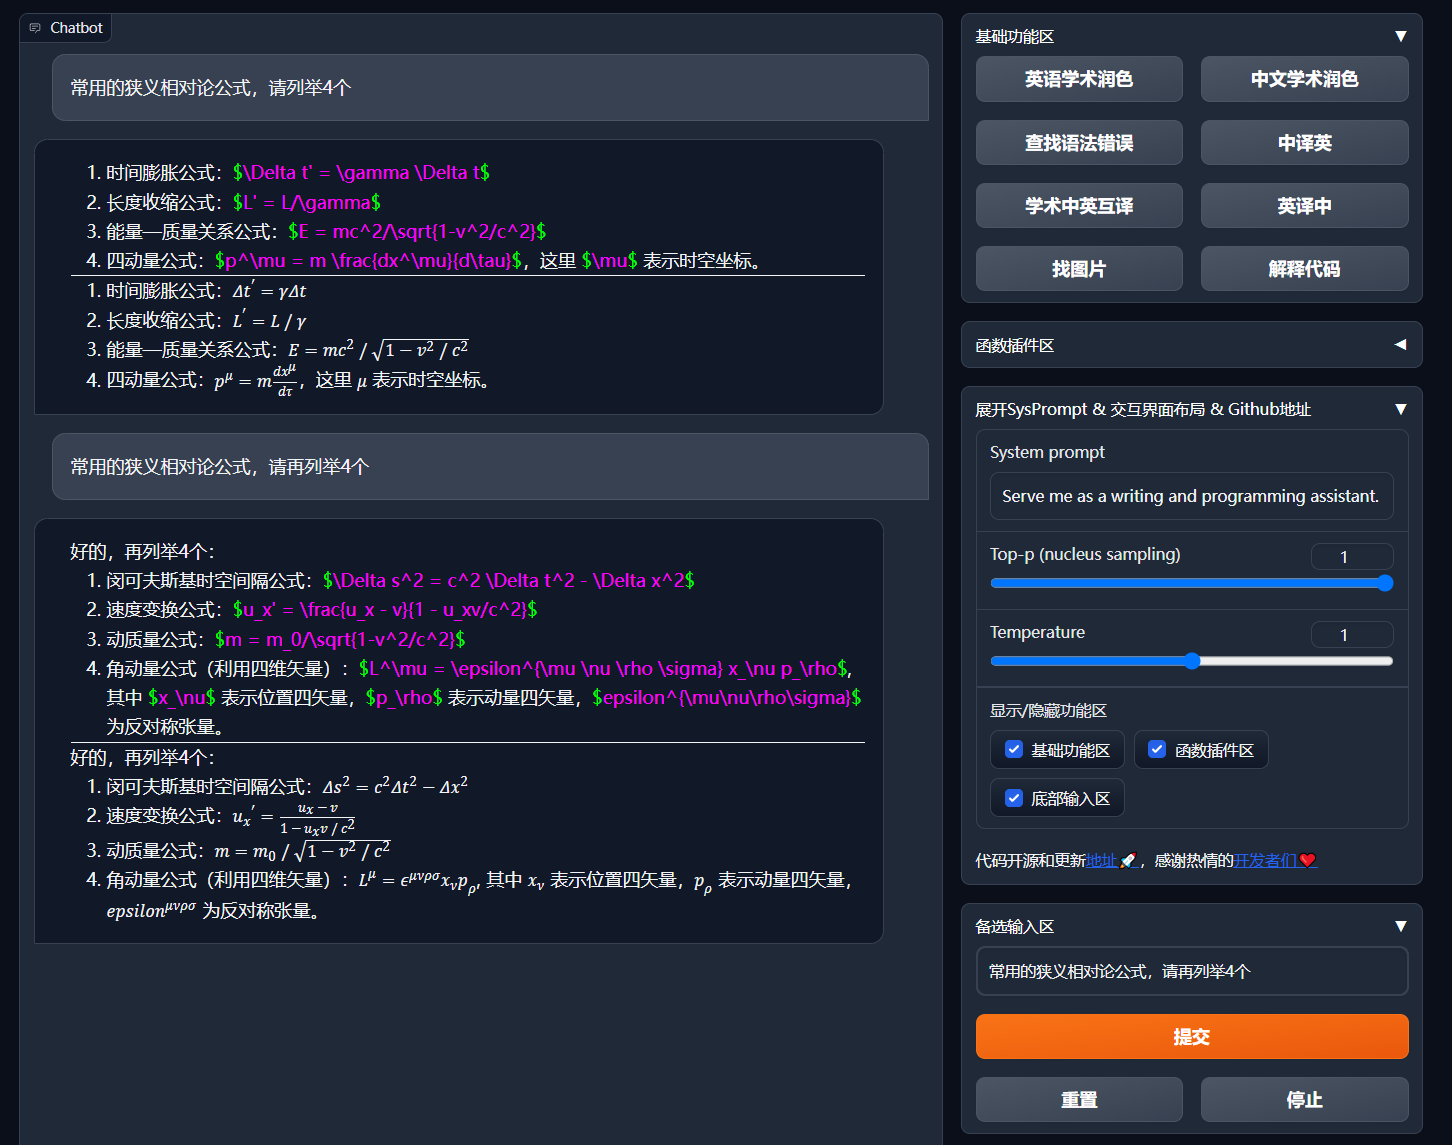
- 새로운 인터페이스(`config.py`의 LAYOUT 옵션 수정으로 "왼쪽-오른쪽 레이아웃"과 "위-아래 레이아웃"을 전환할 수 있음)

- 모든 버튼은 functional.py를 동적으로 읽어 생성되므로 원하는대로 사용자 정의 기능을 추가할 수 있으며 클립 보드를 해제할 수 있습니다.
- 문체 개선/오류 수정
- If the output contains equations, they will be displayed in both tex format and rendered format for easy copying and reading.
- Don't feel like looking at the project code? Just give it to ChatGPT and let it dazzle you.
- Mix and match multiple powerful language models (ChatGLM + OpenAI-GPT3.5 + [API2D](https://api2d.com/)-GPT4)
# Installation
### Installation Method I: Run Directly (Windows, Linux or MacOS)
1. Download the project
```sh
git clone --depth=1 https://github.com/binary-husky/gpt_academic.git
cd gpt_academic
```
2. Configure API_KEY
In `config.py`, configure the API KEY and other settings, [click here to view special network environment configuration methods](https://github.com/binary-husky/gpt_academic/issues/1). [Wiki page](https://github.com/binary-husky/gpt_academic/wiki/项目配置说明)。
" The program will first check if there is a confidential configuration file named `config_private.py` and use its configuration to override the configuration with the same name in `config.py`. If you can understand this reading logic, we strongly recommend that you create a new configuration file named `config_private.py` next to `config.py` and move (copy) the configuration from `config.py` to `config_private.py` (only copy the modified configuration items). "
" You can configure the project through `environment variables`. The format of the environment variables can be found in the `docker-compose.yml` file or our [Wiki page](https://github.com/binary-husky/gpt_academic/wiki/项目配置说明). The priority of the configuration reading is: `environment variables` > `config_private.py` > `config.py`. "
3. Install dependencies
```sh
# (Option I: if familiar with python, python>=3.9) Note: Use the official pip source or Aliyun pip source. Temporary switching source method: python -m pip install -r requirements.txt -i https://mirrors.aliyun.com/pypi/simple/
python -m pip install -r requirements.txt
# (Option II: using Anaconda) The steps are similar (https://www.bilibili.com/video/BV1rc411W7Dr):
conda create -n gptac_venv python=3.11 # Create an Anaconda environment
conda activate gptac_venv # Activate the Anaconda environment
python -m pip install -r requirements.txt # This step is the same as the pip installation step
```
Click here to expand if you need support for Tsinghua ChatGLM2/Fudan MOSS/RWKV backend
[Optional Step] If you need support for Tsinghua ChatGLM2/Fudan MOSS as the backend, you need to install additional dependencies (Prerequisites: Familiar with Python + Have used Pytorch + Sufficient computer configuration):
```sh
# [Optional Step I] Support for Tsinghua ChatGLM2. Note for Tsinghua ChatGLM: If you encounter the error "Call ChatGLM fail cannot load ChatGLM parameters", refer to the following: 1: The default installation above is torch+cpu version. To use cuda, uninstall torch and reinstall torch+cuda; 2: If you cannot load the model due to insufficient computer configuration, you can modify the model precision in request_llm/bridge_chatglm.py, change AutoTokenizer.from_pretrained("THUDM/chatglm-6b", trust_remote_code=True) to AutoTokenizer.from_pretrained("THUDM/chatglm-6b-int4", trust_remote_code=True)
python -m pip install -r request_llms/requirements_chatglm.txt
# [Optional Step II] Support for Fudan MOSS
python -m pip install -r request_llms/requirements_moss.txt
git clone --depth=1 https://github.com/OpenLMLab/MOSS.git request_llms/moss # When executing this line of code, make sure you are in the project root path
# [Optional Step III] Support for RWKV Runner
Refer to the wiki: https://github.com/binary-husky/gpt_academic/wiki/%E9%80%82%E9%85%8DRWKV-Runner
# [Optional Step IV] Make sure that the AVAIL_LLM_MODELS in the config.py configuration file includes the expected models. The currently supported models are as follows (the jittorllms series only supports the docker solution):
AVAIL_LLM_MODELS = ["gpt-3.5-turbo", "api2d-gpt-3.5-turbo", "gpt-4", "api2d-gpt-4", "chatglm", "moss"] # + ["jittorllms_rwkv", "jittorllms_pangualpha", "jittorllms_llama"]
```
### II: 사용자 정의 함수 플러그인
원하는 작업을 수행하기 위해 능력있는 함수 플러그인을 작성하세요.
이 프로젝트의 플러그인 작성 및 디버깅은 난이도가 낮으며, 일정한 Python 기본 지식만 있으면 우리가 제공하는 템플릿을 본따서 고유한 플러그인 기능을 구현할 수 있습니다.
자세한 내용은 [함수 플러그인 가이드](https://github.com/binary-husky/gpt_academic/wiki/%E5%87%BD%E6%95%B0%E6%8F%92%E4%BB%B6%E6%8C%87%E5%8D%97)를 참조하세요.
# 업데이트
### I: 다이나믹
1. 대화 저장 기능. 플러그인 영역에서 '현재 대화 저장'을 호출하여 현재 대화를 볼 수 있고, html 파일을 복구할 수 있습니다.
또한 플러그인 영역에서 '대화 기록 불러오기'를 호출하여 이전 대화를 복원할 수 있습니다.
팁: 파일을 지정하지 않고 '대화 기록 불러오기'를 바로 클릭하면 이전 html 기록 캐시를 볼 수 있습니다.
2. ⭐Latex/Arxiv 논문 번역 기능⭐

===>

3. 빈 터미널 (자연어 입력에서 사용자 의도 이해 + 자동 플러그인 호출)
- 단계 1: "플러그인을 사용하여 PDF 논문을 번역하십시오. 주소는 https://openreview.net/pdf?id=rJl0r3R9KX입니다." 입력
- 단계 2: "빈 터미널" 클릭
4. 모듈화된 기능 디자인, 간단한 인터페이스로 강력한 기능 제공
5. 다른 오픈 소스 프로젝트 번역
6. [live2d](https://github.com/fghrsh/live2d_demo)의 작은 기능 추가 (기본 설정은 닫혀 있으며, `config.py`를 수정해야 합니다.)
7. OpenAI 이미지 생성
8. OpenAI 오디오 분석 및 요약
9. Latex 전체 교정 오류

===>

10. 언어, 테마 변경
### II: 버전:
- 버전 3.70 (예정): AutoGen 플러그인 테마 개선 및 다른 테마 플러그인 디자인
- 버전 3.60: AutoGen을 새로운 세대 플러그인의 기반으로 도입
- 버전 3.57: GLM3, Starfire v3, 文心一言 v4 지원, 로컬 모델의 동시성 버그 수정
- 버전 3.56: 동적으로 기본 기능 버튼 추가, 새로운 보고서 PDF 요약 페이지
- 버전 3.55: 프론트 엔드 인터페이스 리팩토링, 화면 따라다니는 윈도우 및 메뉴 바 도입
- 버전 3.54: 새로운 동적 코드 해석기 (Code Interpreter) 추가 (완벽하게 완성되지 않음)
- 버전 3.53: 다른 인터페이스 테마 동적 선택 기능 추가, 안정성 향상 및 다중 사용자 충돌 문제 해결
- 버전 3.50: 자연어로 이 프로젝트의 모든 함수 플러그인을 호출하는 기능 (빈 터미널) 추가, 플러그인 분류 지원, UI 개선, 새로운 테마 설계
- 버전 3.49: Baidu Qianfan 플랫폼 및 문심일언 지원
- 버전 3.48: Ali DameiYuan Sematic Query, Shanghai AI-Lab Shusheng, Xunfei Starfire 지원
- 버전 3.46: 완전 자동 운전 가능한 실시간 음성 대화 지원
- 버전 3.45: 사용자 정의 ChatGLM2 fine-tuning 모델 지원
- 버전 3.44: Azure 정식 지원, 인터페이스의 사용 편의성 개선
- 버전 3.4: +arxiv 논문 번역, latex 논문 교정 기능 추가
- 버전 3.3: +인터넷 정보 종합 기능
- 버전 3.2: 함수 플러그인이 더 많은 매개변수 인터페이스를 지원합니다 (대화 저장 기능, 임의의 언어 코드 해석 + 임의의 LLM 조합을 동시에 요청)
- 버전 3.1: 여러 GPT 모델에 동시에 질문할 수 있는 기능 추가! api2d 지원, 여러 개의 apikey 부하 균형 조정 지원
- 버전 3.0: chatglm 및 기타 소규모 llm 지원
- 버전 2.6: 플러그인 구조를 재구성하여 상호 작용성 향상, 더 많은 플러그인 추가
- 버전 2.5: 자동 업데이트, 소스 코드 요약 중 텍스트가 너무 길고 토큰이 오버플로되는 문제 해결
- 버전 2.4: (1)PDF 전체 번역 기능 추가; (2)입력 영역 위치 전환 기능 추가; (3)수직 레이아웃 옵션 추가; (4)멀티 스레드 함수 플러그인 최적화
- 버전 2.3: 멀티 스레드 상호 작용성 강화
- 버전 2.2: 함수 플러그인의 핫 리로드 지원
- 버전 2.1: 접을 수 있는 레이아웃
- 버전 2.0: 모듈화 함수 플러그인 도입
- 버전 1.0: 기본 기능
GPT Academic 개발자 QQ 그룹: `610599535`
- 알려진 문제
- 특정 웹 브라우저 번역 플러그인이 이 소프트웨어의 프론트엔드 실행에 방해가 되는 경우가 있습니다.
- 공식 Gradio에는 호환성 문제가 많기 때문에 `requirement.txt`를 사용하여 Gradio를 설치하십시오.
### III: 테마
`THEME` 옵션 (`config.py`)을 수정하여 테마를 변경할 수 있습니다.
1. `Chuanhu-Small-and-Beautiful` [URL](https://github.com/GaiZhenbiao/ChuanhuChatGPT/)
### IV: 이 프로젝트의 개발 브랜치
1. `master` 브랜치: 메인 브랜치, 안정 버전
2. `frontier` 브랜치: 개발 브랜치, 테스트 버전
### V: 참고 및 학습
```
코드에서는 다른 우수한 프로젝트의 디자인을 많이 참고했습니다. 순서는 문제 없이 나열됩니다:
# 清华ChatGLM2-6B:
https://github.com/THUDM/ChatGLM2-6B
# 清华JittorLLMs:
https://github.com/Jittor/JittorLLMs
# ChatPaper:
https://github.com/kaixindelele/ChatPaper
# Edge-GPT:
https://github.com/acheong08/EdgeGPT
# ChuanhuChatGPT:
https://github.com/GaiZhenbiao/ChuanhuChatGPT
# Oobabooga 원 클릭 설치 프로그램:
https://github.com/oobabooga/one-click-installers
# 더보기:
https://github.com/gradio-app/gradio
https://github.com/fghrsh/live2d_demo