# Image classification examples
This directory contains 2 scripts that showcase how to fine-tune any model supported by the [`TFAutoModelForImageClassification` API](https://huggingface.co/docs/transformers/main/en/model_doc/auto#transformers.TFAutoModelForImageClassification) (such as [ViT](https://huggingface.co/docs/transformers/main/en/model_doc/vit), [ConvNeXT](https://huggingface.co/docs/transformers/main/en/model_doc/convnext), [ResNet](https://huggingface.co/docs/transformers/main/en/model_doc/resnet), [Swin Transformer](https://huggingface.co/docs/transformers/main/en/model_doc/swin)...) using TensorFlow. They can be used to fine-tune models on both [datasets from the hub](#using-datasets-from-hub) as well as on [your own custom data](#using-your-own-data).
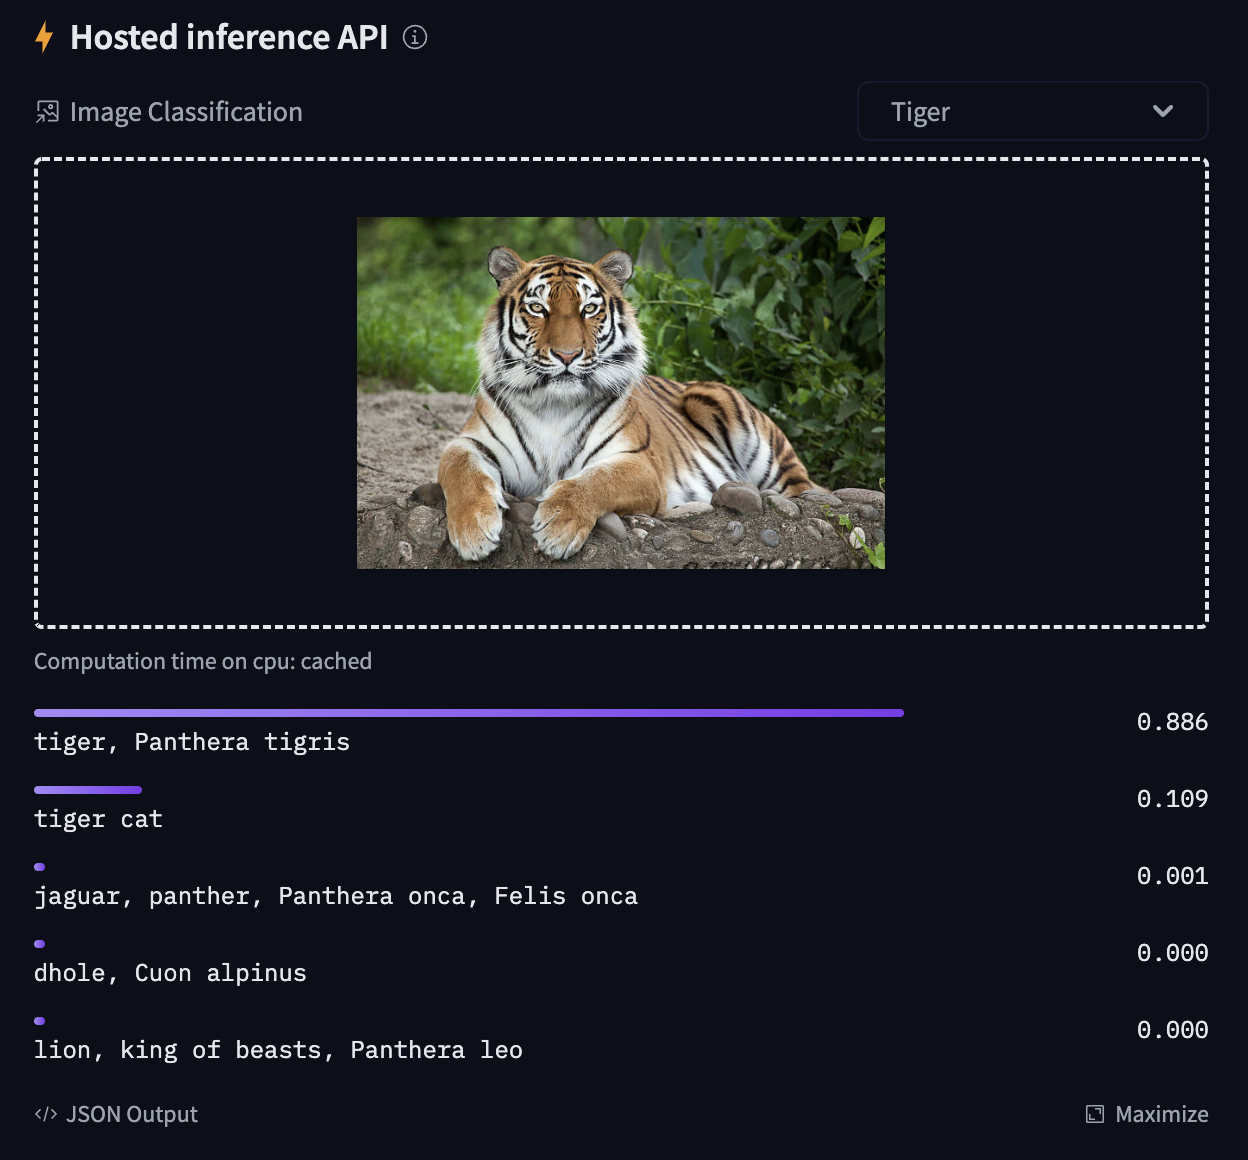 Try out the inference widget here: https://huggingface.co/google/vit-base-patch16-224
## TensorFlow
Based on the script [`run_image_classification.py`](https://github.com/huggingface/transformers/blob/main/examples/tensorflow/image-classification/run_image_classification.py).
### Using datasets from Hub
Here we show how to fine-tune a Vision Transformer (`ViT`) on the [beans](https://huggingface.co/datasets/beans) dataset, to classify the disease type of bean leaves. The following will train a model and push it to the `amyeroberts/vit-base-beans` repo.
```bash
python run_image_classification.py \
--dataset_name beans \
--output_dir ./beans_outputs/ \
--remove_unused_columns False \
--do_train \
--do_eval \
--push_to_hub \
--hub_model_id amyeroberts/vit-base-beans \
--learning_rate 2e-5 \
--num_train_epochs 5 \
--per_device_train_batch_size 8 \
--per_device_eval_batch_size 8 \
--logging_strategy steps \
--logging_steps 10 \
--evaluation_strategy epoch \
--save_strategy epoch \
--load_best_model_at_end True \
--save_total_limit 3 \
--seed 1337
```
👀 See the results here: [amyeroberts/vit-base-beans](https://huggingface.co/amyeroberts/vit-base-beans).
Note that you can replace the model and dataset by simply setting the `model_name_or_path` and `dataset_name` arguments respectively, with any model or dataset from the [hub](https://huggingface.co/). For an overview of all possible arguments, we refer to the [docs](https://huggingface.co/docs/transformers/main_classes/trainer#transformers.TrainingArguments) of the `TrainingArguments`, which can be passed as flags.
> If your model classification head dimensions do not fit the number of labels in the dataset, you can specify `--ignore_mismatched_sizes` to adapt it.
### Using your own data
To use your own dataset, there are 2 ways:
- you can either provide your own folders as `--train_dir` and/or `--validation_dir` arguments
- you can upload your dataset to the hub (possibly as a private repo, if you prefer so), and simply pass the `--dataset_name` argument.
Below, we explain both in more detail.
#### Provide them as folders
If you provide your own folders with images, the script expects the following directory structure:
```bash
root/dog/xxx.png
root/dog/xxy.png
root/dog/[...]/xxz.png
root/cat/123.png
root/cat/nsdf3.png
root/cat/[...]/asd932_.png
```
In other words, you need to organize your images in subfolders, based on their class. You can then run the script like this:
```bash
python run_image_classification.py \
--train_dir \
--output_dir ./outputs/ \
--remove_unused_columns False \
--do_train \
--do_eval
```
Internally, the script will use the [`ImageFolder`](https://huggingface.co/docs/datasets/v2.0.0/en/image_process#imagefolder) feature which will automatically turn the folders into 🤗 Dataset objects.
##### 💡 The above will split the train dir into training and evaluation sets
- To control the split amount, use the `--train_val_split` flag.
- To provide your own validation split in its own directory, you can pass the `--validation_dir ` flag.
#### Upload your data to the hub, as a (possibly private) repo
To upload your image dataset to the hub you can use the [`ImageFolder`](https://huggingface.co/docs/datasets/v2.0.0/en/image_process#imagefolder) feature available in 🤗 Datasets. Simply do the following:
```python
from datasets import load_dataset
# example 1: local folder
dataset = load_dataset("imagefolder", data_dir="path_to_your_folder")
# example 2: local files (suppoted formats are tar, gzip, zip, xz, rar, zstd)
dataset = load_dataset("imagefolder", data_files="path_to_zip_file")
# example 3: remote files (suppoted formats are tar, gzip, zip, xz, rar, zstd)
dataset = load_dataset("imagefolder", data_files="https://download.microsoft.com/download/3/E/1/3E1C3F21-ECDB-4869-8368-6DEBA77B919F/kagglecatsanddogs_3367a.zip")
# example 4: providing several splits
dataset = load_dataset("imagefolder", data_files={"train": ["path/to/file1", "path/to/file2"], "test": ["path/to/file3", "path/to/file4"]})
```
`ImageFolder` will create a `label` column, and the label name is based on the directory name.
Next, push it to the hub!
```python
# assuming you have ran the huggingface-cli login command in a terminal
dataset.push_to_hub("name_of_your_dataset")
# if you want to push to a private repo, simply pass private=True:
dataset.push_to_hub("name_of_your_dataset", private=True)
```
and that's it! You can now train your model by simply setting the `--dataset_name` argument to the name of your dataset on the hub (as explained in [Using datasets from the 🤗 hub](#using-datasets-from-hub)).
More on this can also be found in [this blog post](https://huggingface.co/blog/image-search-datasets).
### Sharing your model on 🤗 Hub
0. If you haven't already, [sign up](https://huggingface.co/join) for a 🤗 account
1. Make sure you have `git-lfs` installed and git set up.
```bash
$ apt install git-lfs
$ git config --global user.email "you@example.com"
$ git config --global user.name "Your Name"
```
2. Log in with your HuggingFace account credentials using `huggingface-cli`:
```bash
$ huggingface-cli login
# ...follow the prompts
```
3. When running the script, pass the following arguments:
```bash
python run_image_classification.py \
--push_to_hub \
--push_to_hub_model_id \
...
```
Try out the inference widget here: https://huggingface.co/google/vit-base-patch16-224
## TensorFlow
Based on the script [`run_image_classification.py`](https://github.com/huggingface/transformers/blob/main/examples/tensorflow/image-classification/run_image_classification.py).
### Using datasets from Hub
Here we show how to fine-tune a Vision Transformer (`ViT`) on the [beans](https://huggingface.co/datasets/beans) dataset, to classify the disease type of bean leaves. The following will train a model and push it to the `amyeroberts/vit-base-beans` repo.
```bash
python run_image_classification.py \
--dataset_name beans \
--output_dir ./beans_outputs/ \
--remove_unused_columns False \
--do_train \
--do_eval \
--push_to_hub \
--hub_model_id amyeroberts/vit-base-beans \
--learning_rate 2e-5 \
--num_train_epochs 5 \
--per_device_train_batch_size 8 \
--per_device_eval_batch_size 8 \
--logging_strategy steps \
--logging_steps 10 \
--evaluation_strategy epoch \
--save_strategy epoch \
--load_best_model_at_end True \
--save_total_limit 3 \
--seed 1337
```
👀 See the results here: [amyeroberts/vit-base-beans](https://huggingface.co/amyeroberts/vit-base-beans).
Note that you can replace the model and dataset by simply setting the `model_name_or_path` and `dataset_name` arguments respectively, with any model or dataset from the [hub](https://huggingface.co/). For an overview of all possible arguments, we refer to the [docs](https://huggingface.co/docs/transformers/main_classes/trainer#transformers.TrainingArguments) of the `TrainingArguments`, which can be passed as flags.
> If your model classification head dimensions do not fit the number of labels in the dataset, you can specify `--ignore_mismatched_sizes` to adapt it.
### Using your own data
To use your own dataset, there are 2 ways:
- you can either provide your own folders as `--train_dir` and/or `--validation_dir` arguments
- you can upload your dataset to the hub (possibly as a private repo, if you prefer so), and simply pass the `--dataset_name` argument.
Below, we explain both in more detail.
#### Provide them as folders
If you provide your own folders with images, the script expects the following directory structure:
```bash
root/dog/xxx.png
root/dog/xxy.png
root/dog/[...]/xxz.png
root/cat/123.png
root/cat/nsdf3.png
root/cat/[...]/asd932_.png
```
In other words, you need to organize your images in subfolders, based on their class. You can then run the script like this:
```bash
python run_image_classification.py \
--train_dir \
--output_dir ./outputs/ \
--remove_unused_columns False \
--do_train \
--do_eval
```
Internally, the script will use the [`ImageFolder`](https://huggingface.co/docs/datasets/v2.0.0/en/image_process#imagefolder) feature which will automatically turn the folders into 🤗 Dataset objects.
##### 💡 The above will split the train dir into training and evaluation sets
- To control the split amount, use the `--train_val_split` flag.
- To provide your own validation split in its own directory, you can pass the `--validation_dir ` flag.
#### Upload your data to the hub, as a (possibly private) repo
To upload your image dataset to the hub you can use the [`ImageFolder`](https://huggingface.co/docs/datasets/v2.0.0/en/image_process#imagefolder) feature available in 🤗 Datasets. Simply do the following:
```python
from datasets import load_dataset
# example 1: local folder
dataset = load_dataset("imagefolder", data_dir="path_to_your_folder")
# example 2: local files (suppoted formats are tar, gzip, zip, xz, rar, zstd)
dataset = load_dataset("imagefolder", data_files="path_to_zip_file")
# example 3: remote files (suppoted formats are tar, gzip, zip, xz, rar, zstd)
dataset = load_dataset("imagefolder", data_files="https://download.microsoft.com/download/3/E/1/3E1C3F21-ECDB-4869-8368-6DEBA77B919F/kagglecatsanddogs_3367a.zip")
# example 4: providing several splits
dataset = load_dataset("imagefolder", data_files={"train": ["path/to/file1", "path/to/file2"], "test": ["path/to/file3", "path/to/file4"]})
```
`ImageFolder` will create a `label` column, and the label name is based on the directory name.
Next, push it to the hub!
```python
# assuming you have ran the huggingface-cli login command in a terminal
dataset.push_to_hub("name_of_your_dataset")
# if you want to push to a private repo, simply pass private=True:
dataset.push_to_hub("name_of_your_dataset", private=True)
```
and that's it! You can now train your model by simply setting the `--dataset_name` argument to the name of your dataset on the hub (as explained in [Using datasets from the 🤗 hub](#using-datasets-from-hub)).
More on this can also be found in [this blog post](https://huggingface.co/blog/image-search-datasets).
### Sharing your model on 🤗 Hub
0. If you haven't already, [sign up](https://huggingface.co/join) for a 🤗 account
1. Make sure you have `git-lfs` installed and git set up.
```bash
$ apt install git-lfs
$ git config --global user.email "you@example.com"
$ git config --global user.name "Your Name"
```
2. Log in with your HuggingFace account credentials using `huggingface-cli`:
```bash
$ huggingface-cli login
# ...follow the prompts
```
3. When running the script, pass the following arguments:
```bash
python run_image_classification.py \
--push_to_hub \
--push_to_hub_model_id \
...
```