Let’s train and play with Huggy 🐶
We strongly recommend students use Google Colab for the hands-on exercises instead of running them on their personal computers.
By using Google Colab, you can focus on learning and experimenting without worrying about the technical aspects of setting up your environments.
Let’s train Huggy 🐶
To start to train Huggy, click on Open In Colab button 👇 :
![]()
In this notebook, we’ll reinforce what we learned in the first Unit by teaching Huggy the Dog to fetch the stick and then play with it directly in your browser
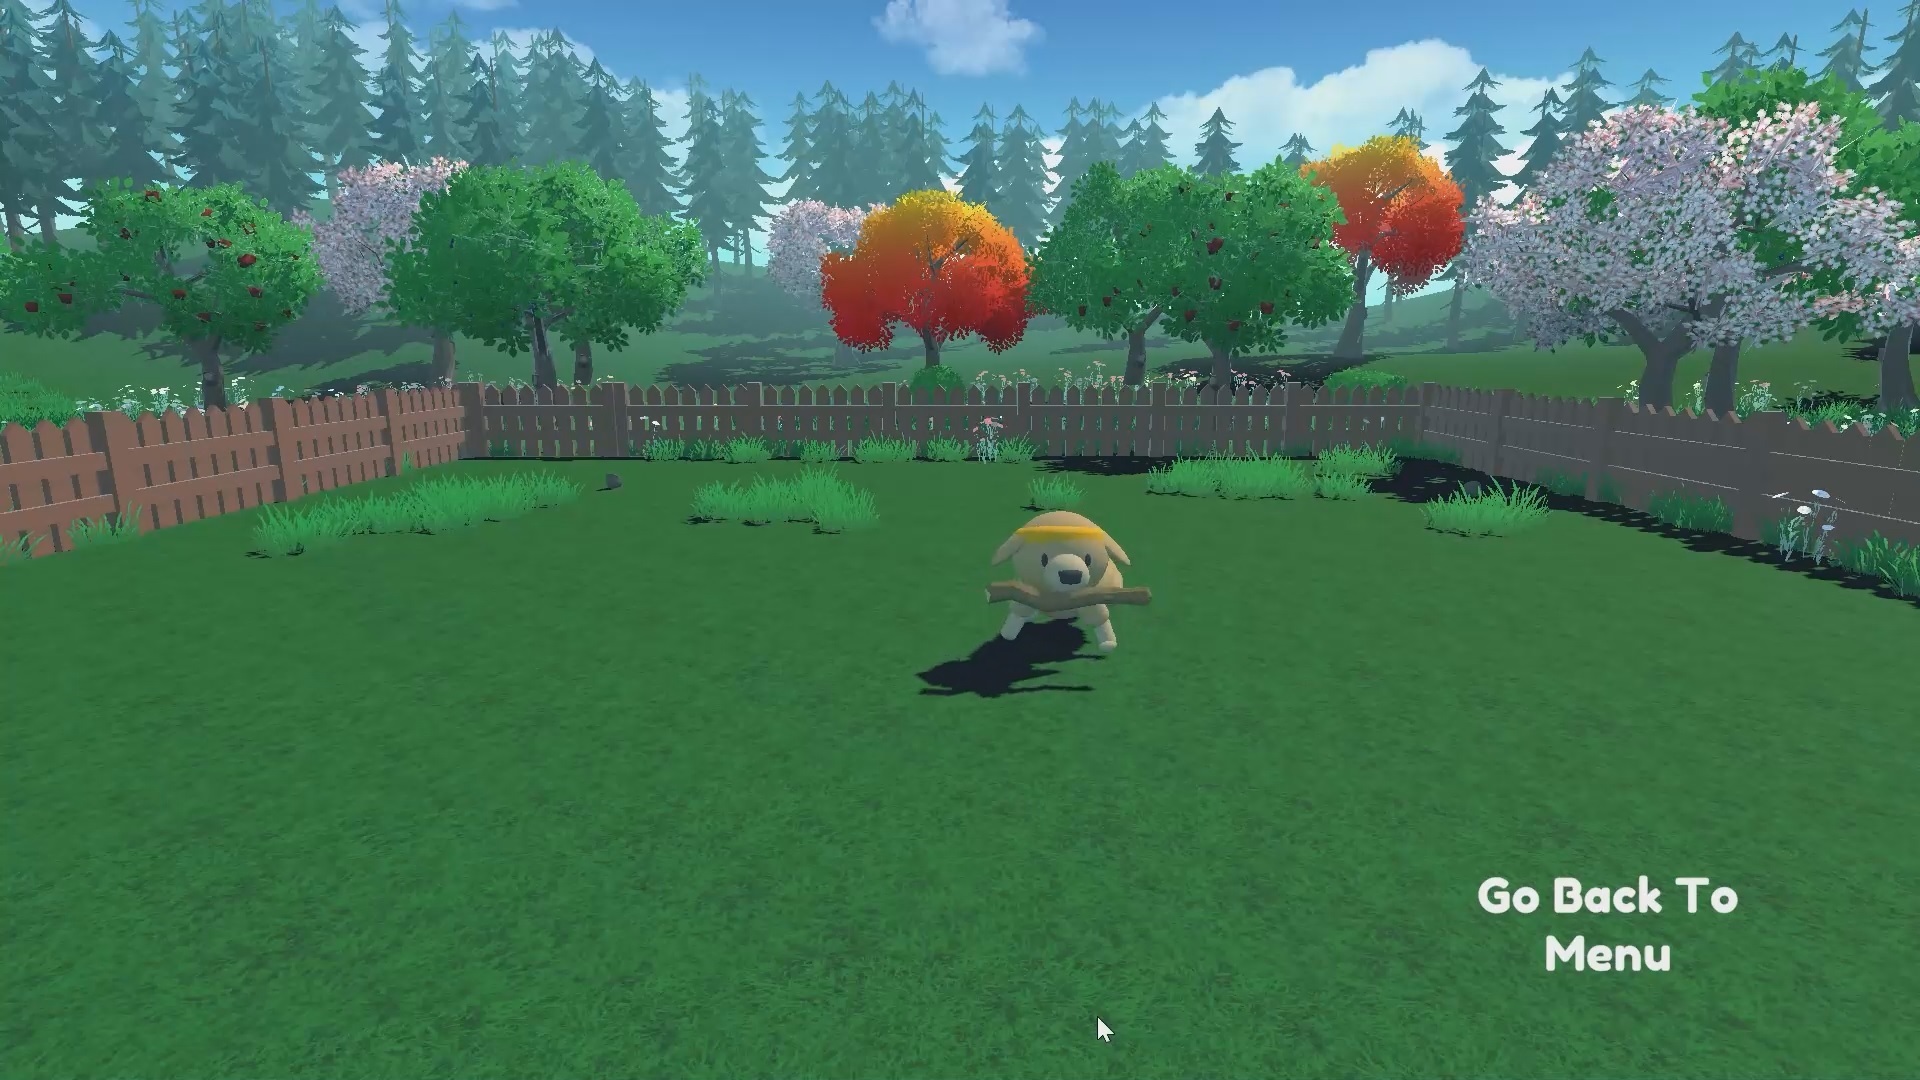
The environment 🎮
- Huggy the Dog, an environment created by Thomas Simonini based on Puppo The Corgi
The library used 📚
We’re constantly trying to improve our tutorials, so if you find some issues in this notebook, please open an issue on the Github Repo.
Objectives of this notebook 🏆
At the end of the notebook, you will:
- Understand the state space, action space, and reward function used to train Huggy.
- Train your own Huggy to fetch the stick.
- Be able to play with your trained Huggy directly in your browser.
Prerequisites 🏗️
Before diving into the notebook, you need to:
🔲 📚 Develop an understanding of the foundations of Reinforcement learning (MC, TD, Rewards hypothesis…) by doing Unit 1
🔲 📚 Read the introduction to Huggy by doing Bonus Unit 1
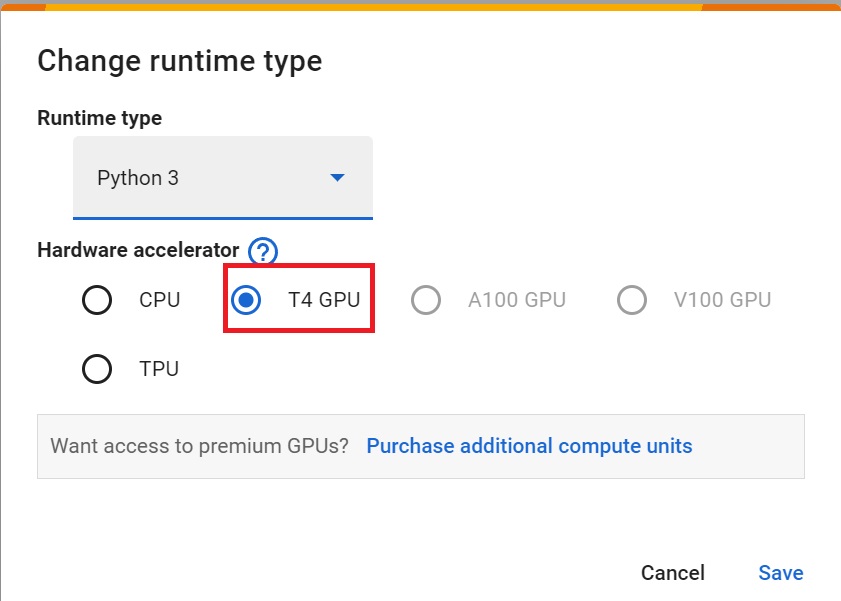
Set the GPU 💪
- To accelerate the agent’s training, we’ll use a GPU. To do that, go to
Runtime > Change Runtime type
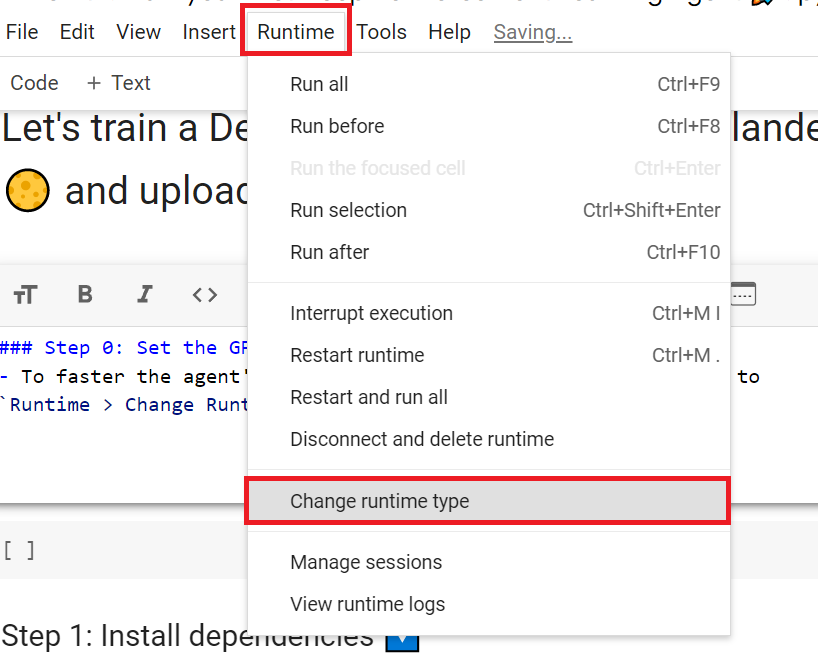
Hardware Accelerator > GPU
Clone the repository and install the dependencies 🔽
- We need to clone the repository, that contains ML-Agents.
# Clone the repository (can take 3min)
git clone --depth 1 https://github.com/Unity-Technologies/ml-agents# Go inside the repository and install the package (can take 3min)
%cd ml-agents
pip3 install -e ./ml-agents-envs
pip3 install -e ./ml-agentsDownload and move the environment zip file in ./trained-envs-executables/linux/
- Our environment executable is in a zip file.
- We need to download it and place it to
./trained-envs-executables/linux/
mkdir ./trained-envs-executables
mkdir ./trained-envs-executables/linux
We downloaded the file Huggy.zip from https://github.com/huggingface/Huggy using wget
wget "https://github.com/huggingface/Huggy/raw/main/Huggy.zip" -O ./trained-envs-executables/linux/Huggy.zip%%capture unzip -d ./trained-envs-executables/linux/ ./trained-envs-executables/linux/Huggy.zip
Make sure your file is accessible
chmod -R 755 ./trained-envs-executables/linux/HuggyLet’s recap how this environment works
The State Space: what Huggy perceives.
Huggy doesn’t “see” his environment. Instead, we provide him information about the environment:
- The target (stick) position
- The relative position between himself and the target
- The orientation of his legs.
Given all this information, Huggy can decide which action to take next to fulfill his goal.
The Action Space: what moves Huggy can do
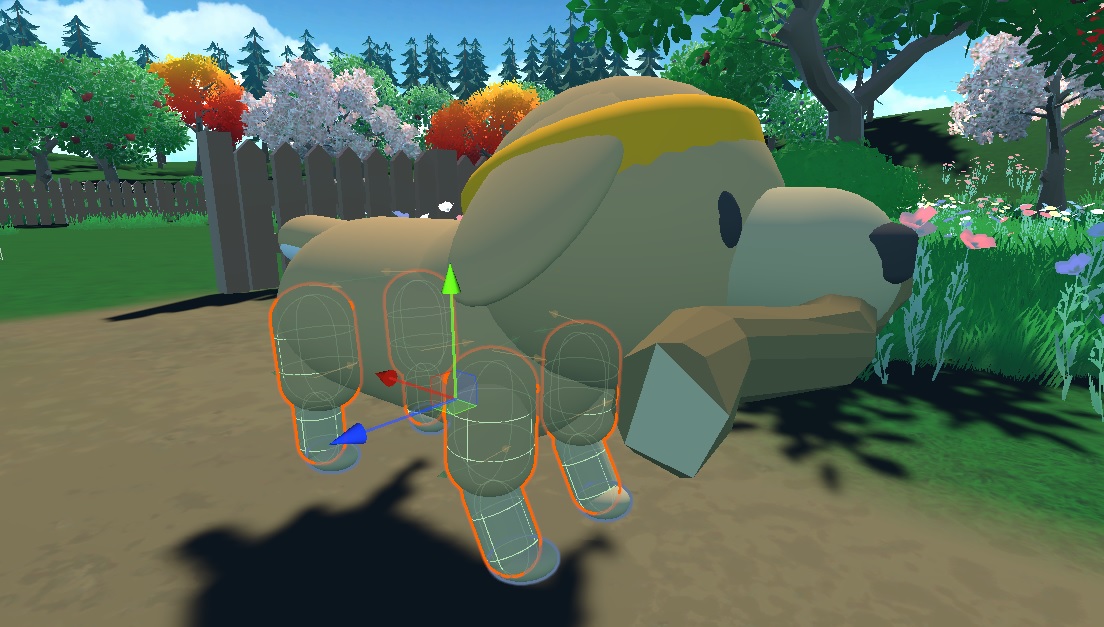
Joint motors drive huggy legs. This means that to get the target, Huggy needs to learn to rotate the joint motors of each of his legs correctly so he can move.
The Reward Function
The reward function is designed so that Huggy will fulfill his goal : fetch the stick.
Remember that one of the foundations of Reinforcement Learning is the reward hypothesis: a goal can be described as the maximization of the expected cumulative reward.
Here, our goal is that Huggy goes towards the stick but without spinning too much. Hence, our reward function must translate this goal.
Our reward function:
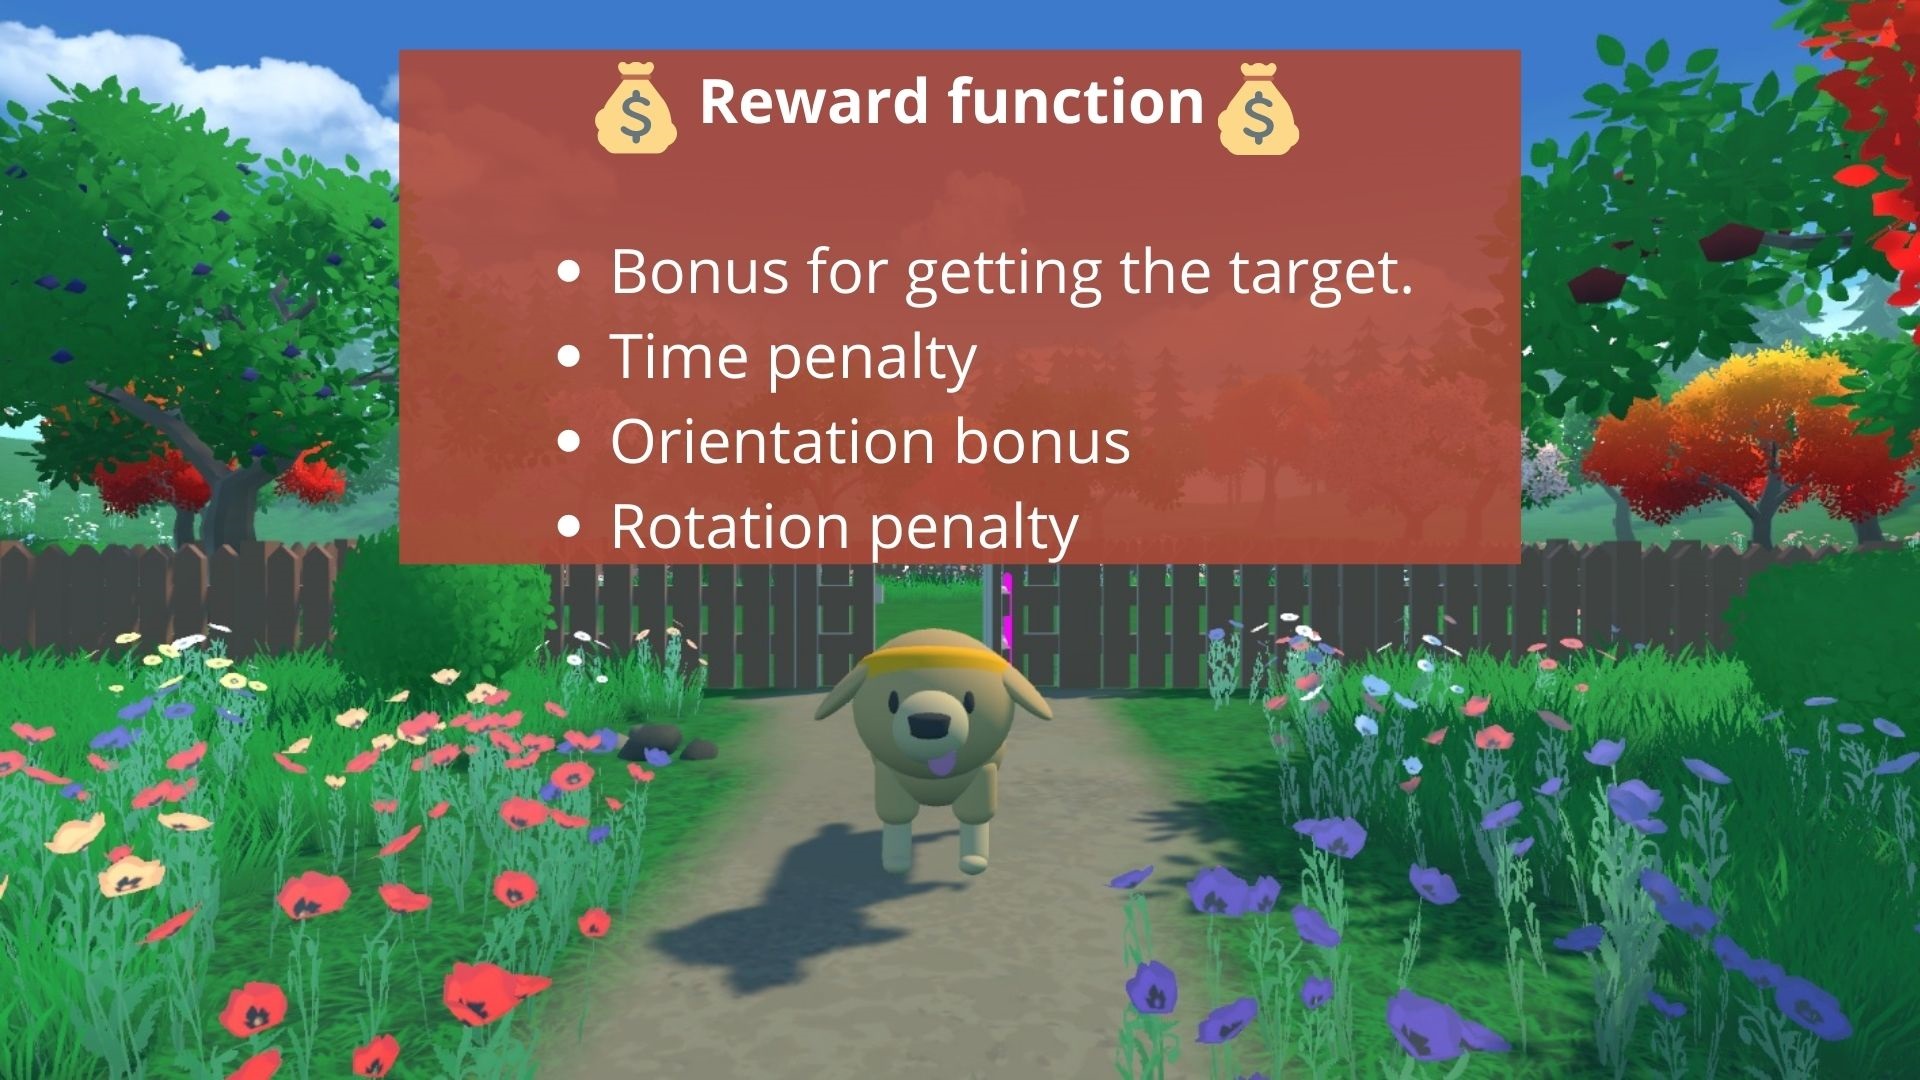
- Orientation bonus: we reward him for getting close to the target.
- Time penalty: a fixed-time penalty given at every action to force him to get to the stick as fast as possible.
- Rotation penalty: we penalize Huggy if he spins too much and turns too quickly.
- Getting to the target reward: we reward Huggy for reaching the target.
Check the Huggy config file
In ML-Agents, you define the training hyperparameters in config.yaml files.
For the scope of this notebook, we’re not going to modify the hyperparameters, but if you want to try as an experiment, Unity provides very good documentation explaining each of them here.
We need to create a config file for Huggy.
Go to
/content/ml-agents/config/ppoCreate a new file called
Huggy.yamlCopy and paste the content below 🔽
behaviors:
  Huggy:
    trainer_type: ppo
    hyperparameters:
      batch_size: 2048
      buffer_size: 20480
      learning_rate: 0.0003
      beta: 0.005
      epsilon: 0.2
      lambd: 0.95
      num_epoch: 3
      learning_rate_schedule: linear
    network_settings:
      normalize: true
      hidden_units: 512
      num_layers: 3
      vis_encode_type: simple
    reward_signals:
      extrinsic:
        gamma: 0.995
        strength: 1.0
    checkpoint_interval: 200000
    keep_checkpoints: 15
    max_steps: 2e6
    time_horizon: 1000
    summary_freq: 50000
Don’t forget to save the file!
In the case you want to modify the hyperparameters, in Google Colab notebook, you can click here to open the config.yaml:
/content/ml-agents/config/ppo/Huggy.yaml
We’re now ready to train our agent 🔥.
Train our agent
To train our agent, we just need to launch mlagents-learn and select the executable containing the environment.
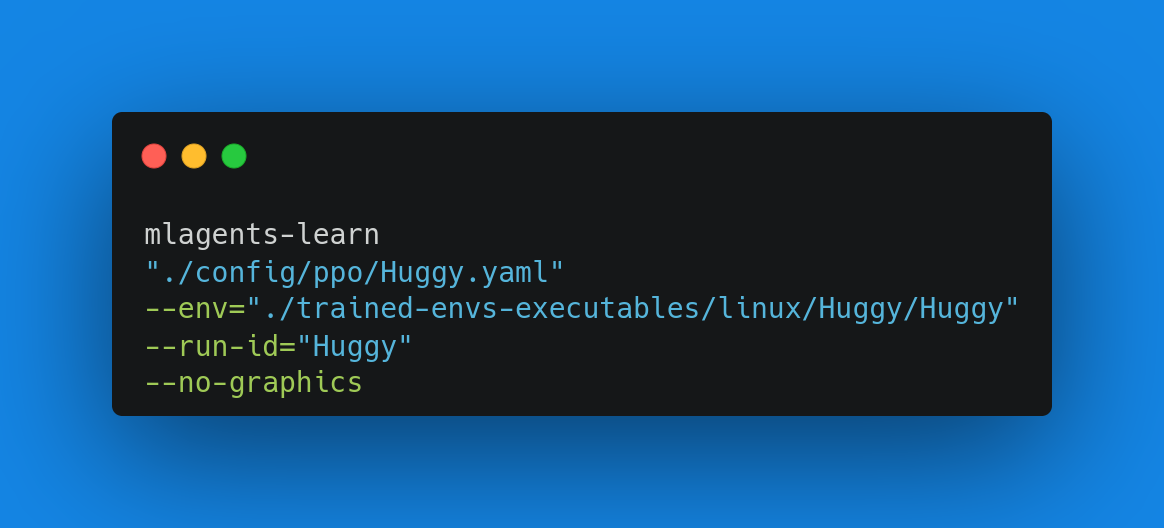
With ML Agents, we run a training script. We define four parameters:
mlagents-learn <config>: the path where the hyperparameter config file is.--env: where the environment executable is.--run-id: the name you want to give to your training run id.--no-graphics: to not launch the visualization during the training.
Train the model and use the --resume flag to continue training in case of interruption.
It will fail first time when you use
--resume, try running the block again to bypass the error.
The training will take 30 to 45min depending on your machine (don’t forget to set up a GPU), go take a ☕️ you deserve it 🤗.
mlagents-learn ./config/ppo/Huggy.yaml --env=./trained-envs-executables/linux/Huggy/Huggy --run-id="Huggy" --no-graphicsPush the agent to the 🤗 Hub
- Now that we trained our agent, we’re ready to push it to the Hub to be able to play with Huggy on your browser🔥.
To be able to share your model with the community there are three more steps to follow:
1️⃣ (If it’s not already done) create an account to HF ➡ https://huggingface.co/join
2️⃣ Sign in and then get your token from the Hugging Face website.
- Create a new token (https://huggingface.co/settings/tokens) with write role
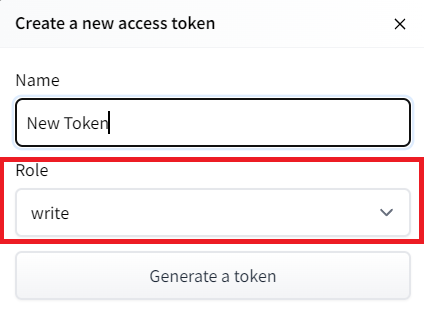
- Copy the token
- Run the cell below and paste the token
from huggingface_hub import notebook_login

notebook_login()
If you don’t want to use Google Colab or a Jupyter Notebook, you need to use this command instead: huggingface-cli login
Then, we simply need to run mlagents-push-to-hf.
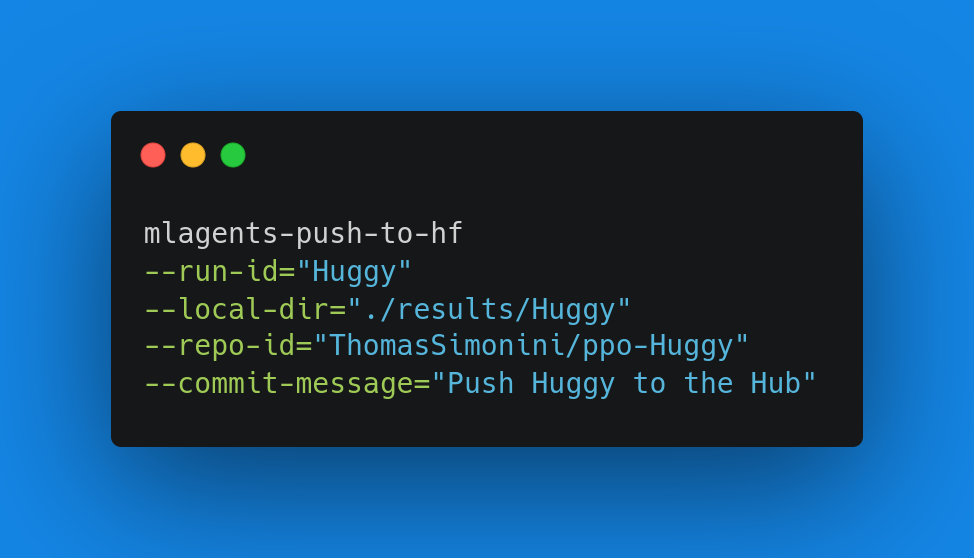
And we define 4 parameters:
--run-id: the name of the training run id.--local-dir: where the agent was saved, it’s results/<run_id name>, so in my case results/First Training.--repo-id: the name of the Hugging Face repo you want to create or update. It’s always <your huggingface username>/<the repo name> If the repo does not exist it will be created automatically--commit-message: since HF repos are git repositories you need to give a commit message.
mlagents-push-to-hf --run-id="HuggyTraining" --local-dir="./results/Huggy" --repo-id="ThomasSimonini/ppo-Huggy" --commit-message="Huggy"If everything worked you should see this at the end of the process (but with a different url 😆) :
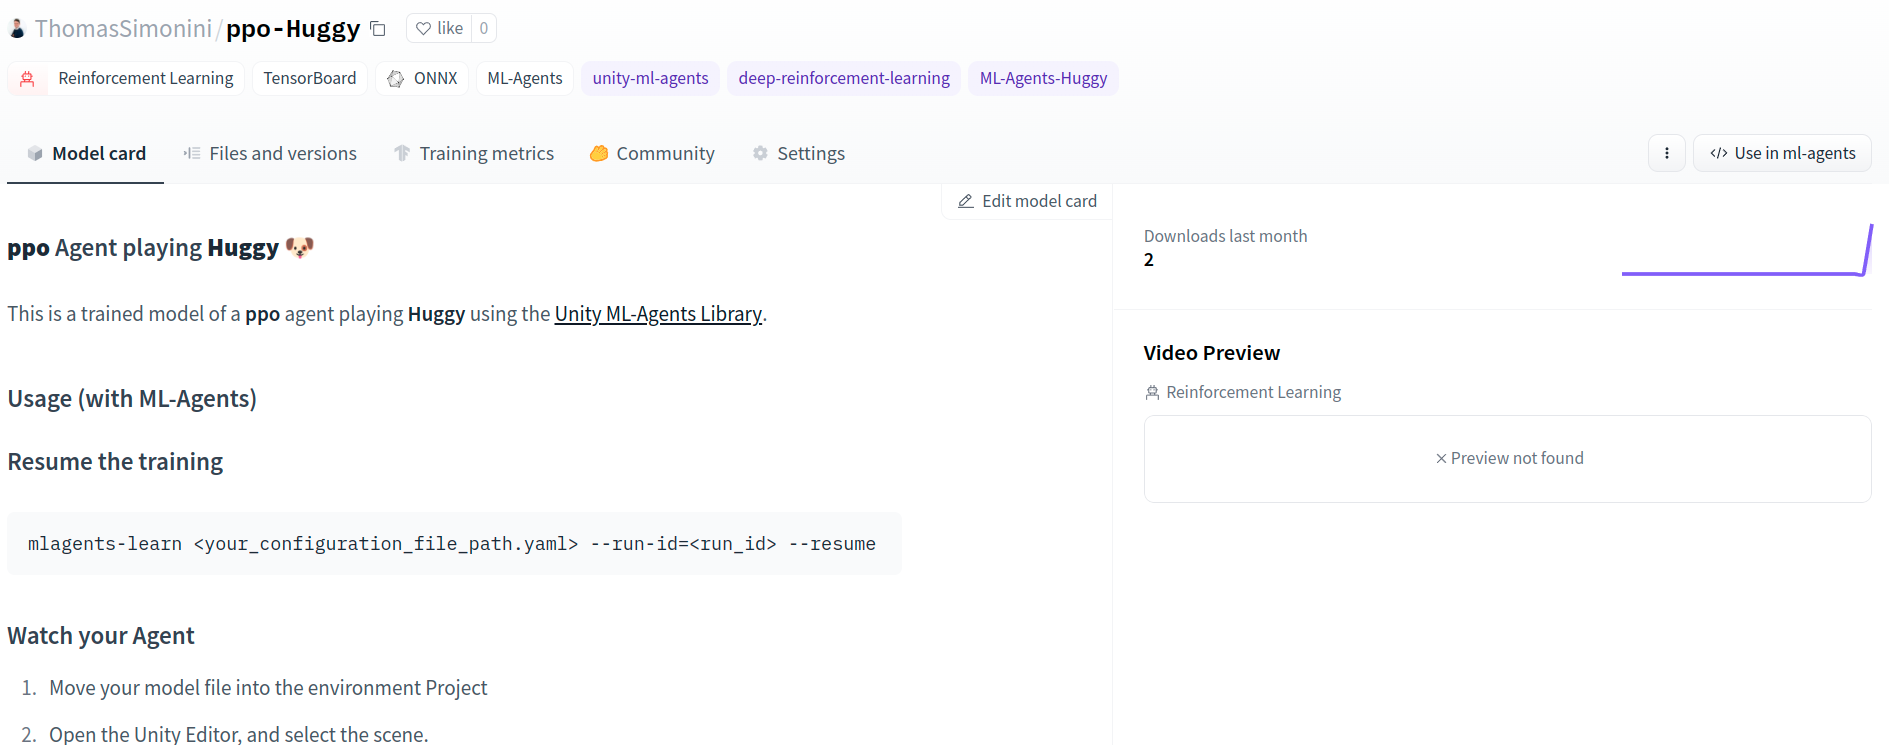
Your model is pushed to the hub. You can view your model here: https://huggingface.co/ThomasSimonini/ppo-HuggyIt’s the link to your model repository. The repository contains a model card that explains how to use the model, your Tensorboard logs and your config file. What’s awesome is that it’s a git repository, which means you can have different commits, update your repository with a new push, open Pull Requests, etc.
But now comes the best part: being able to play with Huggy online 👀.
Play with your Huggy 🐕
This step is the simplest:
Open the Huggy game in your browser: https://huggingface.co/spaces/ThomasSimonini/Huggy
Click on Play with my Huggy model
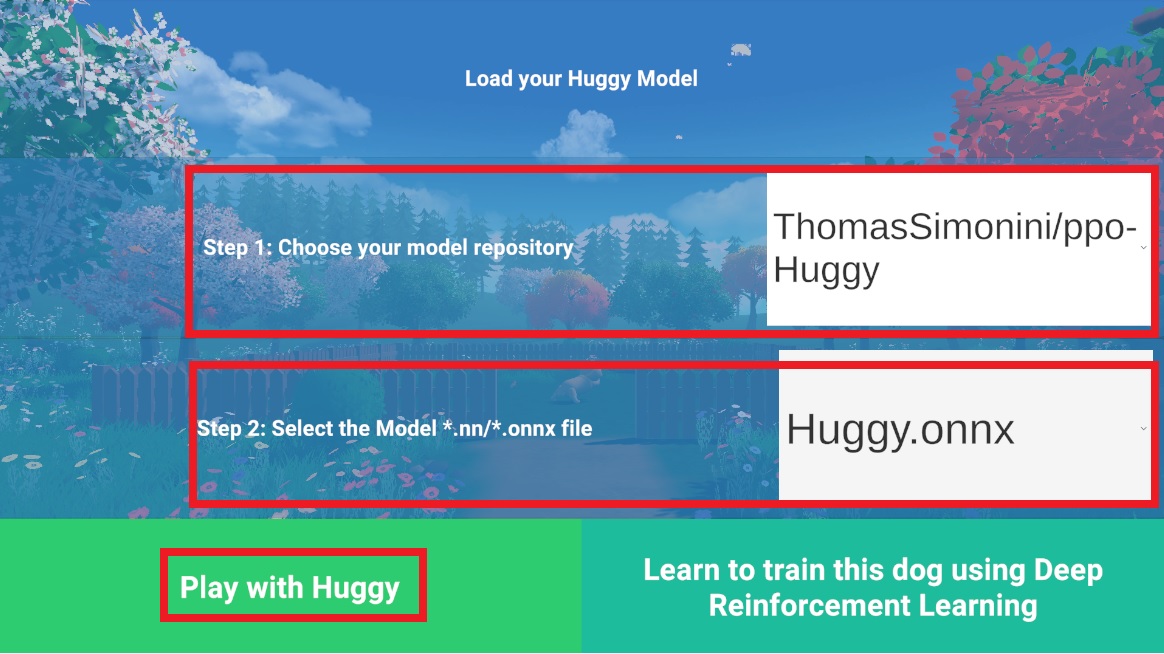
In step 1, choose your model repository, which is the model id (in my case ThomasSimonini/ppo-Huggy).
In step 2, choose which model you want to replay:
- I have multiple ones, since we saved a model every 500000 timesteps.
- But since I want the most recent one, I choose
Huggy.onnx
👉 It’s good to try with different models steps to see the improvement of the agent.
Congrats on finishing this bonus unit!
You can now sit and enjoy playing with your Huggy 🐶. And don’t forget to spread the love by sharing Huggy with your friends 🤗. And if you share about it on social media, please tag us @huggingface and me @simoninithomas
