Total noob’s intro to Hugging Face Transformers


Welcome to "A Total Noob’s Introduction to Hugging Face Transformers," a guide designed specifically for those looking to understand the bare basics of using open-source ML. Our goal is to demystify what Hugging Face Transformers is and how it works, not to turn you into a machine learning practitioner, but to enable better understanding of and collaboration with those who are. That being said, the best way to learn is by doing, so we'll walk through a simple worked example of running Microsoft’s Phi-2 LLM in a notebook on a Hugging Face space.
You might wonder, with the abundance of tutorials on Hugging Face already available, why create another? The answer lies in accessibility: most existing resources assume some technical background, including Python proficiency, which can prevent non-technical individuals from grasping ML fundamentals. As someone who came from the business side of AI, I recognize that the learning curve presents a barrier and wanted to offer a more approachable path for like-minded learners.
Therefore, this guide is tailored for a non-technical audience keen to better understand open-source machine learning without having to learn Python from scratch. We assume no prior knowledge and will explain concepts from the ground up to ensure clarity. If you're an engineer, you’ll find this guide a bit basic, but for beginners, it's an ideal starting point.
Let’s get stuck in… but first some context.
What is Hugging Face Transformers?
Hugging Face Transformers is an open-source Python library that provides access to thousands of pre-trained Transformers models for natural language processing (NLP), computer vision, audio tasks, and more. It simplifies the process of implementing Transformer models by abstracting away the complexity of training or deploying models in lower level ML frameworks like PyTorch, TensorFlow and JAX.
What is a library?
A library is just a collection of reusable pieces of code that can be integrated into projects to implement functionality more efficiently without the need to write your own code from scratch.
Notably, the Transformers library provides re-usable code for implementing models in common frameworks like PyTorch, TensorFlow and JAX. This re-usable code can be accessed by calling upon functions (also known as methods) within the library.
What is the Hugging Face Hub?
The Hugging Face Hub is a collaboration platform that hosts a huge collection of open-source models and datasets for machine learning, think of it being like Github for ML. The hub facilitates sharing and collaborating by making it easy for you to discover, learn, and interact with useful ML assets from the open-source community. The hub integrates with, and is used in conjunction with the Transformers library, as models deployed using the Transformers library are downloaded from the hub.
What are Hugging Face Spaces?
Spaces from Hugging Face is a service available on the Hugging Face Hub that provides an easy to use GUI for building and deploying web hosted ML demos and apps. The service allows you to quickly build ML demos, upload your own apps to be hosted, or even select a number of pre-configured ML applications to deploy instantly.
In the tutorial we’ll be deploying one of the pre-configured ML applications, a JupyterLab notebook, by selecting the corresponding docker container.
What is a notebook?
Notebooks are interactive applications that allow you to write and share live executable code interwoven with complementary narrative text. Notebooks are especially useful for Data Scientists and Machine Learning Engineers as they allow you to experiment with code in realtime and easily review and share the results.
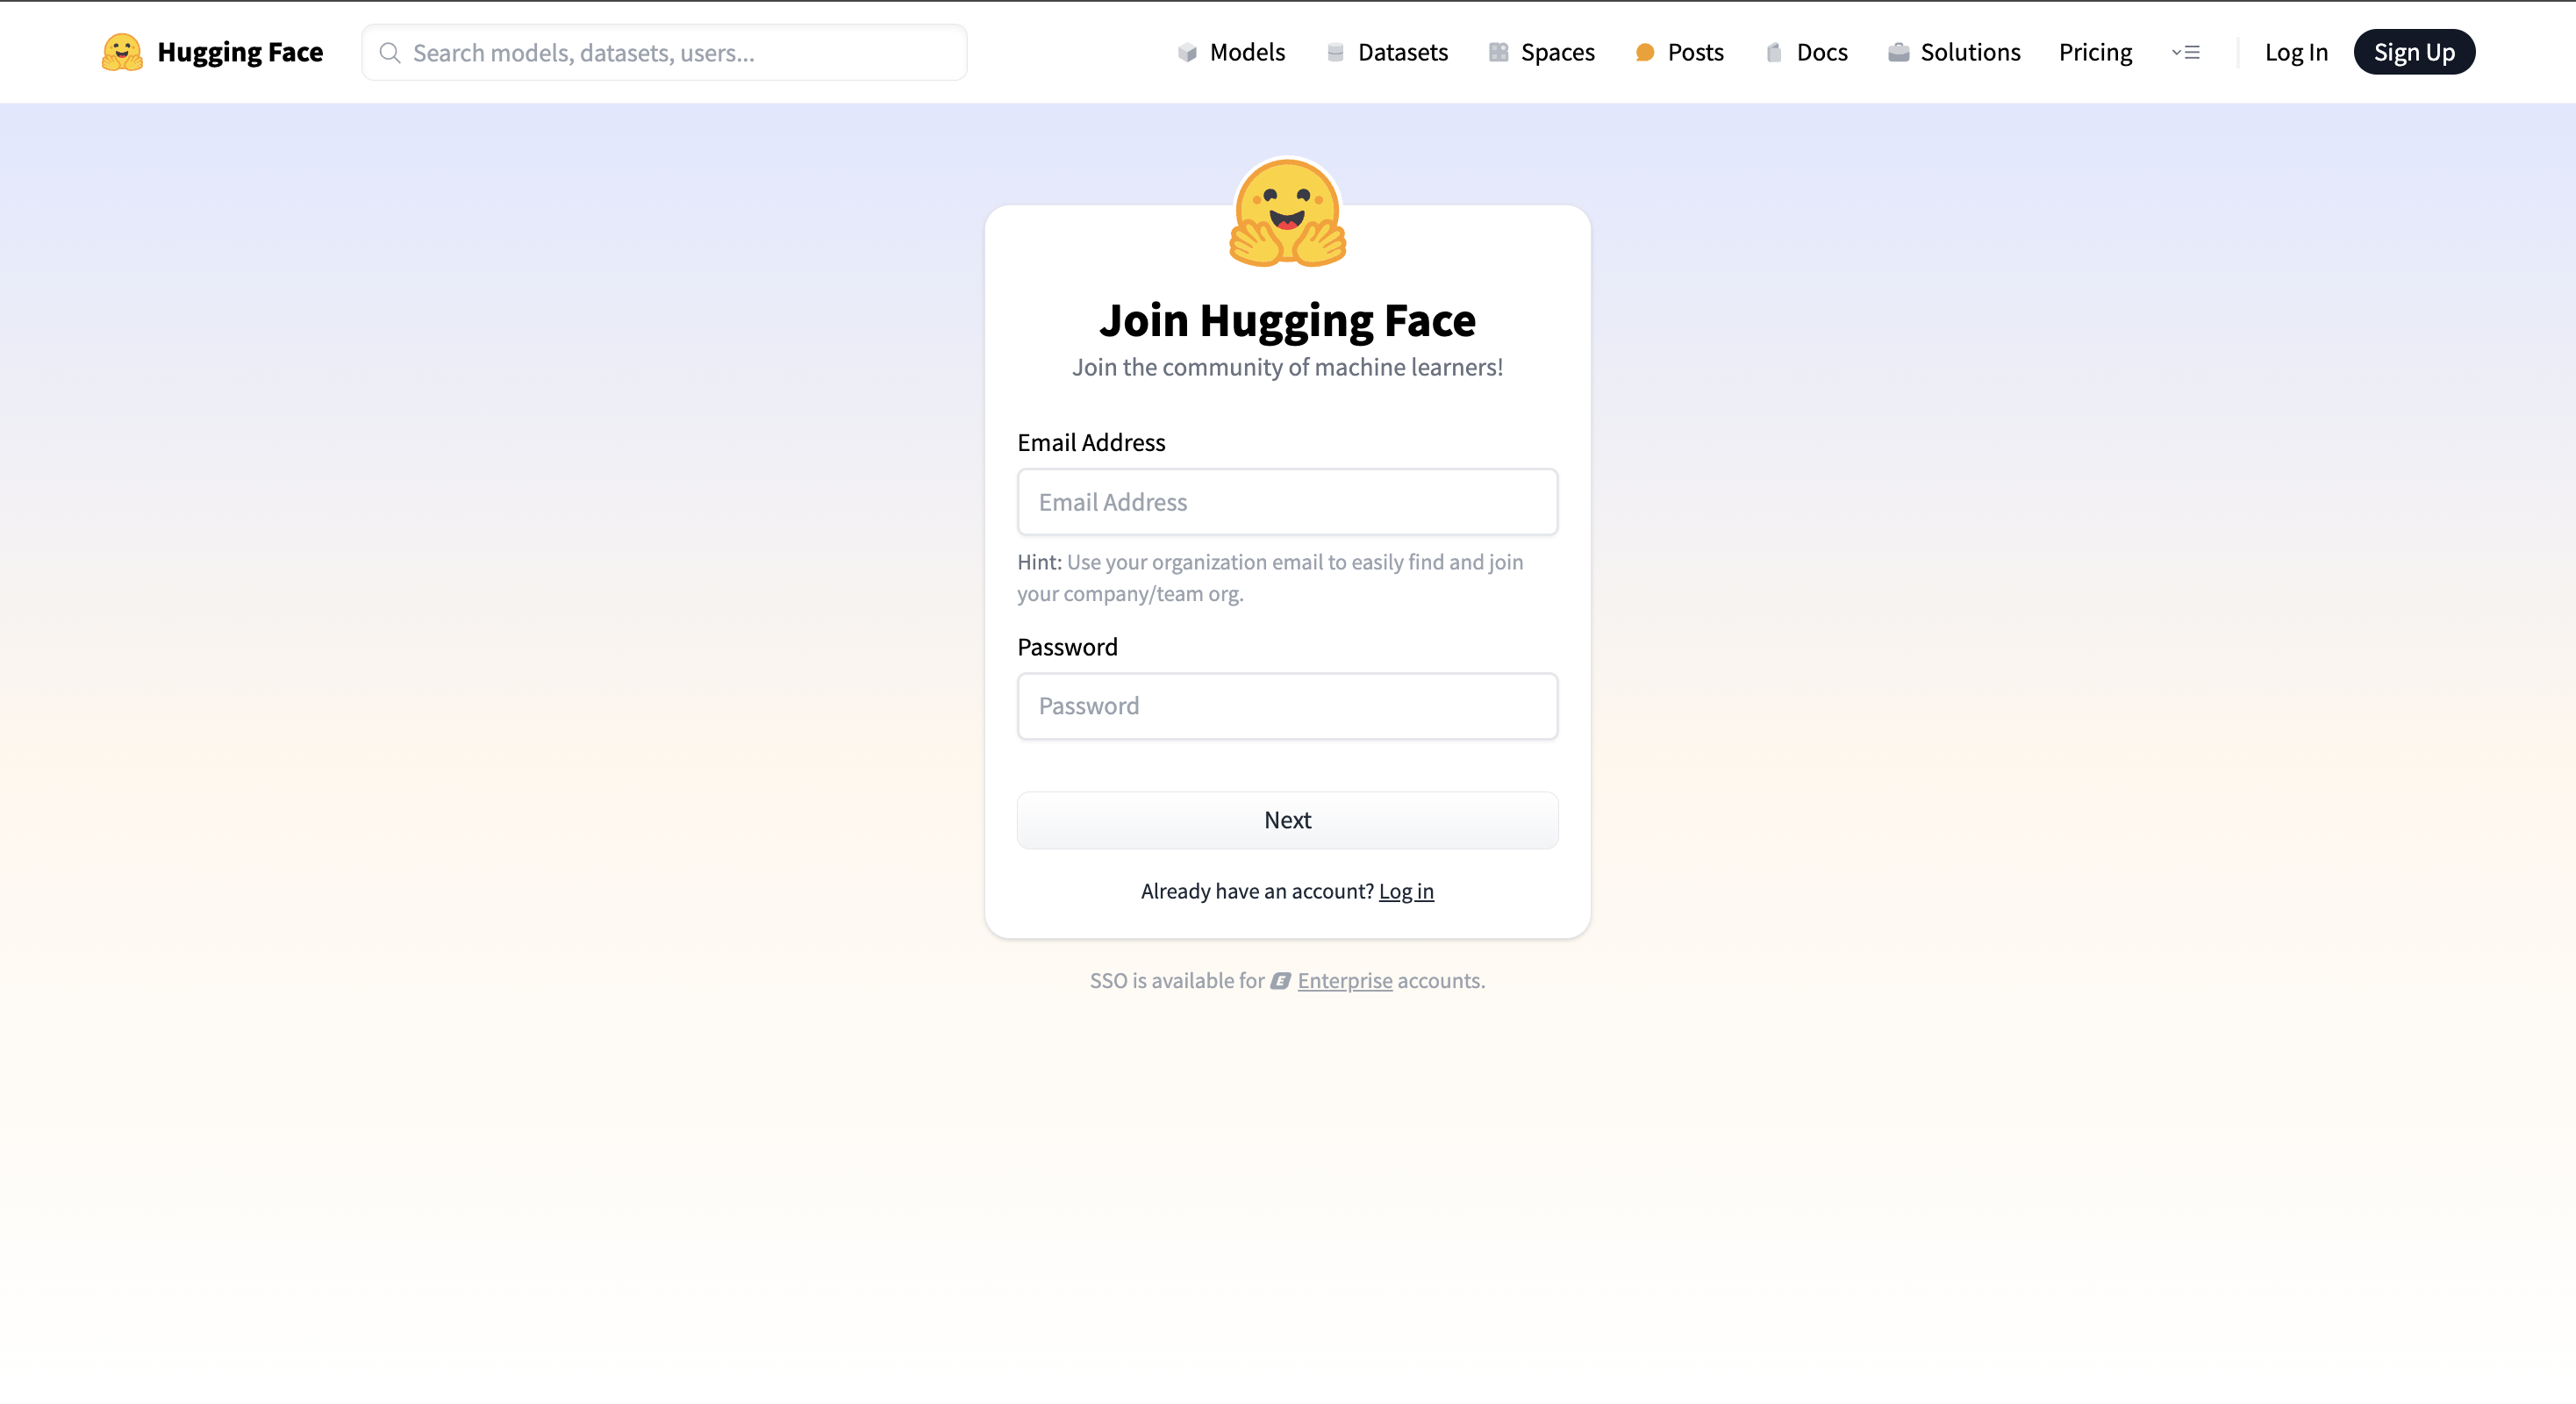
- Create a Hugging Face account
- Go to hf.co, click “Sign Up” and create an account if you don’t already have one
- Add your billing information
- Within your HF account go to Settings > Billing, add your credit card to the payment information section

Why do we need your credit card?
In order to run most LLMs you'll need a GPU, which unfortunately aren’t free, you can however rent these from Hugging Face. Don’t worry, it shouldn’t cost you much. The GPU required for this tutorial, an NVIDIA A10G, only costs a couple of dollars per hour.
- Create a Space to host your notebook
- On hf.co go to Spaces > Create New

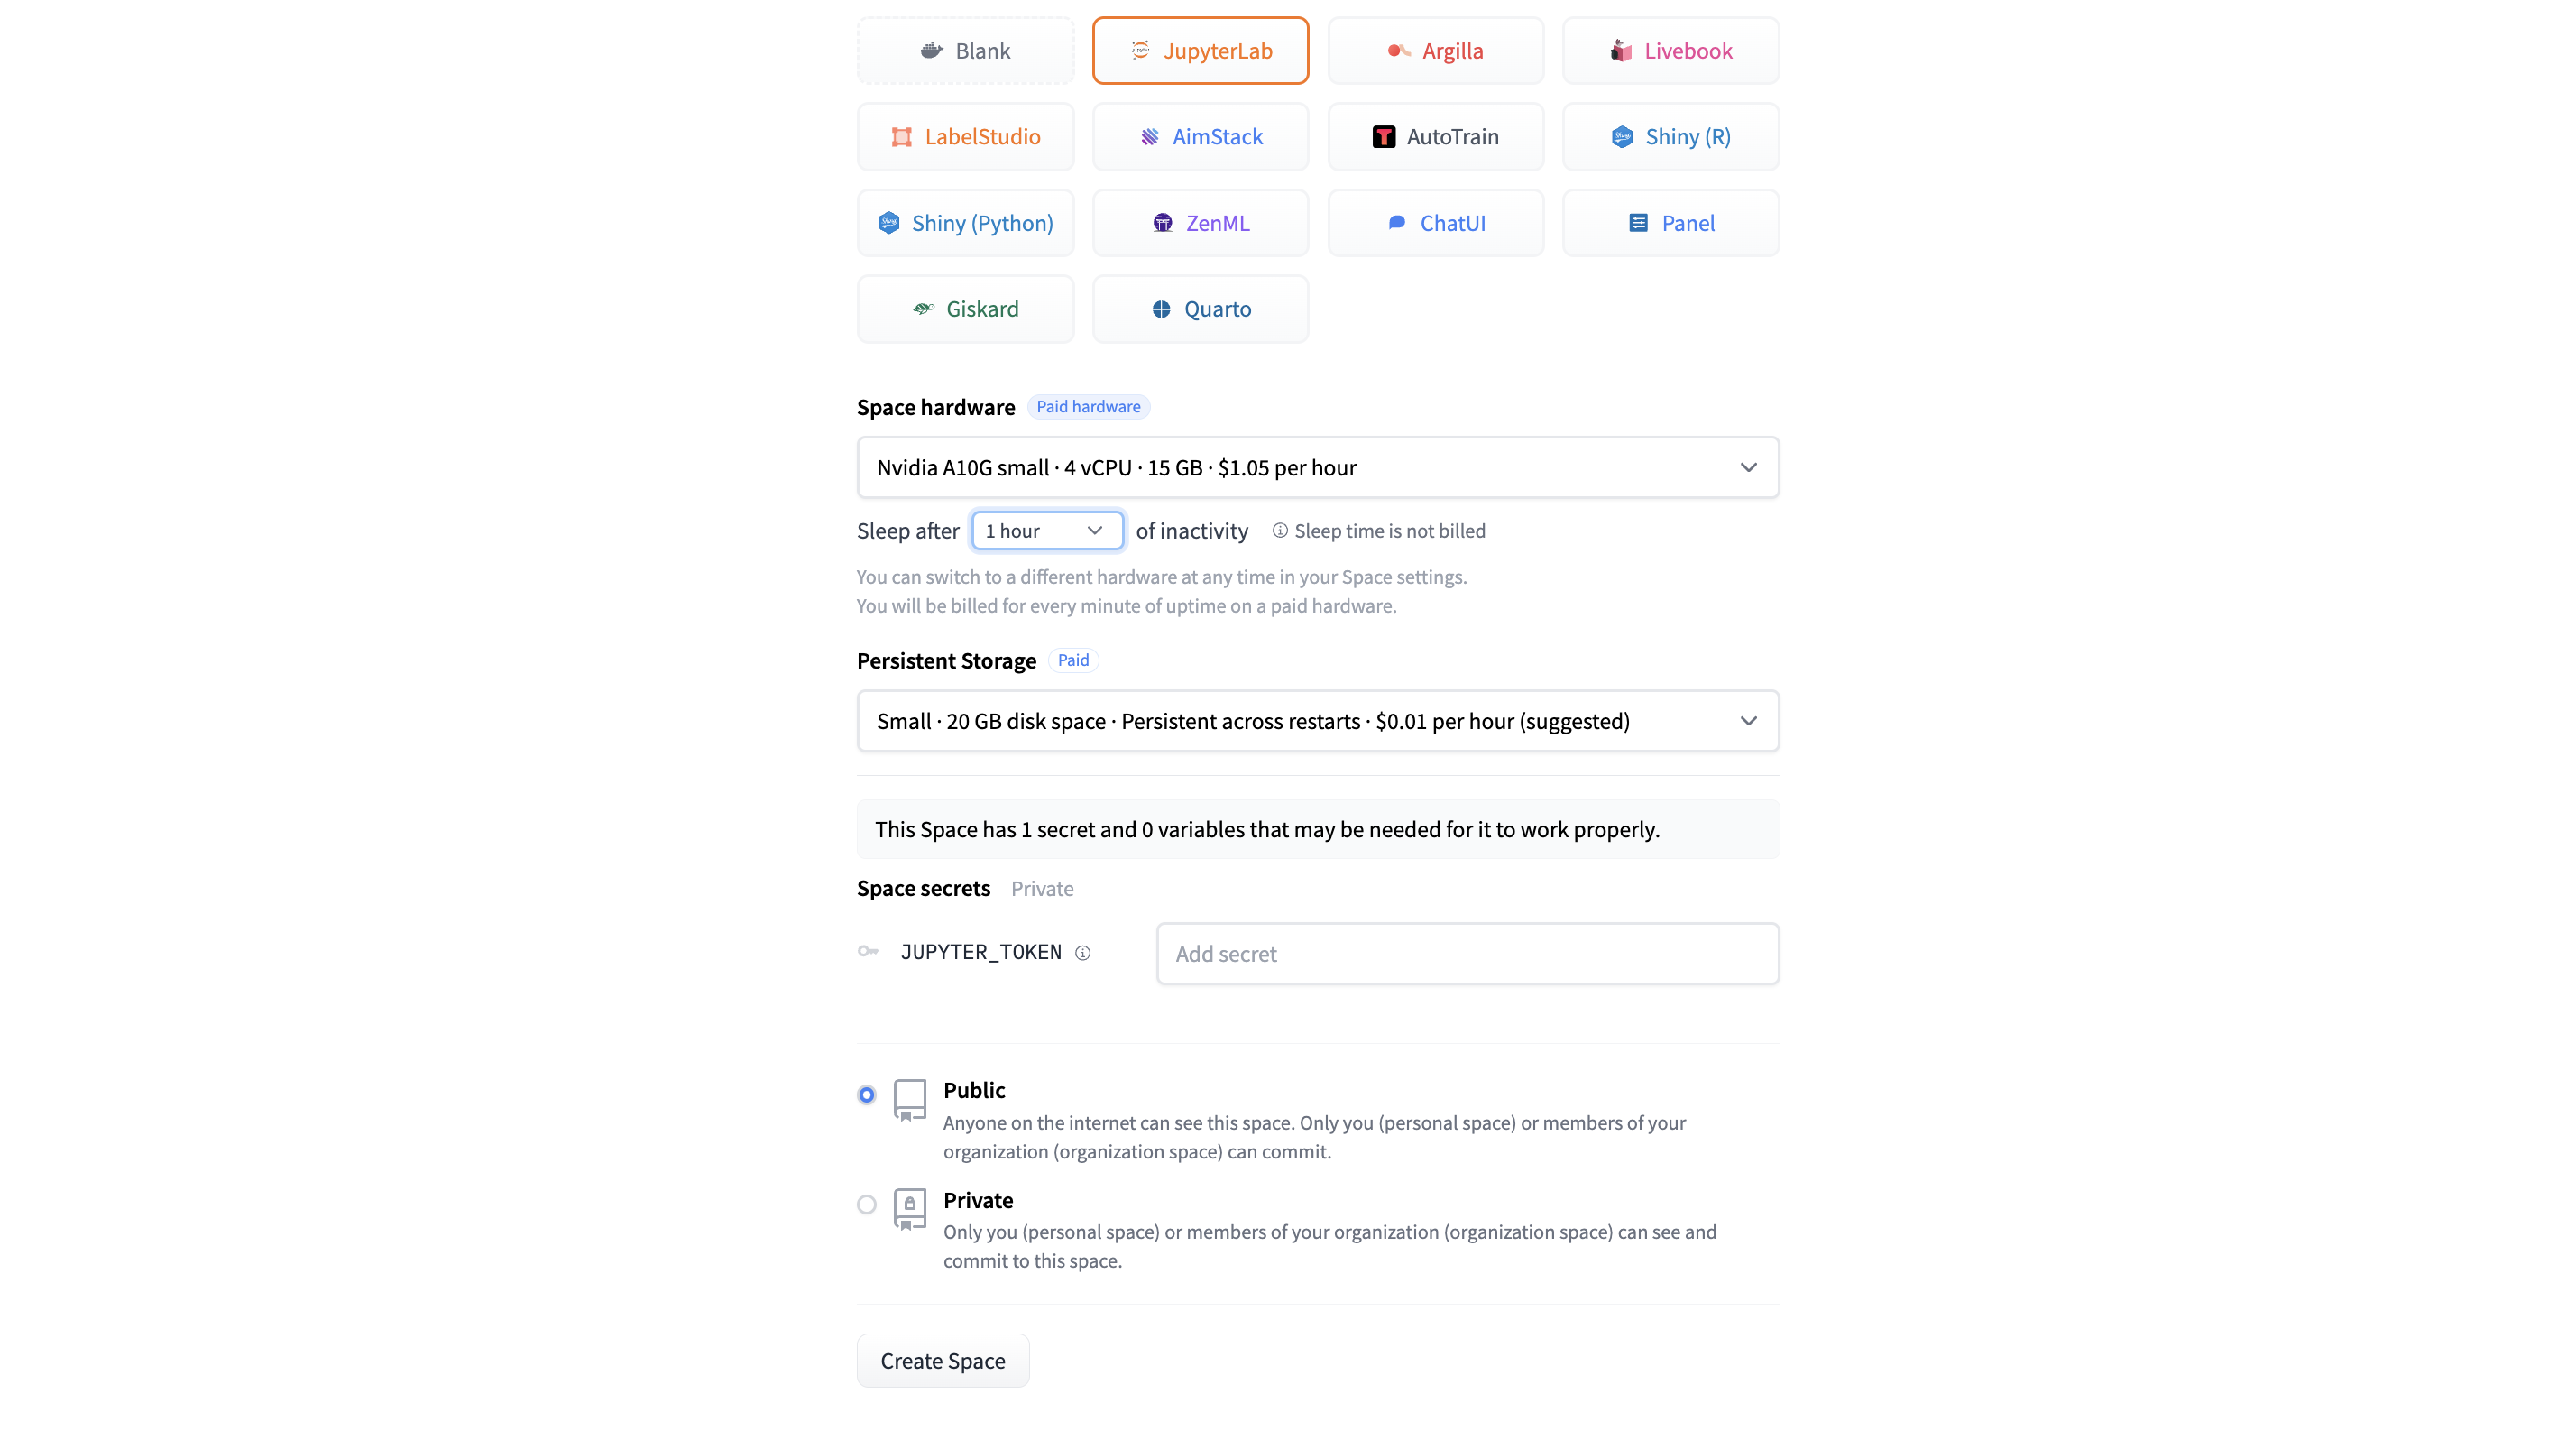
- Configure your Space
- Set your preferred space name
- Select Docker > JupyterLab to select the pre-configured notebook app
- Select Space Hardware as “Nvidia A10G Small”
- Everything else can be left as default
- Select “Create Space”
What is a docker template?
A Docker template is a predefined blueprint for a software environment that includes the necessary software and configurations, enabling developers to easily and rapidly deploy applications in a consistent and isolated way.
Why do I need to select a GPU Space Hardware?
By default, our Space comes with a complimentary CPU, which is fine for some applications. However, the many computations required by LLMs benefit significantly from being run in parallel to improve speed, which is something GPUs are great at.
It's also important to choose a GPU with enough memory to store the model and providing spare working memory. In our case, an A10G Small with 24GB is enough for Phi-2.
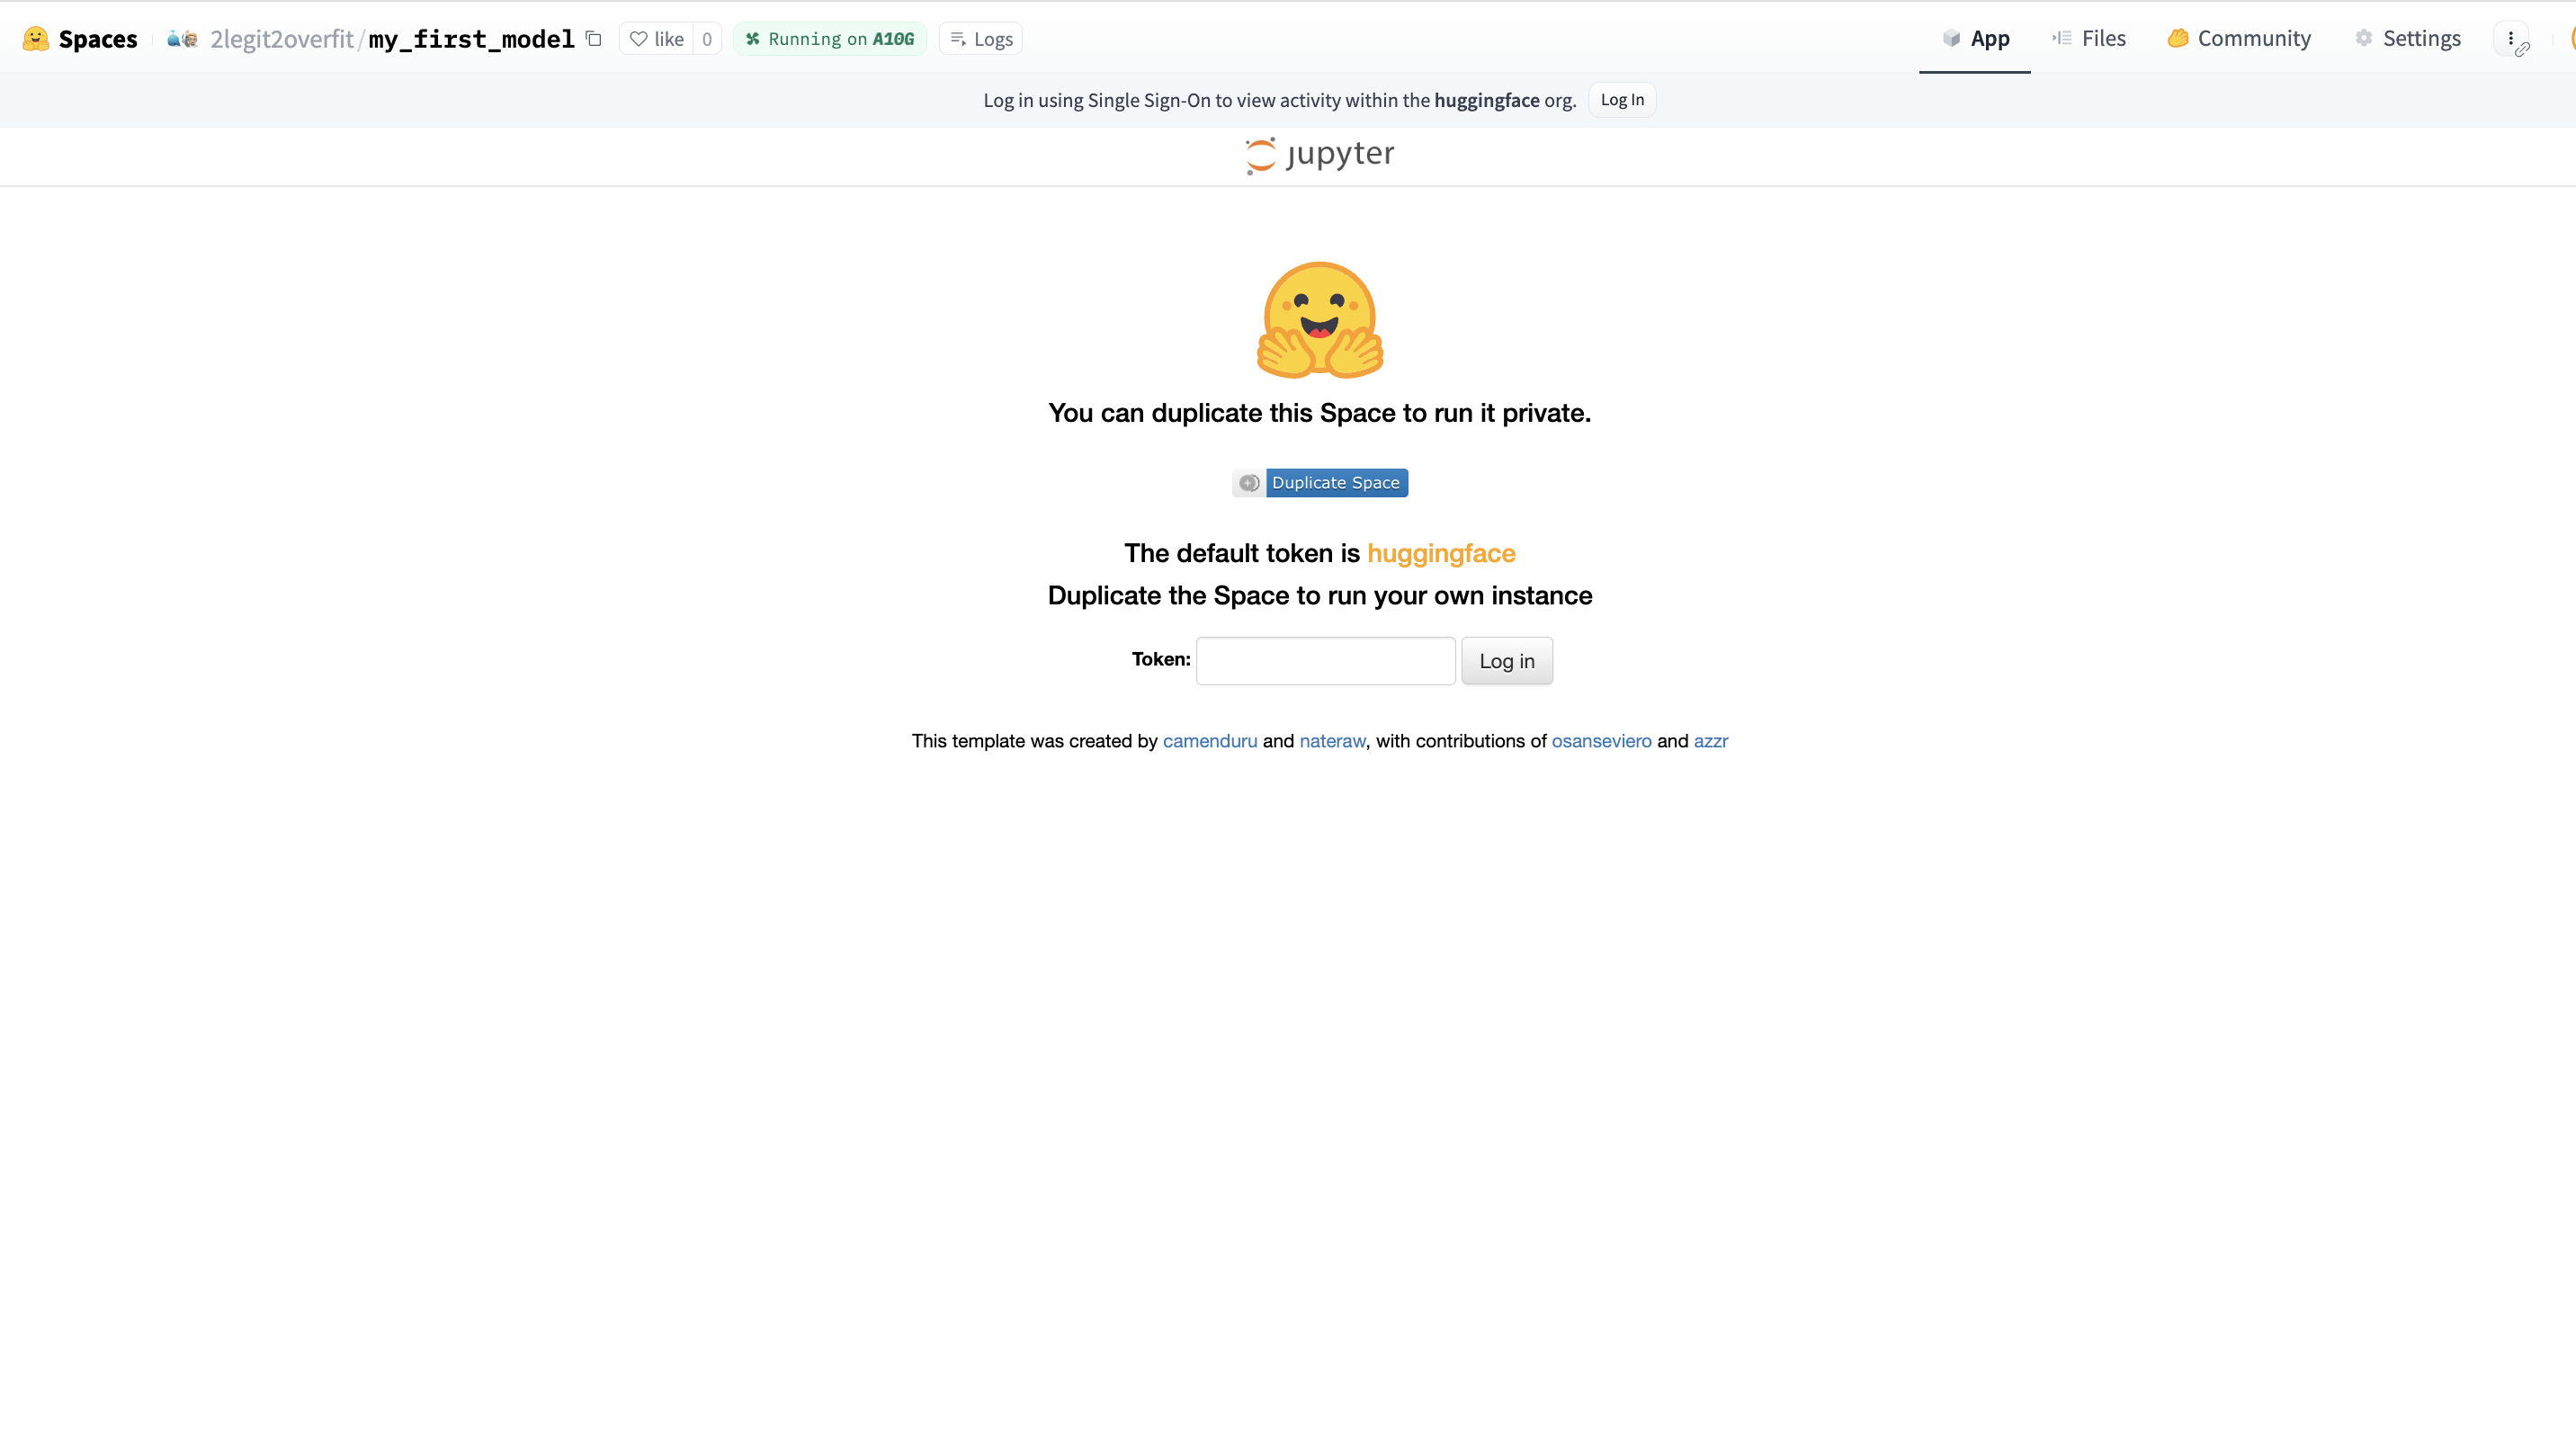
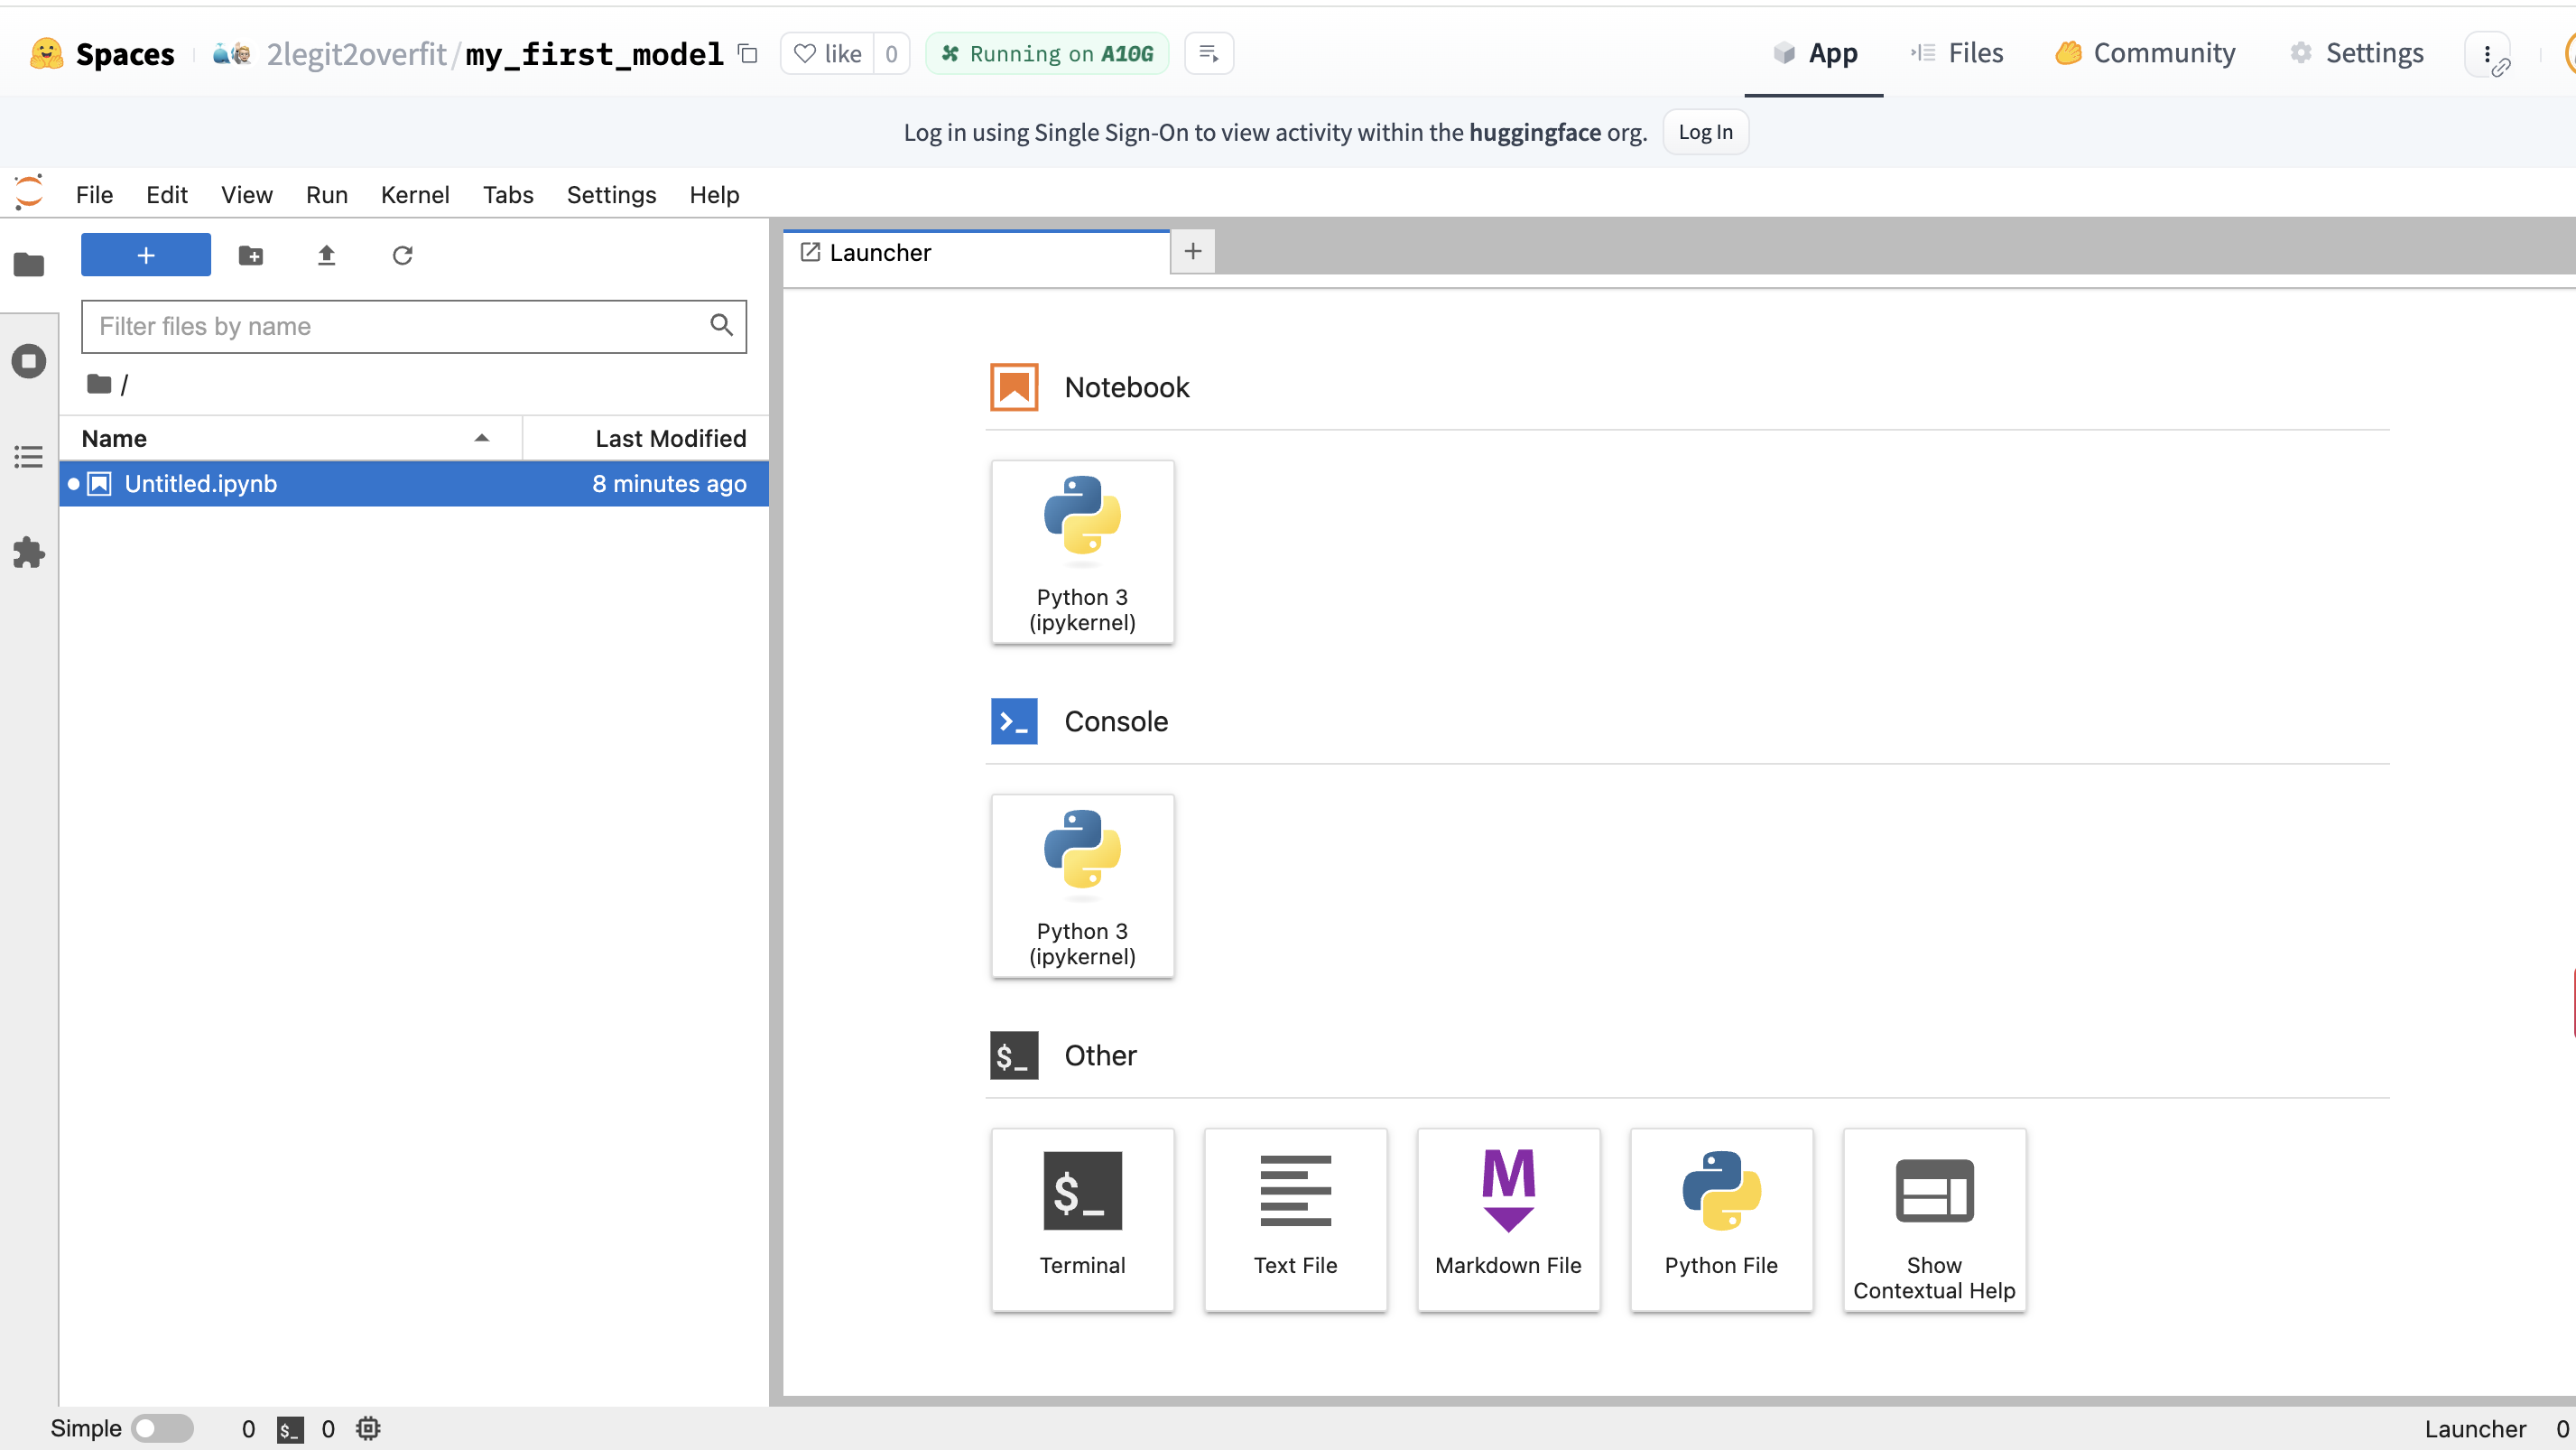
- Login to JupyterLab
- After the Space has finished building, you will see a log in screen. If you left the token as default in the template, you can log in with “huggingface”. Otherwise, just use the token you set
- Create a new notebook
- Within the “Launcher” tab, select the top “Python 3” square under the “Notebook” heading, this will create a new notebook environment that has Python already installed
- Install required packages
- In your new notebook you’ll need to install the PyTorch and Transformers libraries, as they do not come pre-installed in the environment .
- This can be done by entering the !pip command + library name in your notebook. Click the play button to execute the code and watch as the libraries are installed (Alternatively: Hit CMD + Return / CTRL + Enter)
!pip install torch
!pip install transformers
What is !pip install?
!pip is a command that installs Python packages from the Python Package Index (PyPI) a web repository of libraries available for use in a Python environment. It allows us to extend the functionality of Python applications by incorporating a wide range of third-party add-ons.
If we are using Transformers, why do we need Pytorch too?
Hugging Face is a library that is built on top of other frameworks like Pytorch, Tensorflow and JAX. In this case we are using Transformers with Pytorch and so need to install it to access it’s functionality.

- Import the AutoTokenizer and AutoModelForCausalLM classes from Transformers
- Enter the following code on a new line and run it
from transformers import AutoTokenizer, AutoModelForCausalLM
What is a Class?
Think of Classes as code recipes for creating these things called Objects. They are useful because they allow us to save Objects with a combination of properties and functions. This in turn simplifies coding as all of the information and operations needed for particular topics are accessible from the same place. We’ll be using these Classes to create two Objects: a model and a tokenizer Object.
Why do I need to import the Class again after installing Transformers?
Although Transformers is already installed, the specific Classes within Transformers are not automatically available for use in your environment. Python requires us to explicitly import individual Classes as it helps avoid naming conflicts and ensures that only the necessary parts of a library are loaded into your current working context.
- Define which model you want to run
- To detail the model you want to download and run from the Hugging Face Hub, you need to specify the name of the model repo in your code
- We do this by setting a variable equal to the model name, in this case we decide to call the variable
model_id - We’ll use Microsoft's Phi-2, a small but surprisingly capable model which can be found at https://huggingface.co/microsoft/phi-2. Note: Phi-2 is a base not an instruction tuned model and so will respond unusually if you try to use it for chat
model_id = "microsoft/phi-2"
What is an instruction tuned model?
An instruction-tuned language model is a type of model that has been further trained from its base version to understand and respond to commands or prompts given by a user, improving its ability to follow instructions. Base models are able to autocomplete text, but often don’t respond to commands in a useful way. We'll see this later when we try to prompt Phi.
- Create a model object and load the model
- To load the model from the Hugging Face Hub into our local environment we need to instantiate the model object. We do this by passing the “model_id” which we defined in the last step into the argument of the “.from_pretrained” method on the AutoModelForCausalLM Class.
- Run your code and grab a drink, the model may take a few minutes to download
model = AutoModelForCausalLM.from_pretrained(model_id)
What is an argument?
An argument is input information that is passed to a function in order for it to compute an output. We pass an argument into a function by placing it between the function brackets. In this case the model ID is the sole argument, although functions can have multiple arguments, or none.
What is a Method?
A Method is another name for a function that specifically uses information from a particular Object or Class. In this case the .from_pretrained method uses information from the Class and the model_id to create a new model object.
- Create a tokenizer object and load the tokenizer
- To load the tokenizer you now need to create a tokenizer object. To do this again pass the
model_idas an argument into the.from_pretrainedmethod on the AutoTokenizer Class. - Note there are some additional arguments, for the purposes of this example they aren’t important to understand so we won’t explain them.
tokenizer = AutoTokenizer.from_pretrained(model_id, add_eos_token=True, padding_side='left')
What is a tokenizer?
A tokenizer is a tool that splits sentences into smaller pieces of text (tokens) and assigns each token a numeric value called an input id. This is needed because our model only understands numbers, so we first must convert (a.k.a encode) the text into a format the model can understand. Each model has it’s own tokenizer vocabulary, it’s important to use the same tokenizer that the model was trained on or it will misinterpret the text.
- Create the inputs for the model to process
- Define a new variable
input_textthat will take the prompt you want to give the model. In this case I asked "Who are you?" but you can choose whatever you prefer. - Pass the new variable as an argument to the tokenizer object to create the
input_ids - Pass a second argument to the tokenizer object,
return_tensors="pt", this ensures the token_id is represented as the correct kind of vector for the model version we are using (i.e. in Pytorch not Tensorflow)
input_text = "Who are you?"
input_ids = tokenizer(input_text, return_tensors="pt")
- Run generation and decode the output
- Now the input in the right format we need to pass it into the model, we do this by calling the
.generatemethod on themodel objectpassing theinput_idsas an argument and assigning it to a new variableoutputs. We also set a second argumentmax_new_tokensequal to 100, this limts the number of tokens the model will generate. - The outputs are not human readable yet, to return them to text we must decode the output. We can do this with the
.decodemethod and saving that to the variabledecoded_outputs - Finally, passing the
decoded_outputvariable into the print function allows us to see the model output in our notebook. - Optional: Pass the
outputsvariable into the print function to see how they compare to thedecoded outputs
outputs = model.generate(input_ids["input_ids"], max_new_tokens=100)
decoded_outputs = tokenizer.decode(outputs[0])
print(decoded_outputs)
Why do I need to decode?
Models only understand numbers, so when we provided our input_ids as vectors it returned an output in the same format. To return those outputs to text we need to reverse the initial encoding we did using the tokenizer.
Why does the output read like a story?
Remember that Phi-2 is a base model that hasn't been instruction tuned for conversational uses, as such it's effectively a massive auto-complete model. Based on your input it is predicting what it thinks is most likely to come next based on all the web pages, books and other content it has seen previously.
Congratulations, you've run inference on your very first LLM!
I hope that working through this example helped you to better understand the world of open-source ML. If you want to continue your ML learning journey, I recommend the recent Hugging Face course we released in partnership with DeepLearning AI.